Snipping Tool Delay Feature Explained (Complete Guide for Windows Users)
If you’ve ever tried to capture a dropdown menu, tooltip, or right-click context menu, you probably noticed something frustrating: it disappears before you can take the screenshot.
That’s exactly where the Snipping Tool delay feature becomes incredibly useful.
In this guide, you’ll learn what the delay feature is, how it works, and how to use it effectively to capture anything on your screen, even elements that normally vanish.
What Is the Delay Feature in Snipping Tool?
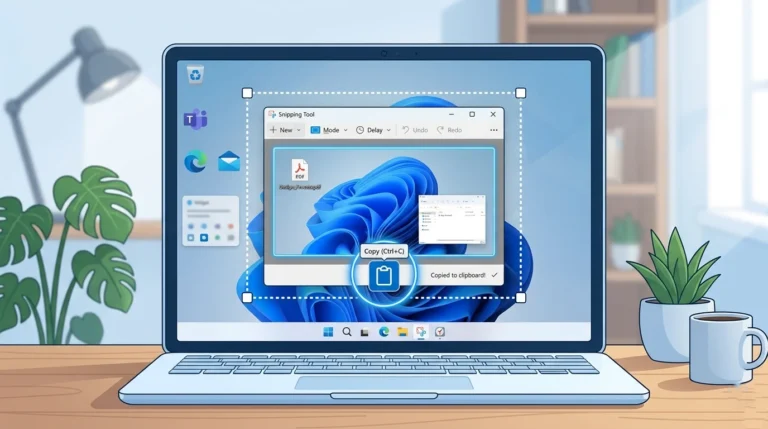
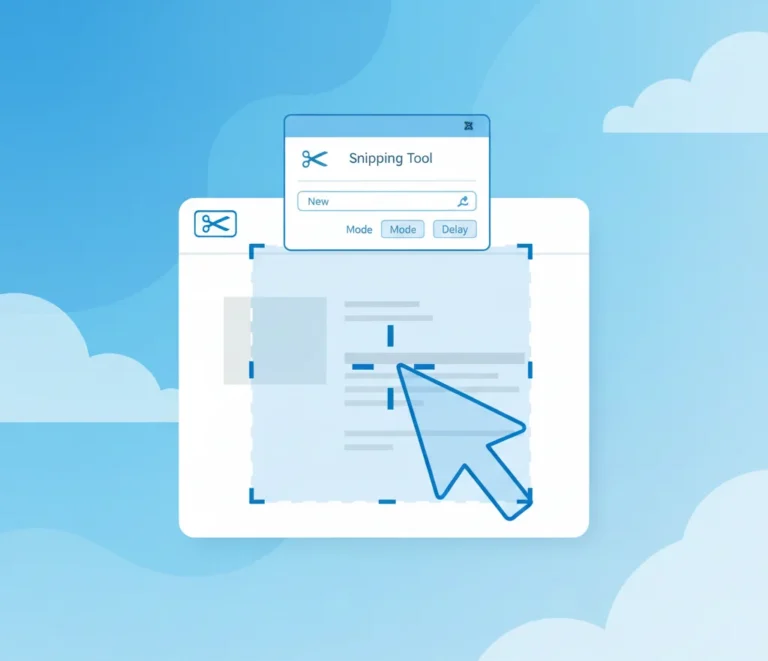
The delay feature in Snipping Tool is a built-in timer that allows you to take a screenshot after a few seconds instead of instantly.
Instead of capturing your screen immediately, the tool:
- Waits for a selected time (e.g., 3, 5, or 10 seconds)
- Then activates screenshot mode automatically
This makes it possible to capture:
- Dropdown menus
- Right-click context menus
- Tooltips and hover effects
- Temporary popups
In simple terms, it’s a timed screenshot feature for Windows.
How the Snipping Tool Delay Feature Works
The delay feature follows a simple process but behaves differently from a normal screenshot.
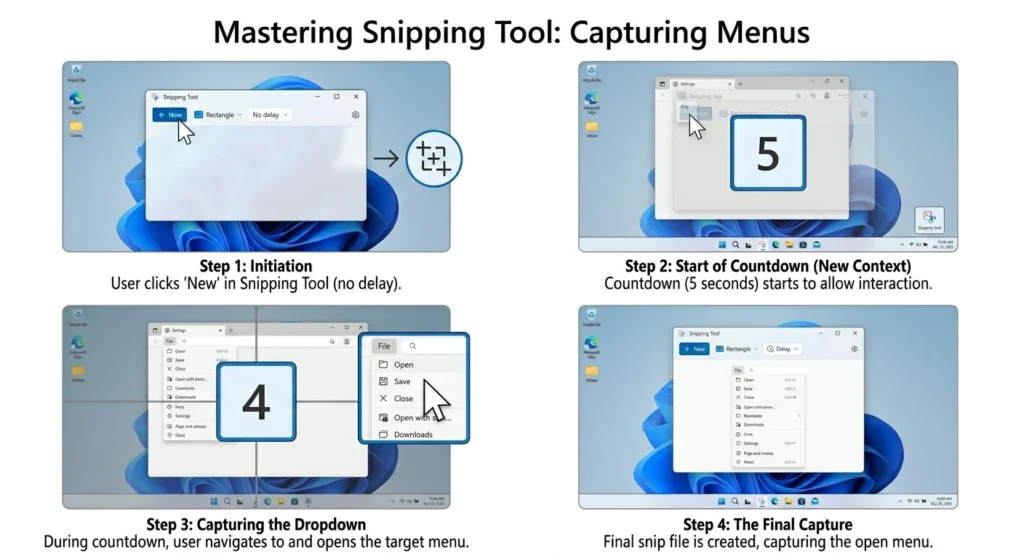
Step-by-Step Workflow
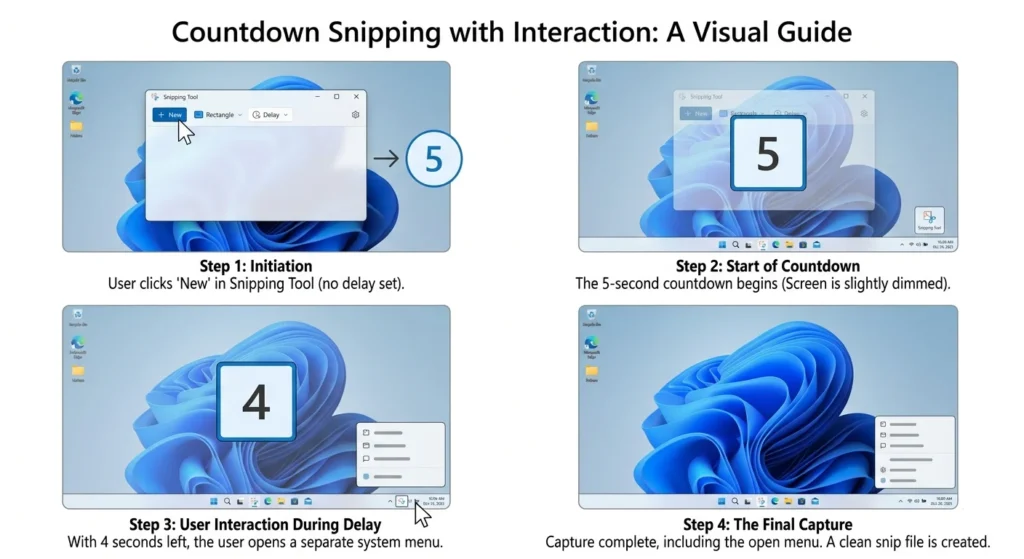
- Open Snipping Tool
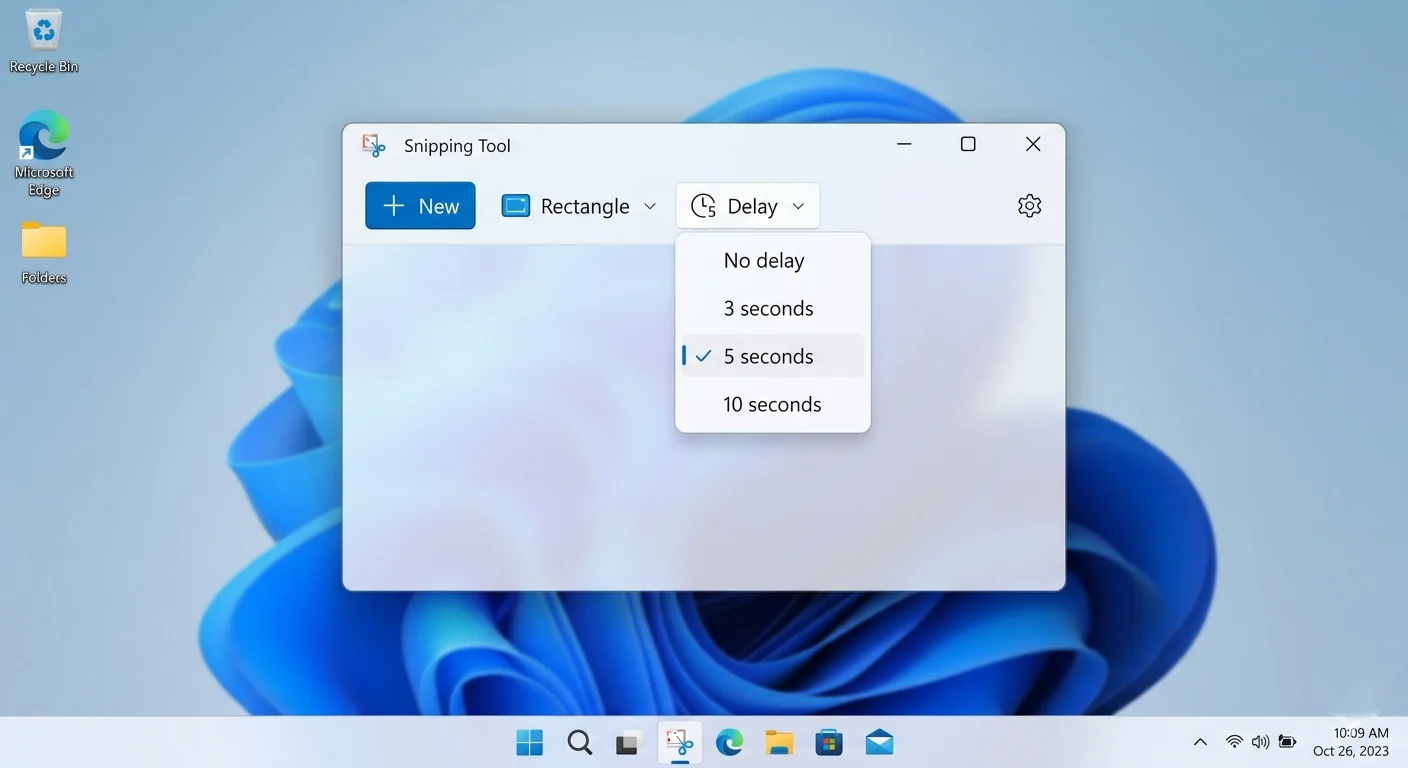
- Click the Delay option
- Choose a time (e.g., 3, 5, or 10 seconds)
- Click New
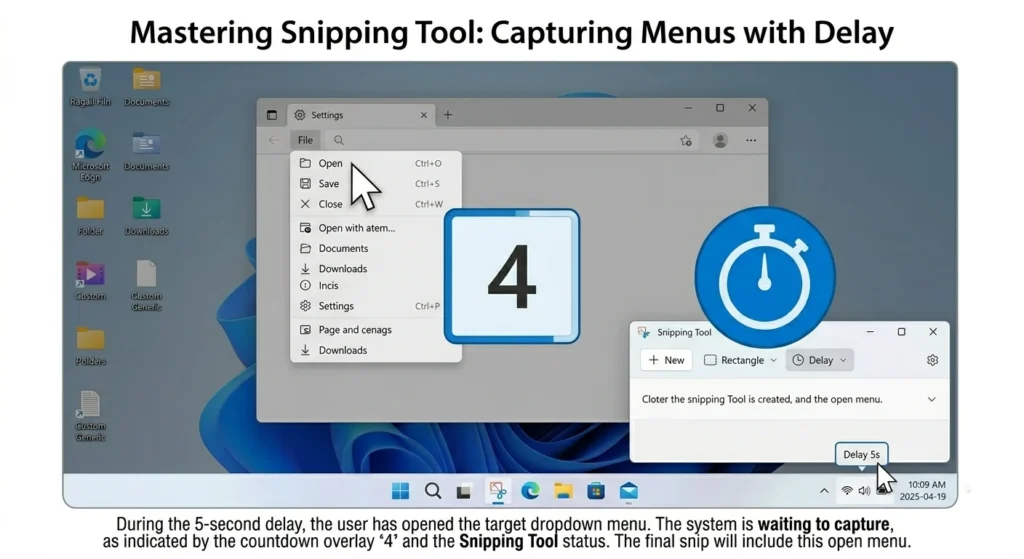
- The countdown begins
- Prepare your screen (open menu, hover element, etc.)
- Screenshot mode activates automatically
What Happens Internally
- The app minimizes temporarily
- A countdown runs in the background
- After the timer ends, the screen freezes
- You can select the area to capture
This behavior is what allows you to capture elements that normally disappear.
Why Use the Delay Feature? (Real Use Cases)
The delay feature isn’t just a small add-on; it solves real problems.
Capture Dropdown Menus
Menus usually close when you click elsewhere. Delay lets you open them before capture.
Capture Right-Click Context Menus
Right-click menus disappear instantly; delay solves this perfectly.
Capture Tooltips and Hover Effects
Helpful for tutorials and UI documentation.
Capture Timed Popups or Animations
Great for capturing notifications or temporary UI states.
Available Delay Time Options
The delay duration depends on your Windows version:
- Windows 10: 1 to 5 seconds
- Windows 11: Up to 10 seconds
When to Use Each Option
- 3 seconds: Quick actions
- 5 seconds: Opening menus manually
- 10 seconds: Complex setups or multi-step UI actions
How to Use the Delay Feature (Beginner Guide)
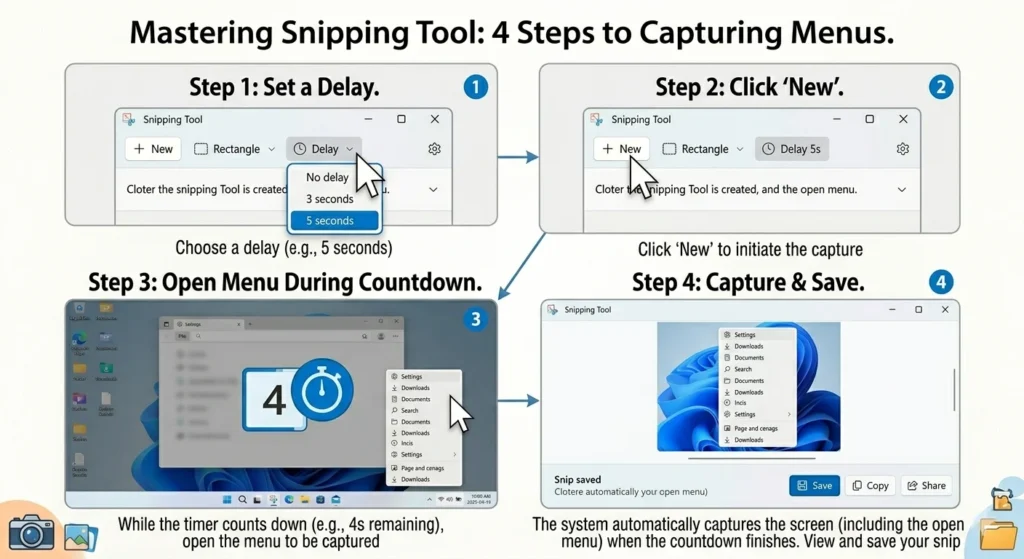
Follow these steps to use the delay feature properly:
Step 1: Open Snipping Tool
Search for “Snipping Tool” in Windows search.
Step 2: Select Delay Time
Click the delay dropdown and choose your preferred time.
Step 3: Choose Snip Mode
Select from:
- Rectangular snip
- Window snip
- Full-screen snip
Step 4: Click “New”
This starts the countdown.
Step 5: Prepare Your Screen
Open menus, hover elements, or trigger UI changes.
Step 6: Capture the Screenshot
After the countdown, select the area to capture.
Snipping Tool Delay vs Instant Screenshot
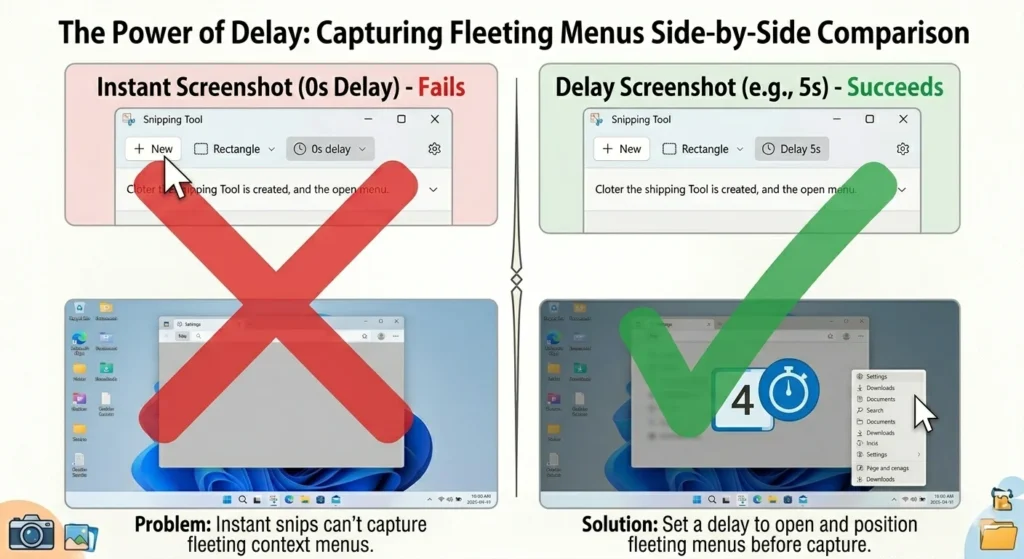
| Feature | Delay Screenshot | Instant Screenshot |
|---|---|---|
| Capture menus | Yes | No |
| Capture tooltips | Yes | No |
| Speed | Slower | Instant |
| Best for | Advanced use | Basic use |
If you only need basic screenshots, it works fine.
For UI elements, delay is essential.
Common Problems with Delay Feature (and Fixes)
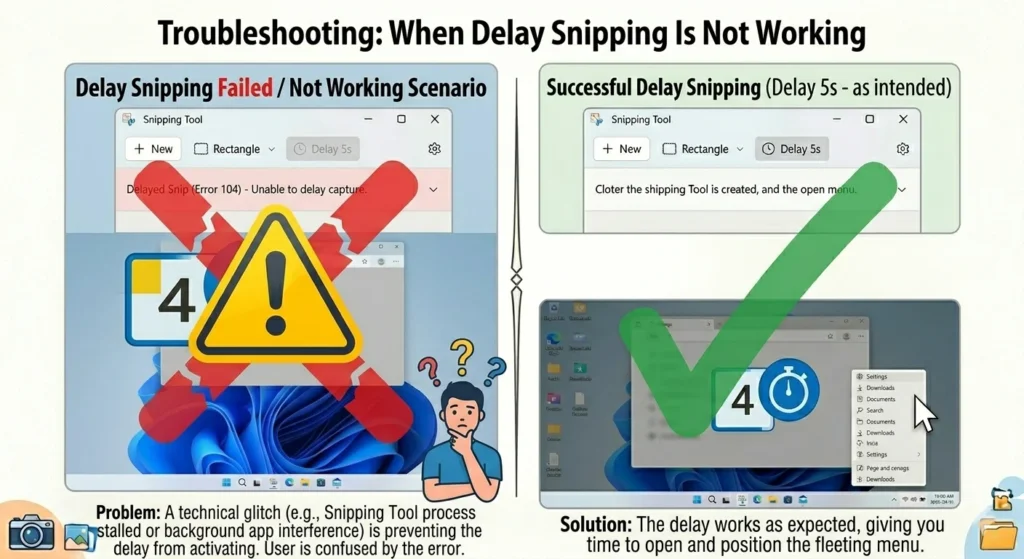
Delay Feature Not Working
Fix:
- Restart Snipping Tool
- Update Windows
- Reset the app in settings
Screenshot Captures Wrong Screen
Fix:
- Use “Window Snip” mode instead of rectangular
Delay Option Missing
Fix:
- Update to the latest Windows version
Delay Too Short
Fix:
- Use maximum delay (10 seconds in Windows 11)
Tips to Use Delay Feature Like a Pro
- Use Window Snip for menus (more accurate)
- Combine with keyboard shortcuts (Win + Shift + S)
- Use a longer delay for tutorials or guides
- Practice timing for better results
Alternatives with Better Delay Features
If you need more advanced options, consider:
- Snagit (professional tool)
- ShareX (free & powerful)
- Greenshot (lightweight option)
These tools offer:
- Longer delay times
- Automation features
- Advanced editing tools
Final Thoughts
The Snipping Tool delay feature is one of the most underrated features in Windows.
While it may seem simple, it solves a major limitation of standard screenshots, capturing temporary UI elements.
If you create tutorials, guides, or documentation, learning this feature can significantly improve your workflow.
Frequently Asked Questions
No, the built-in tool limits delay to 10 seconds. You’ll need third-party tools for longer delays.
Because they disappear when you click, use the delay feature to fix this.
Open Snipping Tool → Select delay → Click “New” → Wait for countdown → Capture.