How to Fix Snipping Tool Issues on Windows 10
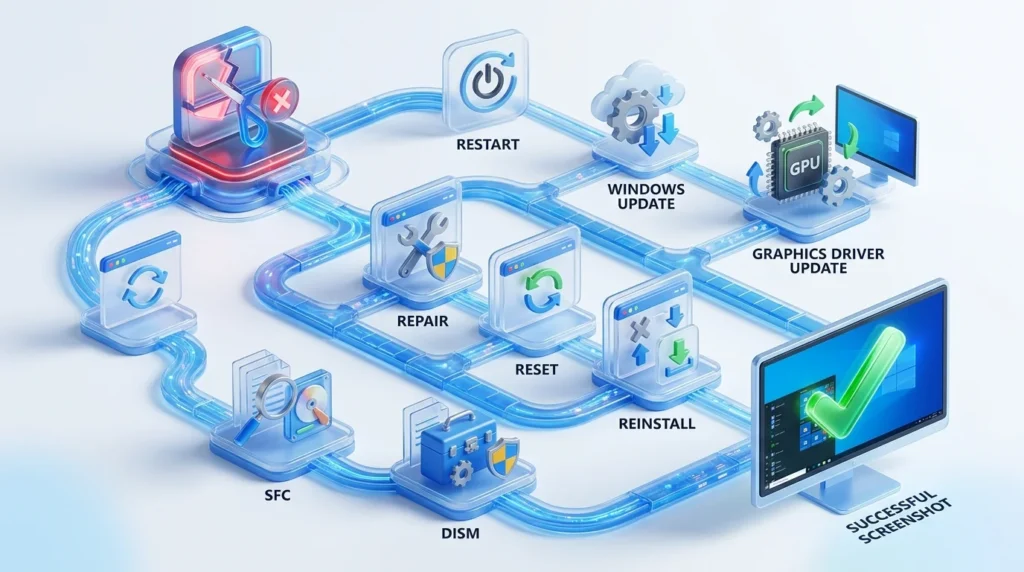
If the Snipping Tool is not working on your Windows 10 computer, you can usually fix it by restarting the app, repairing or resetting it, installing the latest Windows updates, restarting Windows Explorer, or reinstalling the application from the Microsoft Store. If the issue still persists, running the SFC and DISM commands can repair corrupted Windows files and restore the Snipping Tool to normal operation.
Introduction
The Snipping Tool is one of the most convenient built-in screenshot utilities available in Windows 10. It allows you to capture your entire screen, a selected window, or a custom area without installing third-party software. Whether you need screenshots for work, school, or troubleshooting, the app provides a quick and reliable way to capture what’s on your screen.
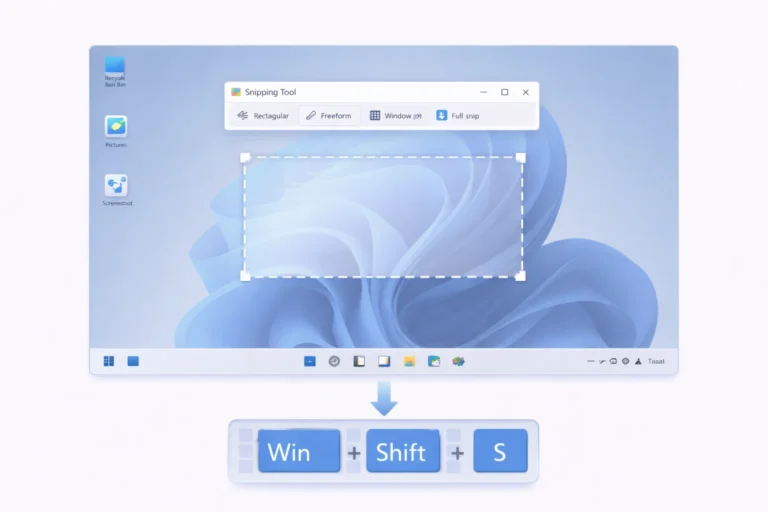
However, like any Windows application, the Snipping Tool can sometimes stop working unexpectedly. For example, it may refuse to open, crash immediately after launching, display a black screen, fail to save screenshots, or stop responding when you press the Windows + Shift + S keyboard shortcut. These issues can interrupt your workflow and make taking screenshots difficult.
Fortunately, most Snipping Tool problems are easy to fix. In this guide, you’ll learn the most effective troubleshooting methods, starting with simple solutions before moving on to advanced repairs. By following these steps in order, you can identify the root cause and restore the Snipping Tool without reinstalling Windows.
Why Is the Snipping Tool Not Working on Windows 10?
Several factors can prevent the Snipping Tool from working correctly. While the exact cause varies from one computer to another, most problems are related to Windows settings, damaged system files, or temporary software glitches.
Some of the most common causes include:
- Corrupted Snipping Tool application files
- Pending or failed Windows updates
- Damaged Windows system files
- Outdated or incompatible graphics drivers
- Disabled Windows notifications
- Windows Explorer errors
- Keyboard shortcut conflicts
- Corrupted Microsoft Store app data
- Third-party software interference
- Incorrect system settings
Fortunately, you don’t need to try every solution at once. Instead, begin with the basic troubleshooting methods below. If one method doesn’t resolve the problem, continue to the next until the Snipping Tool starts working properly.
Identify Your Snipping Tool Issue Before You Begin
Before you start troubleshooting, it’s helpful to identify the exact problem you’re experiencing. Different symptoms often require different solutions. Therefore, use the table below to find the troubleshooting method that best matches your issue.
| Problem | Recommended Solution |
|---|---|
| Snipping Tool won’t open | Repair or reset the application |
| Snipping Tool keeps crashing | Reset or reinstall the app |
| Windows + Shift + S isn’t working | Restart Windows Explorer and check keyboard shortcut settings |
| Snipping Tool is missing | Reinstall it from the Microsoft Store |
| Black screen while capturing screenshots | Update your graphics driver |
| Screenshots aren’t saving | Check folder permissions and storage settings |
| App freezes after launching | Install Windows updates and repair the application |
| Screenshot notification doesn’t appear | Enable Windows notifications |
If you’re unsure which problem you’re facing, don’t worry. Simply start with the first solution below and work through each method until the issue is resolved.
Restart the Snipping Tool
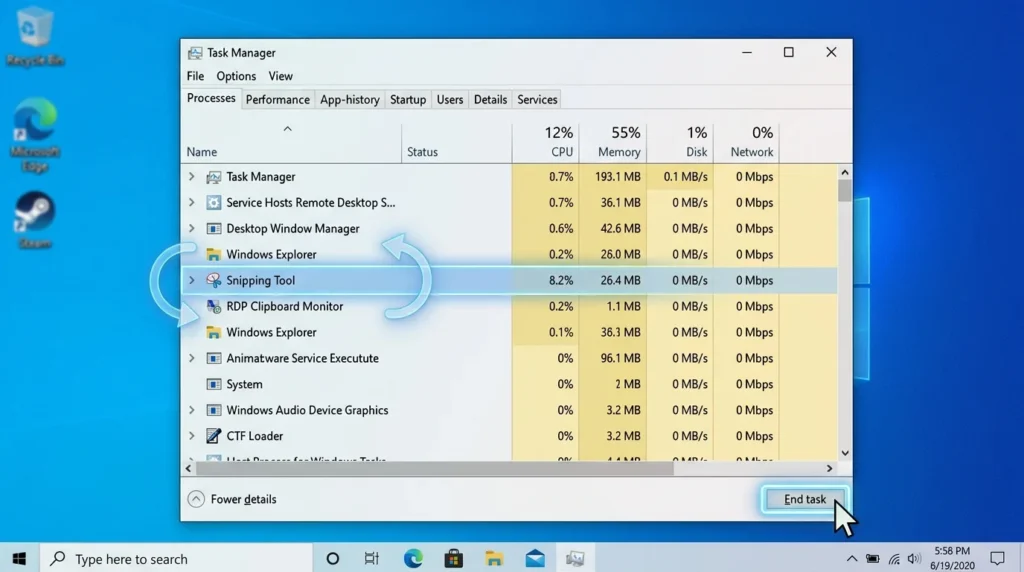
Sometimes, the Snipping Tool continues running in the background even after you close it. As a result, the application may stop responding or fail to launch properly. Restarting the process often resolves temporary glitches.
Close the Snipping Tool
Follow these steps to end the application’s background process:
- Press Ctrl + Shift + Esc to open Task Manager.
- Locate Snipping Tool under the running processes.
- Select the application.
- Click End Task.
Open the Application Again
After closing the process, restart the application.
- Open the Start Menu.
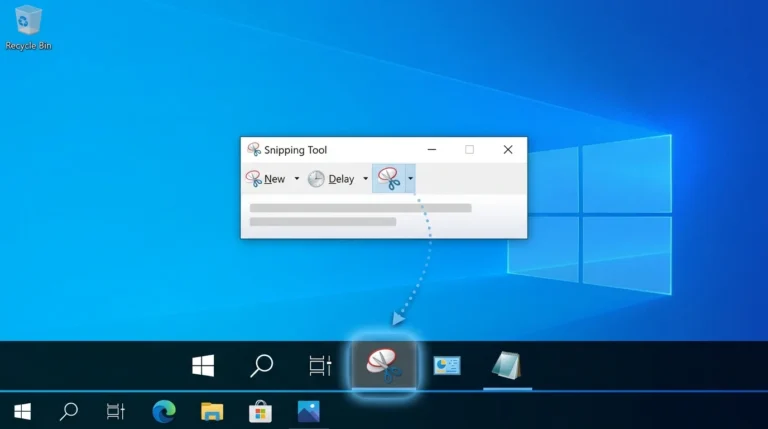
- Search for Snipping Tool.
- Click the application to launch it.
Finally, capture a test screenshot to check whether the problem has been resolved.
Restart Windows Explorer
The Snipping Tool relies on several Windows components, including Windows Explorer, to function correctly. If Windows Explorer becomes unresponsive, screenshot-related features may also stop working.
Fortunately, restarting Windows Explorer only takes a few seconds.
Follow These Steps
- Open Task Manager.
- Scroll down until you find Windows Explorer.
- Right-click the process.
- Select Restart.
During the restart, your desktop icons and taskbar may briefly disappear. However, they will return automatically within a few seconds.
Once Windows Explorer restarts, launch the Snipping Tool again and verify whether the issue has been fixed.
Repair the Snipping Tool
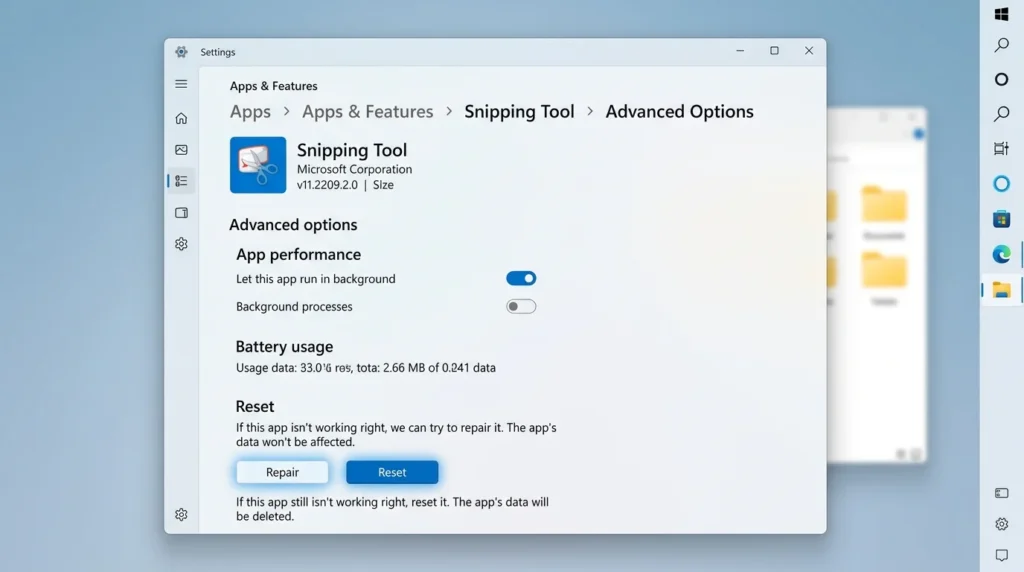
If restarting the application doesn’t solve the problem, the next step is to repair it. Windows 10 includes a built-in repair feature that fixes damaged application files without deleting your personal settings.
Repair the Application
- Open Settings.
- Select Apps.
- Click Apps & Features.
- Locate Snipping Tool.
- Select Advanced options.
- Click Repair.
Windows will automatically repair the application. After the process finishes, restart your computer and test the Snipping Tool again.
Reset the Snipping Tool
If repairing the application doesn’t resolve the issue, resetting it is the next recommended step. While the Repair option fixes damaged files without affecting your settings, Reset restores the application to its default state. As a result, any corrupted app data is removed, giving the Snipping Tool a fresh start.
Reset the Application
Follow these steps to reset the Snipping Tool:
- Open Settings.
- Navigate to Apps.
- Select Apps & Features.
- Find and open Snipping Tool.
- Click Advanced options.
- Select Reset.
- Confirm your choice when prompted.
Once the reset process is complete, restart the application and check whether it is working correctly.
Tip: Always try the Repair option first. If the issue remains, proceed with Reset because it removes corrupted app data that Repair cannot fix.
Install the Latest Windows Updates
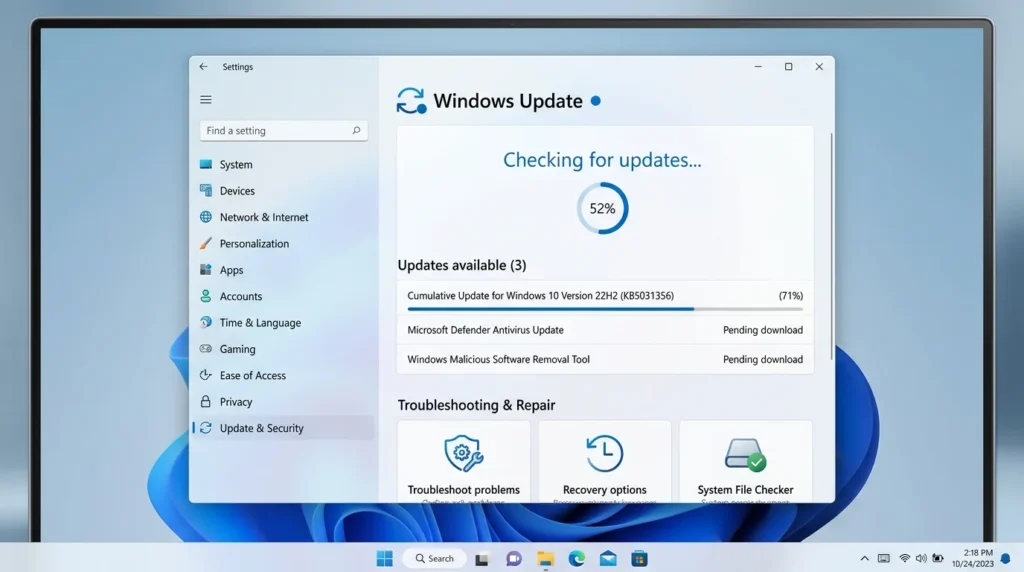
Keeping Windows up to date is one of the easiest ways to fix built-in application issues. Microsoft regularly releases updates that include bug fixes, security improvements, and performance enhancements for Windows components, including the Snipping Tool.
Therefore, if your computer hasn’t been updated recently, installing the latest updates may solve the problem without requiring additional troubleshooting.
Check for Windows Updates
Follow these steps:
- Open Settings.
- Select Update & Security.
- Click Windows Update.
- Select Check for updates.
- Install every available update.
- Restart your computer.
After your PC restarts, launch the Snipping Tool again and verify whether the issue has been resolved.
Reinstall the Snipping Tool
If repairing and resetting the application don’t fix the problem, reinstalling the Snipping Tool is often the most effective solution. A fresh installation replaces damaged application files and removes any corrupted components that may be preventing the app from working correctly.
Reinstall the Application
Follow these steps:
- Remove the existing installation if Windows allows you to do so.
- Open the Microsoft Store.
- Search for Snipping Tool.
- Select the official application.
- Click Install.
- Wait until the installation finishes.
- Restart your computer.
Once your PC restarts, open the Snipping Tool and capture a screenshot to confirm that everything is working as expected.
Check Whether the Problem Has Been Fixed
After completing each troubleshooting method, it’s important to test the application before moving on to the next solution. Doing so helps you identify which method resolved the issue and prevents unnecessary changes to your system.
Use the following checklist:
- Open the Snipping Tool normally.
- Press Windows + Shift + S.
- Capture a rectangular screenshot.
- Save the screenshot.
- Open the saved image.
- Confirm that the screenshot notification appears.
If every step works correctly, you can stop troubleshooting because the issue has been resolved. However, if the problem continues, proceed with the next section below.
Fix Windows + Shift + S Not Working
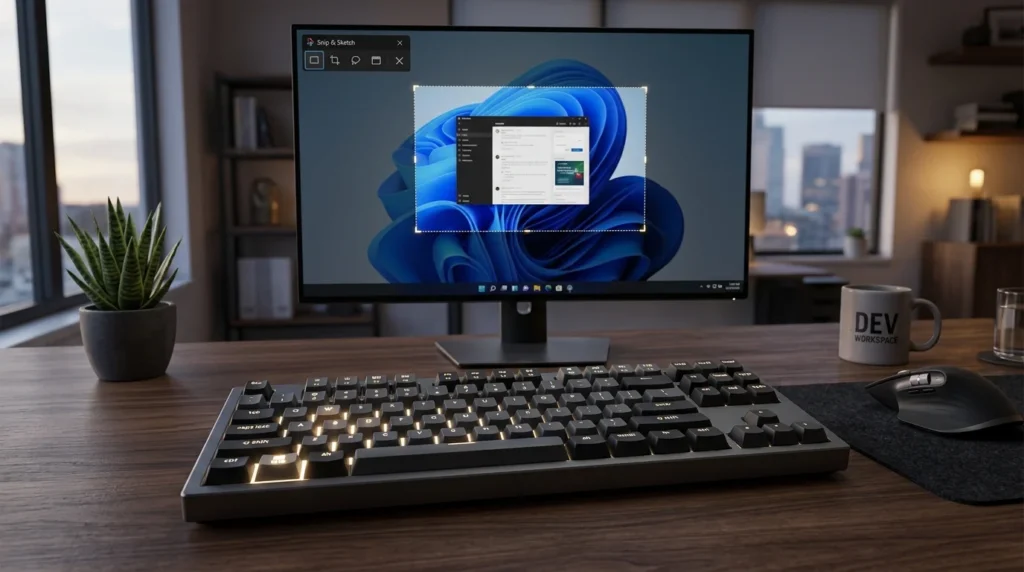
The Windows + Shift + S keyboard shortcut opens the Snipping Tool’s screen capture interface. However, if pressing the shortcut does nothing, the problem could be related to Windows Explorer, notification settings, clipboard history, or keyboard configuration.
Fortunately, you can resolve this issue by following the methods below.
Restart the Screen Snipping Process
Sometimes, the screen snipping process continues running in the background and becomes unresponsive. Restarting it often restores the keyboard shortcut.
- Press Ctrl + Shift + Esc to open Task Manager.
- Locate Snipping Tool or Screen Snipping.
- Select the process.
- Click End Task.
- Launch the Snipping Tool again.
- Press Windows + Shift + S to test the shortcut.
Enable Clipboard History
The Snipping Tool temporarily stores captured screenshots in the Windows clipboard. Therefore, if Clipboard History is disabled, the shortcut may not work as expected.
To enable Clipboard History:
- Open Settings.
- Select System.
- Click Clipboard.
- Turn on Clipboard History.
After enabling the feature, press Windows + Shift + S again and verify whether the shortcut works correctly.
Check the Print Screen Shortcut Setting
Windows also allows you to use the Print Screen (PrtScn) key to launch the Snipping Tool. If this setting is disabled or incorrectly configured, screenshot shortcuts may stop working.
Follow these steps:
- Open Settings.
- Navigate to Ease of Access or Accessibility, depending on your Windows version.
- Select Keyboard.
- Enable Use the PrtScn button to open screen snipping.
Finally, restart your computer and test both the Print Screen key and the Windows + Shift + S shortcut.
Test Your Keyboard
If the shortcut still doesn’t respond, the issue may be related to your keyboard rather than Windows.
Check the following:
- Make sure the Windows key works correctly.
- Verify that the Shift key responds normally.
- Confirm that the S key is functioning properly.
- If possible, connect another keyboard and test the shortcut again.
If the shortcut works with another keyboard, your original keyboard is likely causing the problem.
Enable Snipping Tool Notifications
After you capture a screenshot, Windows displays a notification that lets you open, edit, or save the image. However, if notifications are disabled, it may appear as though the Snipping Tool isn’t working even though the screenshot has been captured successfully.
Therefore, checking your notification settings is an important troubleshooting step.
Turn On Notifications
Follow these steps to enable notifications:
- Open Settings.
- Select System.
- Click Notifications & actions.
- Turn on Notifications.
- Scroll down and make sure Snipping Tool notifications are enabled.
Once you’ve completed these steps, take another screenshot to verify that the notification appears.
Turn Off Focus Assist
Focus Assist can suppress notifications from the Snipping Tool. As a result, you may not receive any alert after capturing a screenshot.
To disable Focus Assist:
- Open Settings.
- Select System.
- Click Focus Assist.
- Choose Off.
Finally, test the Snipping Tool again to see whether notifications are working properly.
Run the System File Checker (SFC)
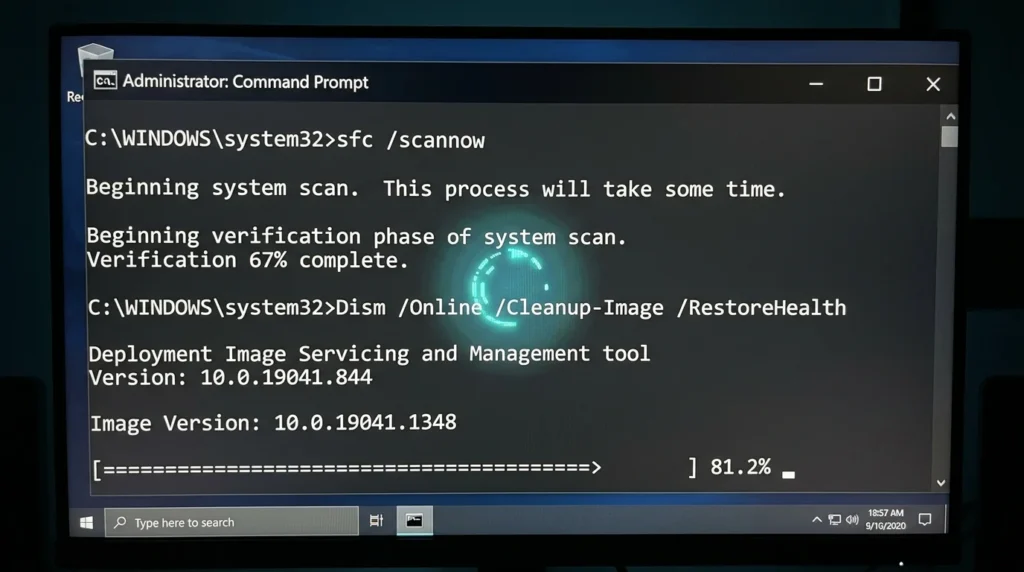
Corrupted Windows system files can prevent built-in applications from functioning correctly. Fortunately, the System File Checker (SFC) scans your computer for damaged files and automatically replaces them with healthy versions.
Run an SFC Scan
Follow these steps:
- Search for Command Prompt.
- Right-click it and select Run as administrator.
- Enter the following command:
sfc /scannow
- Press Enter.
- Wait for the scan to finish.
- Restart your computer.
After your PC restarts, launch the Snipping Tool again and check whether the issue has been resolved.
Run the DISM Tool
If the SFC scan cannot repair every corrupted file, use the Deployment Image Servicing and Management (DISM) tool. Unlike SFC, DISM repairs the Windows system image itself, which helps restore damaged Windows components.
Run the DISM Commands
Open Command Prompt as Administrator and run each command one at a time.
DISM /Online /Cleanup-Image /CheckHealthDISM /Online /Cleanup-Image /ScanHealthDISM /Online /Cleanup-Image /RestoreHealthWait for each command to complete before running the next one. Afterward, restart your computer and test the Snipping Tool again.
Update Your Graphics Driver
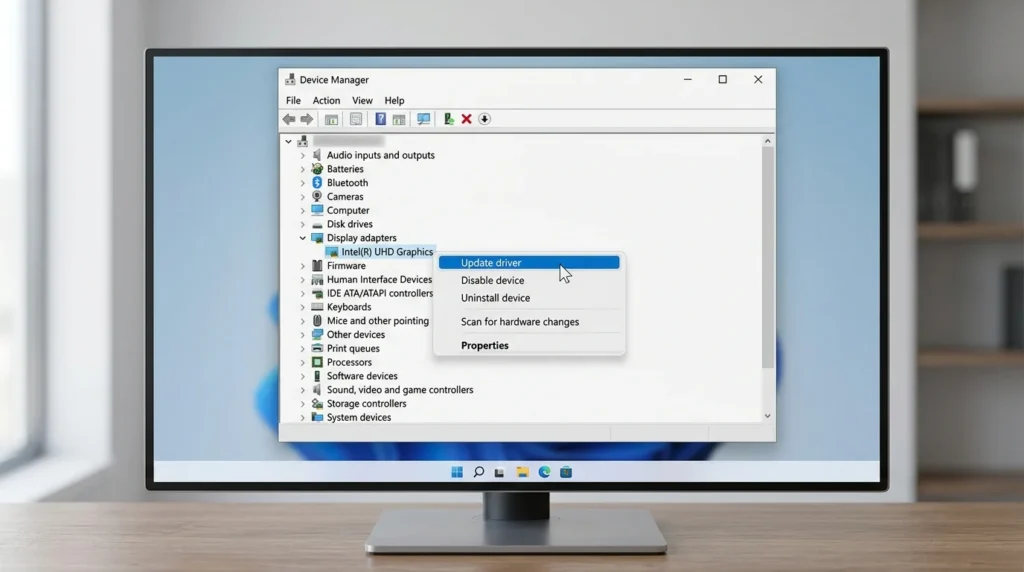
The Snipping Tool depends on your graphics driver to capture screenshots correctly. Therefore, an outdated or corrupted graphics driver can cause several issues, including:
- Black screenshots
- Frozen captures
- Application crashes
- Blank images
- Display glitches
Update the Driver
Follow these steps:
- Press Windows + X.
- Open Device Manager.
- Expand Display adapters.
- Right-click your graphics card.
- Select Update driver.
- Choose Search automatically for drivers.
Once Windows installs the latest driver, restart your computer and test the Snipping Tool again.
Fix a Black Screen in the Snipping Tool
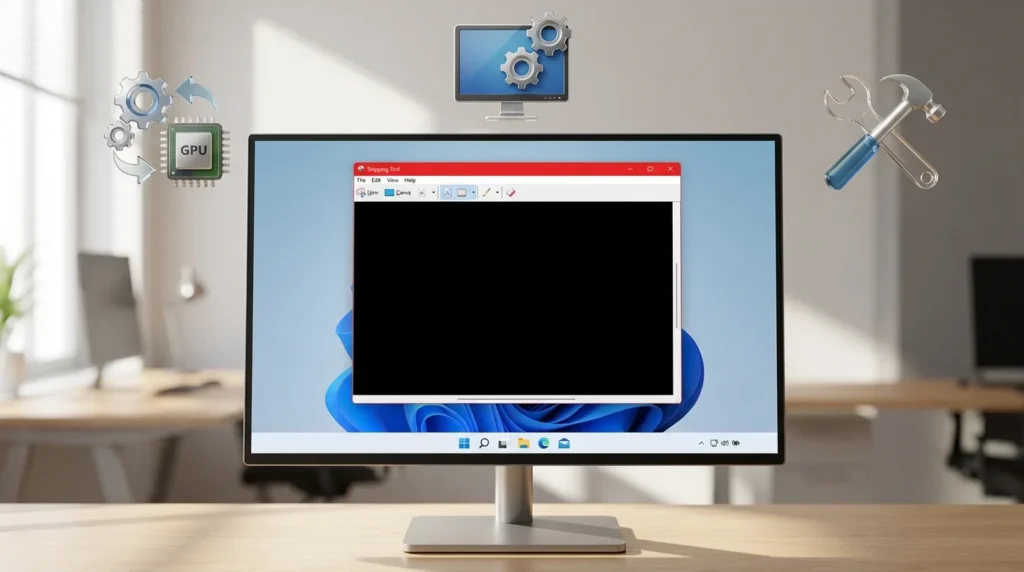
Some users see a completely black image instead of the selected screen area. Although this issue can be frustrating, it usually occurs because of display-related problems or corrupted application files.
Common causes include:
- Outdated graphics drivers
- HDR display settings
- Incorrect display scaling
- Temporary Windows bugs
- Corrupted Snipping Tool files
Try These Solutions
To fix a black screen issue:
- Restart the Snipping Tool.
- Update your graphics driver.
- Install the latest Windows updates.
- Disable HDR temporarily if your display supports it.
- Repair or reset the Snipping Tool.
- Restart Windows Explorer.
If the issue still persists, reinstall the Snipping Tool to replace damaged application files.
Fix Screenshots That Won’t Save
Sometimes, the Snipping Tool captures screenshots successfully but fails to save them. In most cases, storage settings or application data cause this problem.
Possible reasons include:
- Low disk space
- Folder permission issues
- Corrupted application settings
- OneDrive synchronization conflicts
- Clipboard-related problems
Try These Fixes
To resolve the issue:
- Save the screenshot to another folder.
- Check your available storage space.
- Restart the Snipping Tool.
- Reset the application.
- Temporarily pause OneDrive syncing if screenshots are redirected.
- Restart your computer.
After completing these steps, capture another screenshot and try saving it again.
Restore a Missing Snipping Tool
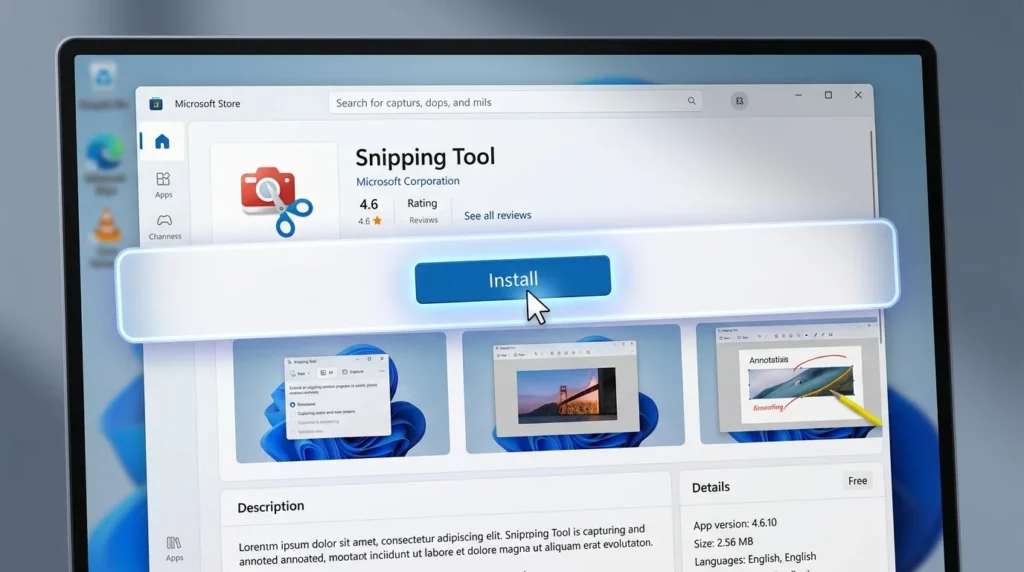
If the Snipping Tool has disappeared from your computer, don’t worry. In most cases, you can restore it within a few minutes.
Search for the Application
First, open the Start Menu and search for Snipping Tool.
If Windows finds the application, pin it to the Taskbar or Start Menu for quick access.
Install It Again from the Microsoft Store
If the application doesn’t appear in search results:
- Open the Microsoft Store.
- Search for Snipping Tool.
- Select the official Microsoft application.
- Click Install.
- Wait until the installation finishes.
- Restart your computer.
Check for Windows Updates
Some Windows updates automatically restore missing built-in applications. Therefore, install every available update before moving to advanced troubleshooting methods.
Create a New Windows User Account
A corrupted Windows user profile can prevent built-in applications from functioning correctly. Therefore, create a temporary user account and test whether the Snipping Tool works there.
If the application functions normally in the new account, your original Windows profile is likely corrupted.
Perform a Clean Boot
Background services and third-party applications can interfere with the Snipping Tool. A Clean Boot starts Windows using only essential Microsoft services, making it easier to identify software conflicts.
If the Snipping Tool works correctly after performing a Clean Boot, re-enable services one at a time until you identify the conflicting application.
Use System Restore
If the Snipping Tool stopped working after a recent Windows update, driver installation, or software change, restoring your computer to an earlier restore point may resolve the issue.
Choose a restore point that was created before the problem began. Once the restoration finishes, restart your computer and test the Snipping Tool again.
Reset Windows as a Last Resort
If none of the previous solutions resolve the problem, resetting Windows may be your final option.
Choose Keep my files to reinstall Windows while preserving your personal files. However, remember that installed applications and custom settings may need to be configured again after the reset.
Because this is the most advanced solution, use it only after trying every other troubleshooting method.
How to Prevent Future Snipping Tool Problems
Although most Snipping Tool issues are easy to fix, preventing them is even better. Following a few maintenance practices can help keep the application running smoothly.
To reduce future problems:
- Keep Windows 10 updated.
- Install Microsoft Store application updates regularly.
- Update your graphics drivers whenever new versions become available.
- Avoid registry cleaners or system optimization tools that remove important Windows components.
- Restart your computer periodically to clear temporary glitches.
- Maintain sufficient free storage space on your system drive.
- Run an SFC scan occasionally if you notice recurring Windows issues.
By following these best practices, you can minimize future Snipping Tool problems and enjoy a more reliable screenshot experience.
Final Thoughts
Most Snipping Tool issues on Windows 10 can be resolved without advanced troubleshooting. In many situations, restarting the application, repairing it, or installing the latest Windows updates is enough to restore normal functionality. However, if the problem continues, resetting or reinstalling the application, updating graphics drivers, and running the SFC and DISM tools can resolve deeper system-related issues.
For the best results, begin with the simplest solutions and test the Snipping Tool after each step. This approach helps you identify the exact cause while avoiding unnecessary changes to your system. If the issue still isn’t resolved, advanced methods such as a Clean Boot, System Restore, or Reset this PC can help restore the application.
By following the troubleshooting methods in this guide, you should be able to fix most Snipping Tool issues and continue capturing screenshots without interruptions.
Frequently Asked Questions
The Snipping Tool may stop working because of corrupted application files, outdated Windows updates, damaged system files, graphics driver issues, or software conflicts. In most cases, repairing or resetting the application resolves the issue.
Yes. You can reinstall the Snipping Tool through the Microsoft Store. A fresh installation replaces damaged application files and often resolves persistent problems.
First, restart Windows Explorer. Next, enable Clipboard History, verify your notification settings, check the Print Screen shortcut configuration, and restart the Snipping Tool. If the problem continues, install the latest Windows updates.
Always choose Repair before Reset. Repair fixes damaged files while preserving your settings. Reset restores the application to its default state and removes corrupted application data.
The application may crash because of corrupted app files, outdated Windows builds, damaged system files, graphics driver issues, or software conflicts. Updating Windows, repairing the application, and running SFC and DISM scans usually solve the problem.
The application may be missing because it was accidentally removed, corrupted after a Windows update, or failed to install correctly. Reinstalling it from the Microsoft Store usually restores it.
Yes. Damaged Windows system files can prevent the Snipping Tool from functioning correctly. Running both the SFC and DISM tools can repair those files and restore normal functionality.