How to Capture a Specific Area on Windows and Mac
Capturing a specific area of your screen allows you to save only the information you need instead of taking a full-screen screenshot. Both Windows and Mac include built-in tools that let you select and capture a custom screen region quickly. Whether you are creating tutorials, sharing information, reporting errors, or saving important content, learning how to capture a specific area can improve productivity and keep screenshots clean and focused.
Introduction
Screenshots have become an essential part of daily computer use. From sharing work updates and documenting issues to creating guides and saving online information, screenshots help communicate visually.
However, capturing an entire screen is not always necessary. In many situations, you only need a selected portion of the display. This is where area capture tools become useful.
Modern operating systems such as Windows 11, Windows 10, and macOS provide built-in screenshot tools that make it easy to capture a specific area without installing additional software.
In this guide, you’ll learn how to capture a specific area on Windows and Mac, which keyboard shortcuts to use, how to edit screenshots, and how to fix common issues.

What Does Capturing a Specific Area Mean?
Capturing a specific area means taking a screenshot of only a selected portion of your screen instead of the entire display.
You manually choose the area you want to save by dragging a selection box around it.
Difference Between Full-Screen and Area Capture
| Screenshot Type | What It Captures |
|---|---|
| Full-Screen Screenshot | Entire display |
| Window Screenshot | A single application window |
| Area Screenshot | A selected portion of the screen |
Area screenshots are often preferred because they eliminate unnecessary information and make screenshots easier to understand.
When Should You Capture Only Part of the Screen?
Capturing a specific area is useful when:
- Sharing a section of a webpage
- Creating tutorials
- Saving receipts or confirmation messages
- Reporting software errors
- Highlighting important information
- Protecting private or sensitive data
How to Capture a Specific Area on Windows 11

Windows includes built-in screenshot tools that allow users to capture a selected screen region quickly.
The fastest method is using the Windows screenshot shortcut.
Method 1: Use Windows + Shift + S
Follow these steps:
- Open the screen you want to capture.
- Press Windows + Shift + S.
- The screen will dim slightly.
- A screenshot toolbar will appear at the top.
- Select Rectangular Snip.
- Click and drag over the area you want to capture.
- Release the mouse button.
The screenshot will be copied to your clipboard, and a notification will appear.
Click the notification to open and save the screenshot in Snipping Tool.
Understanding Snip Modes
Windows provides several capture modes:
Rectangular Snip
Captures a rectangular area.
Freeform Snip
Allows drawing a custom shape around content.
Window Snip
Captures a specific application window.
Full-Screen Snip
Captures the entire display.
For most users, Rectangular Snip is the easiest option for capturing a specific area.
How to Capture a Specific Area Using Snipping Tool
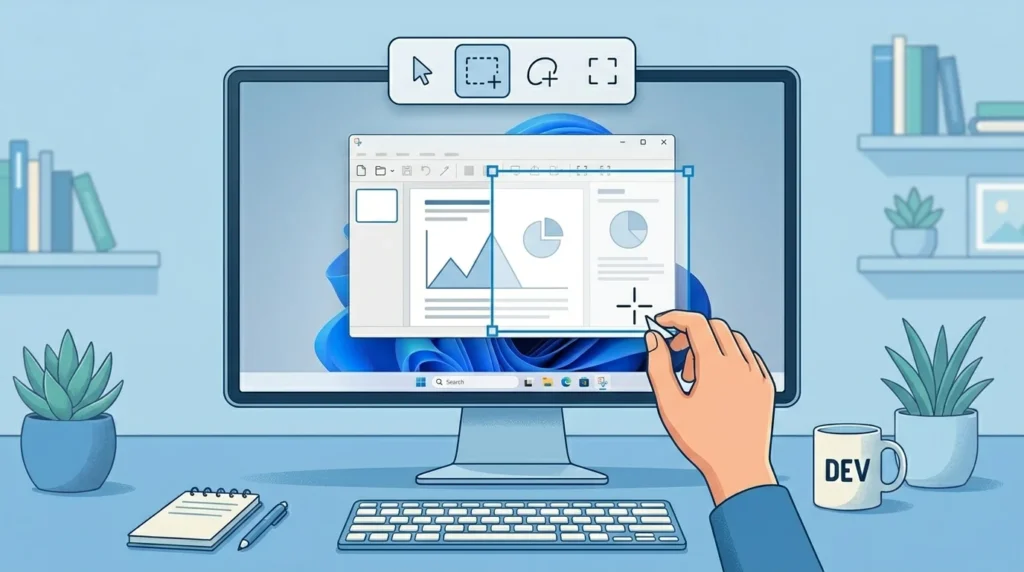
The Snipping Tool provides additional editing and saving features.
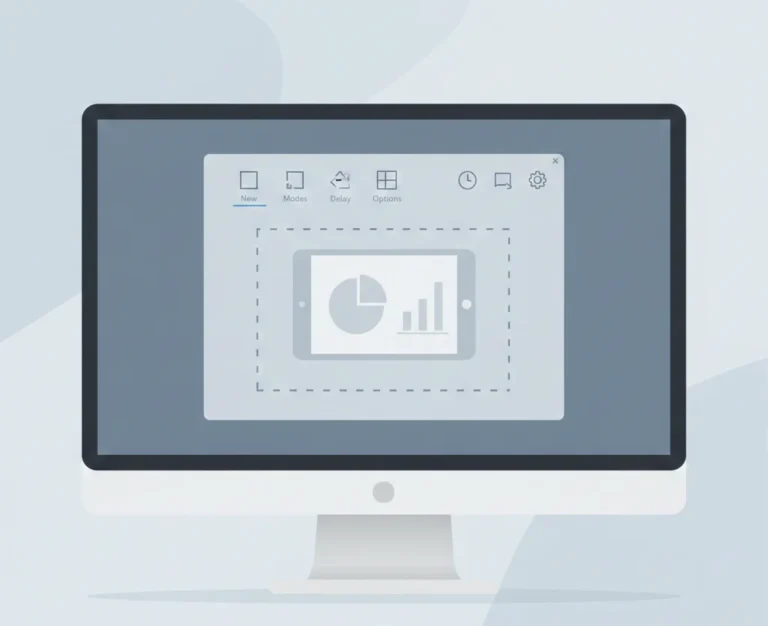
Step 1: Open Snipping Tool
- Click Start.
- Search for Snipping Tool.
- Open the application.
Step 2: Create a New Capture
Click the New button.
Step 3: Select Rectangular Snip
Choose Rectangular Snip from the toolbar.
Step 4: Drag Over the Desired Area
Select the screen region you want to capture.
Step 5: Edit and Save
After capturing:
- Add highlights
- Draw annotations
- Crop unwanted sections
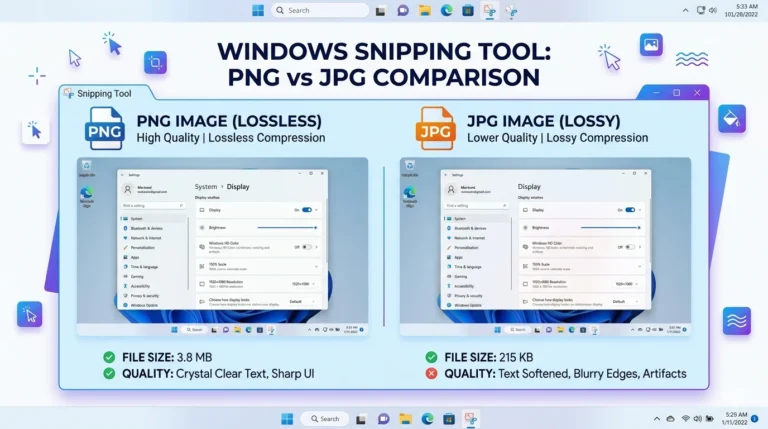
- Save the screenshot as PNG, JPG, or GIF
This method works on both Windows 10 and Windows 11.
How to Capture a Specific Area on a Mac
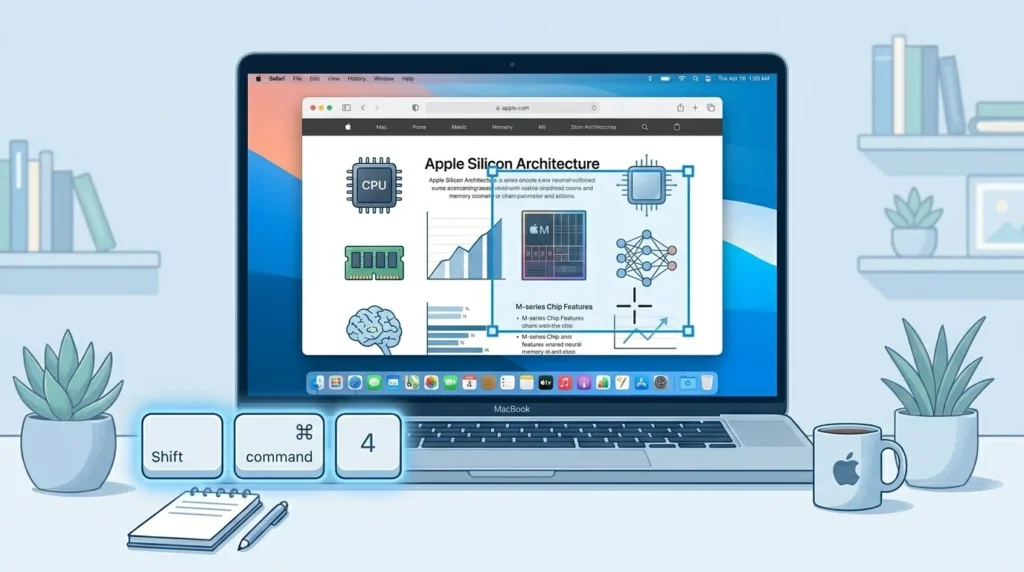
Mac computers include built-in screenshot shortcuts that allow users to capture selected screen regions without additional software.
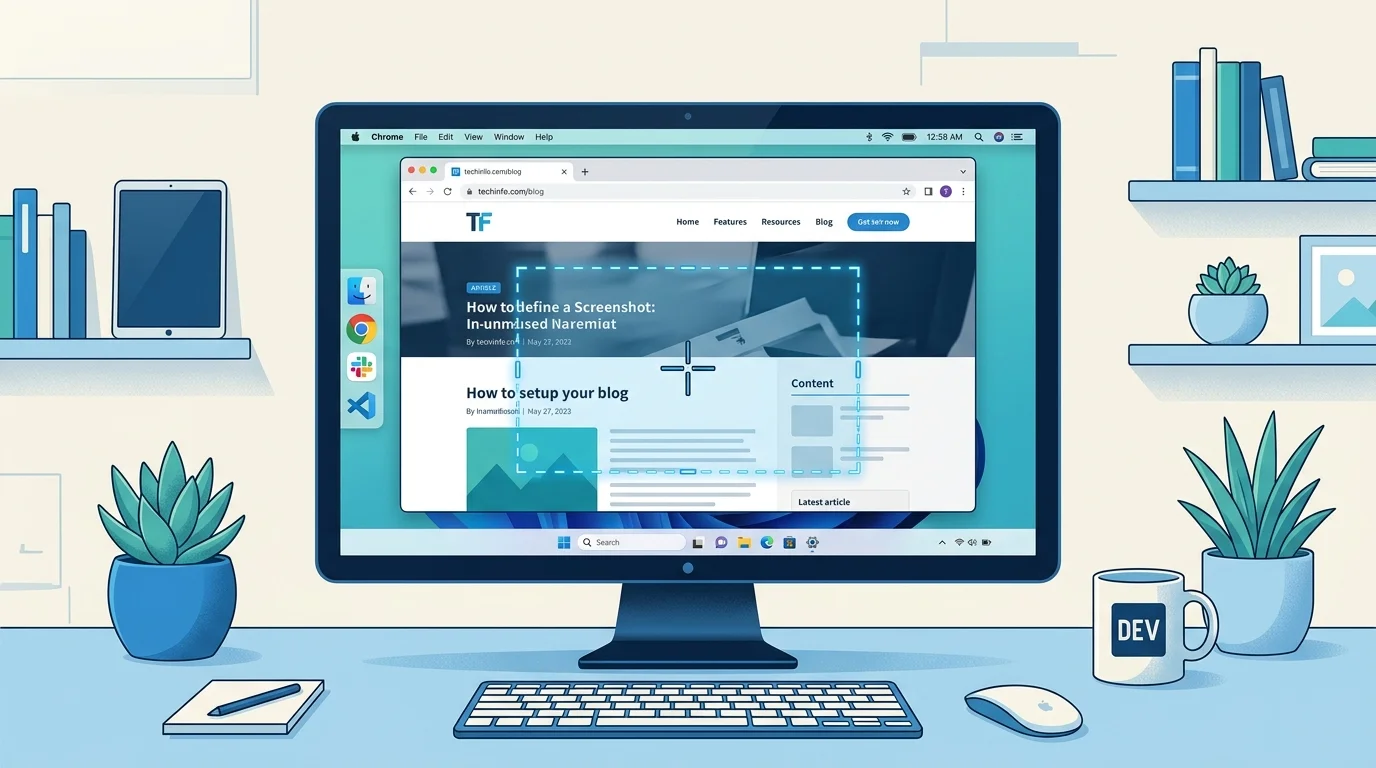
Use Shift + Command + 4
This is the fastest method for capturing a specific area on macOS.
Follow these steps:
- Open the content you want to capture.
- Press Shift + Command + 4.
- Your cursor will turn into a crosshair.
- Click and drag to select the desired area.
- Release the mouse button.
The screenshot will automatically save to your desktop by default.
Adjust the Selection Area
While dragging:
- Hold the Spacebar to move the selection box.
- Adjust the corners before releasing.
- Capture only the content you need.
This helps create cleaner screenshots.
How to Capture a Specific Area Using the Mac Screenshot Toolbar
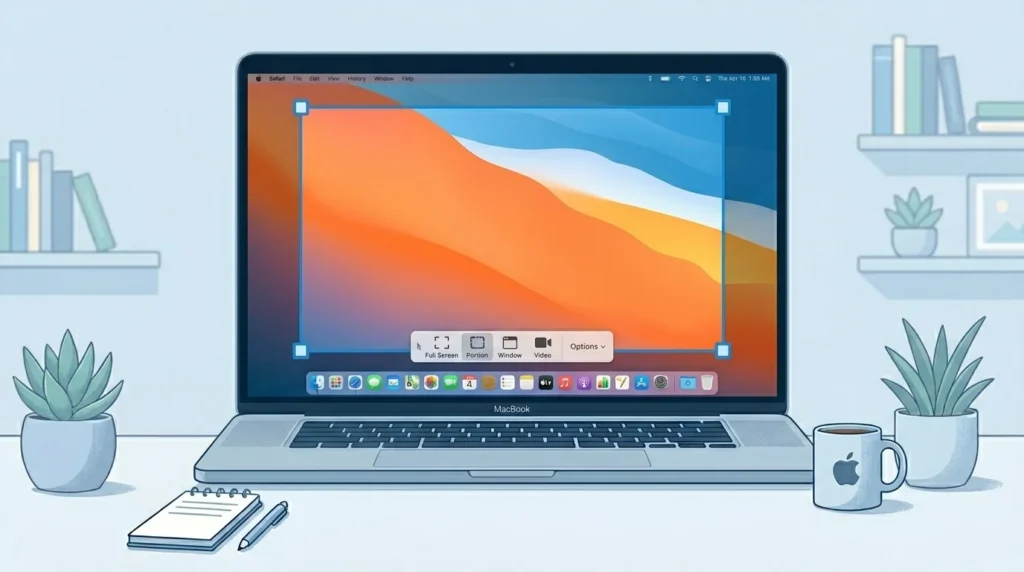
macOS also includes a Screenshot toolbar.
Open the Screenshot Toolbar
Press:
Shift + Command + 5
The Screenshot toolbar will appear at the bottom of the screen.
Choose Capture Selected Portion
Select Capture Selected Portion.
Resize the Selection Frame
Drag the frame to fit the content you want to capture.
Save the Screenshot
Click Capture.
The screenshot will be saved automatically.
This method provides more control than traditional keyboard shortcuts.
Where Are Area Screenshots Saved?
Windows
Depending on your settings:
- Clipboard
- Pictures > Screenshots folder
- OneDrive Screenshots folder
Mac
By default, screenshots are saved to:
Desktop
You can change the save location through the Screenshot toolbar settings.
Common Problems When Capturing a Specific Area
Even built-in screenshot tools occasionally experience issues.
Screenshot Shortcut Not Working
Try:
- Restarting your computer
- Updating Windows or macOS
- Checking keyboard functionality
Snipping Tool Not Opening
Possible fixes include:
- Running Windows Update
- Repairing Snipping Tool
- Resetting the application
Screenshot Not Saving
Check:
- Storage space
- Save location settings
- OneDrive synchronization settings
Wrong Area Captured
Zoom in before capturing and carefully drag the selection box.
Tips for Better Area Screenshots
Following a few best practices can make screenshots more professional.
Capture Only Relevant Information
Avoid including unnecessary screen elements.
Use Annotation Tools
Add arrows, highlights, and notes to improve clarity.
Remove Sensitive Information
Hide:
- Passwords
- Personal details
- Financial information
Maintain High Resolution
Avoid resizing screenshots excessively to preserve image quality.
Keyboard Shortcuts for Capturing a Specific Area
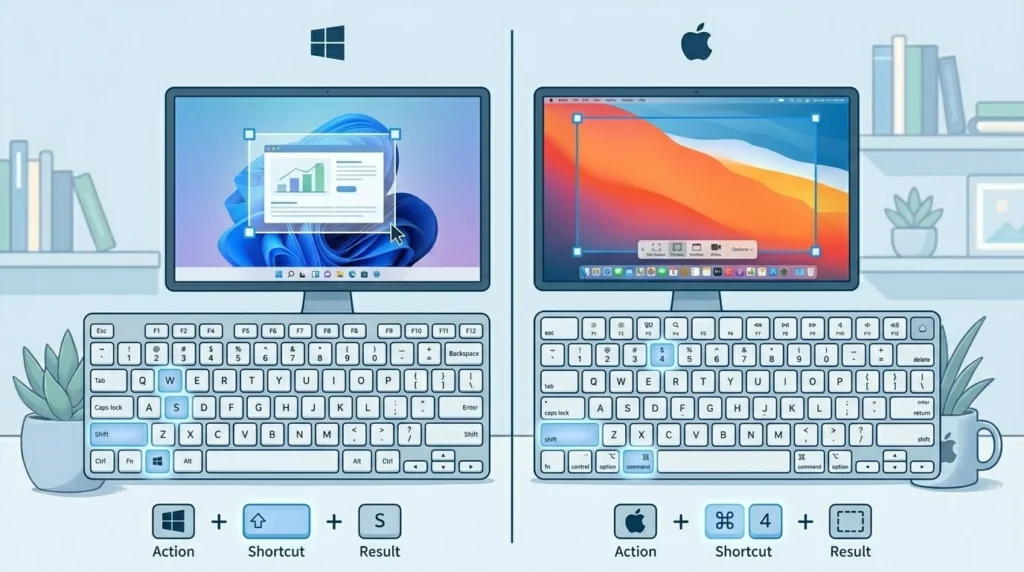
| Device | Shortcut |
|---|---|
| Windows 11 | Windows + Shift + S |
| Windows 10 | Windows + Shift + S |
| Mac | Shift + Command + 4 |
| Mac Screenshot Toolbar | Shift + Command + 5 |
Learning these shortcuts can significantly speed up your workflow.
Best Tools for Capturing a Specific Area
While built-in tools work well, some users need advanced features.
Snipping Tool
Best built-in option for Windows users.
Screenshot App
Built into macOS and ideal for most Mac users.
ShareX
ShareX offers advanced capture, automation, and editing tools.
Lightshot
Lightshot is a simple screenshot tool with instant sharing features.
Final Thought
Learning how to capture a specific area can help you create cleaner, more focused screenshots. Instead of sharing an entire screen, you can capture only the information that matters.
Windows users can quickly take area screenshots using Windows + Shift + S or Snipping Tool, while Mac users can use Shift + Command + 4 or the Screenshot toolbar. Both methods are simple, fast, and built directly into the operating system.
By mastering these built-in tools and shortcuts, you can save time, improve communication, and create professional-looking screenshots whenever you need them.
Frequently Asked Questions
Use Windows + Shift + S on Windows or Shift + Command + 4 on Mac to select and capture a specific screen region.
Windows users can press Windows + Shift + S. Mac users can press Shift + Command + 4.
Yes. Windows offers keyboard shortcuts, and Mac includes built-in screenshot shortcuts.
Press Shift + Command + 4, then drag to select the portion of the screen you want to capture.
Windows may save screenshots to the clipboard, Pictures folder, or OneDrive. Mac saves screenshots to the desktop by default.
Yes. Both Windows Snipping Tool and macOS Screenshot tools provide editing options.