MacBook Snipping Tool: How to Snip and Take Screenshots on Mac
If you are looking for a MacBook Snipping Tool, you may be wondering where Apple’s version is. Unlike Windows, macOS does not have an app literally called Snipping Tool. However, your MacBook has built-in screenshot tools that can do the same job and more.
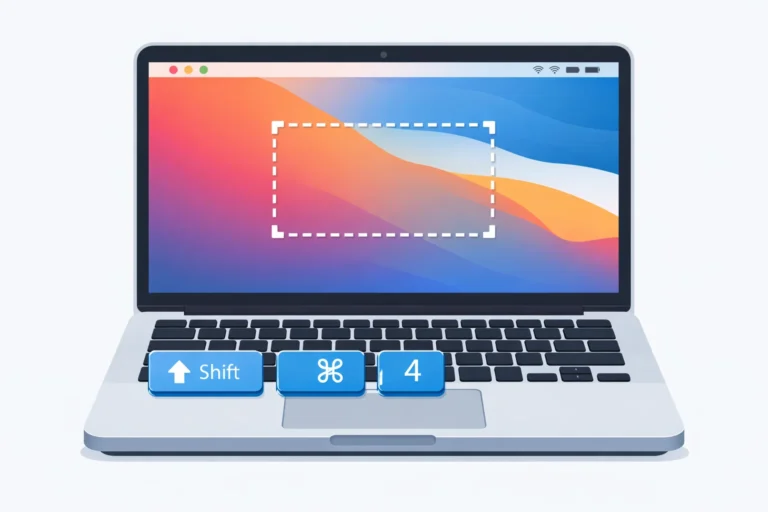
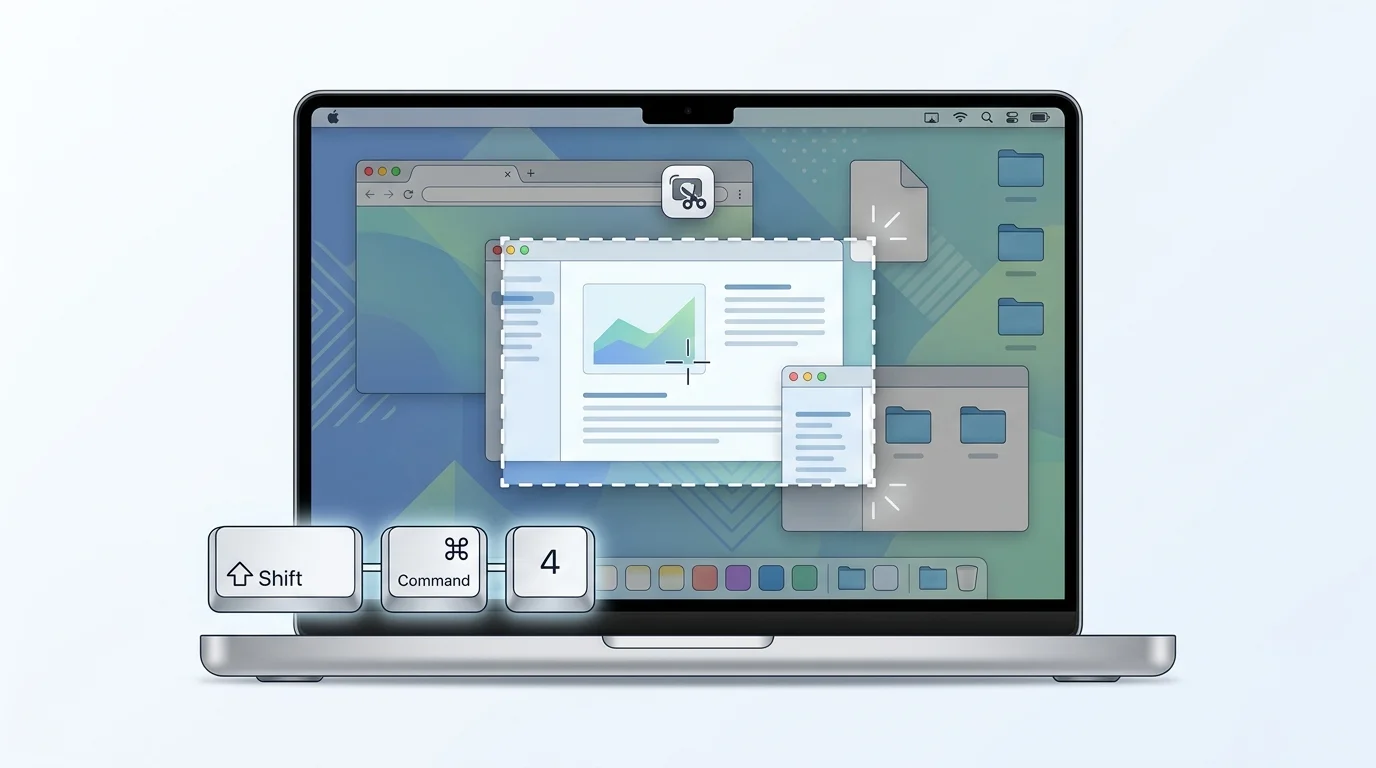
The quickest way to snip part of your screen is to press Shift + Command + 4. Your pointer will turn into a crosshair, allowing you to select exactly which area you want to capture.
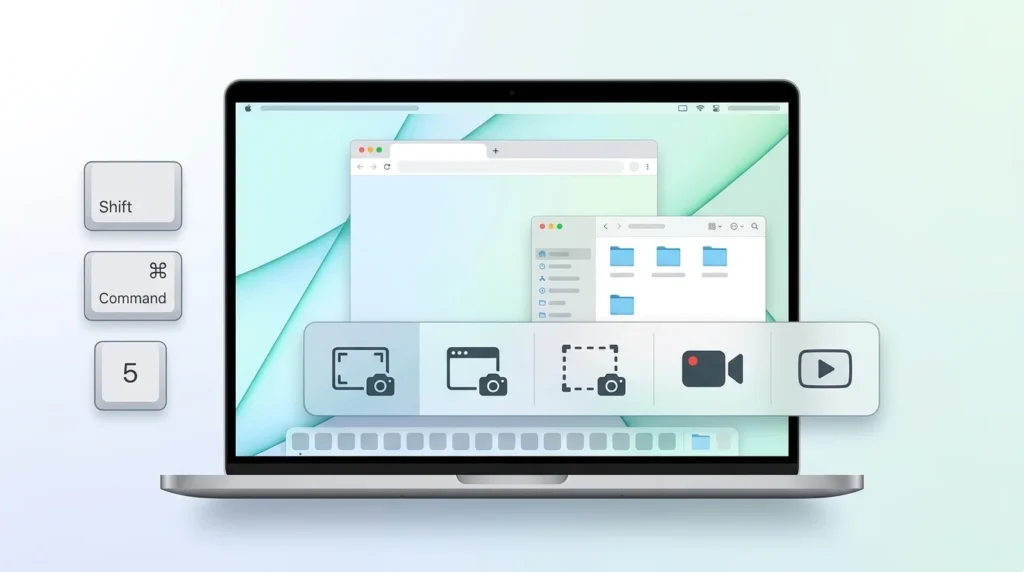
For more options, press Shift + Command + 5 to open the Screenshot toolbar. From there, you can capture the entire screen, a window, or a selected portion. You can also record your screen, set a timer, and choose where screenshots are saved.
In this guide, you’ll learn how to use the MacBook Snipping Tool equivalent, including the most useful screenshot shortcuts, clipboard options, save locations, editing features, and troubleshooting steps.
Does MacBook Have a Snipping Tool?
No, MacBook does not have an application named Snipping Tool as Windows does.
Instead, macOS includes a built-in Screenshot utility. It provides many of the same functions that Windows users expect from Snipping Tool.
With the built-in Mac screenshot features, you can:
- Capture the entire screen
- Capture a selected portion of the screen
- Capture a specific window or menu
- Copy screenshots to the clipboard
- Edit screenshots using the preview thumbnail
- Choose where screenshots are saved
- Set a screenshot timer
- Record the screen
- Show or hide the mouse pointer
Therefore, if you have recently switched from Windows to a MacBook, you do not need to download a separate Snipping Tool just to capture part of your screen.
What Is the MacBook Equivalent of Snipping Tool?
The Screenshot feature in macOS is the closest built-in equivalent to Windows Snipping Tool.
For a quick snip, use:
Shift + Command + 4
This lets you draw a box around the part of the screen you want to capture.
If you want more controls, use:
Shift + Command + 5
This opens the Screenshot toolbar, where you can select different capture and recording options. Apple currently documents these shortcuts and Screenshot features for Mac.
How to Use the Snipping Tool on MacBook
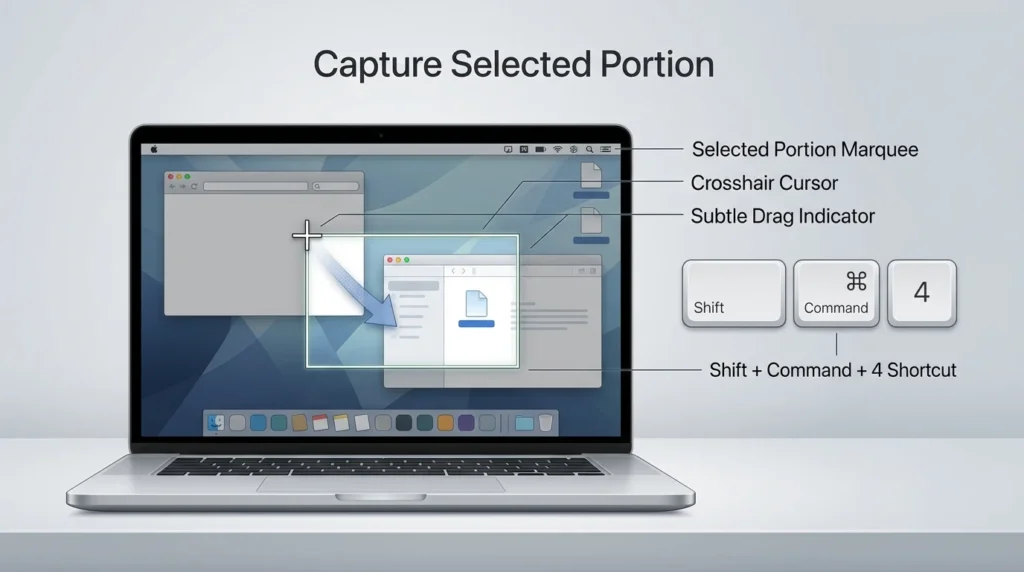
The easiest way to capture part of your MacBook screen is with the Shift + Command + 4 shortcut.
How to Snip Part of the Screen on MacBook
Follow these steps:
- Press Shift + Command + 4 at the same time.
- Your pointer will change into a crosshair.
- Click and hold the mouse or trackpad button.
- Drag the crosshair around the area you want to capture.
- Release the mouse or trackpad button.
- Your selected area will be captured as a screenshot.
By default, macOS saves the screenshot to the Desktop. If the screenshot thumbnail appears in the corner of your screen, you can also click it to edit the image before it is saved.
How to Cancel a MacBook Snip
If you started selecting an area but no longer want to take the screenshot, press the Esc key.
The screenshot selection will be canceled without capturing the selected area.
How to Move the Selected Area
While selecting an area, you can hold the Space bar and drag the selection to move it without changing its size.
This is useful when you have already created the correct selection size but need to reposition it slightly.
How to Screenshot a Specific Window on MacBook
You can also use the MacBook Snipping Tool equivalent to capture an individual window.
To capture a window:
- Press Shift + Command + 4.
- Press the Space bar.
- Your pointer will change into a camera icon.
- Move the camera pointer over the window you want to capture.
- Click the window.
macOS will capture the selected window rather than the entire screen.
You can also hold the Option key while clicking the window if you want to exclude its shadow from the screenshot.
How to Take a Full-Screen Screenshot on MacBook
If you want to capture everything visible on your MacBook display, use:
Shift + Command + 3
Press and release all three keys together. macOS will capture the entire screen.
The screenshot is normally saved to the Desktop unless you have changed the default screenshot location.
How to Open the MacBook Screenshot Tool
If you want more control than the quick keyboard shortcuts provide, open the built-in Screenshot toolbar.
Use the Screenshot Keyboard Shortcut
Press:
Shift + Command + 5
The Screenshot toolbar will appear on your screen.
Depending on your macOS version, the toolbar provides controls for capturing or recording different parts of the screen. Apple documents options for capturing the entire screen, a window, or a selected portion, along with screen-recording controls.
Open Screenshot From Applications
You can also open Screenshot without using a keyboard shortcut.
Open:
Applications → Utilities → Screenshot
You can then select the screenshot or screen-recording option you need. Apple also notes that Screenshot can be opened through Spotlight.
MacBook Snipping Tool Keyboard Shortcuts
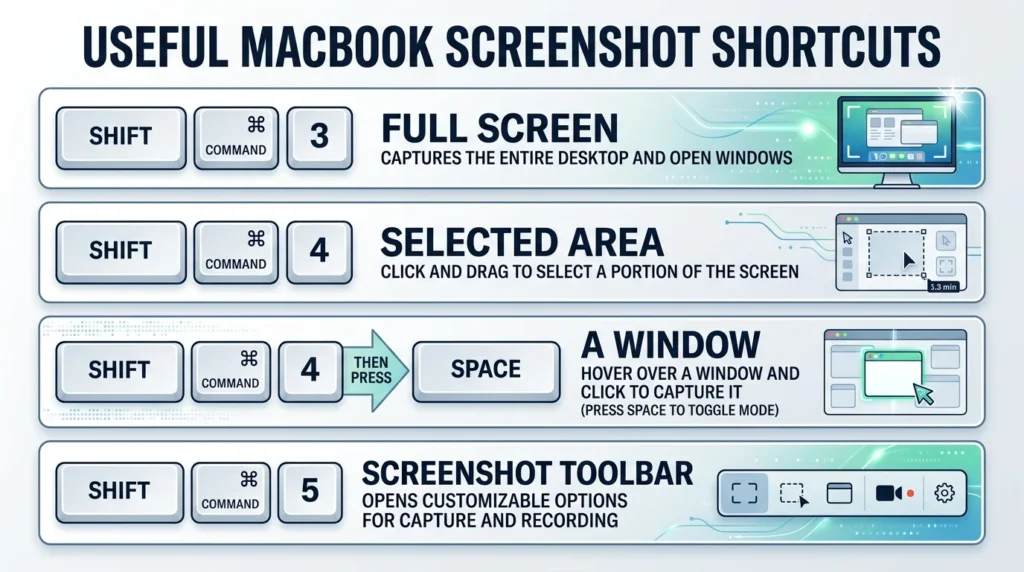
If you frequently take screenshots, learning a few MacBook screenshot shortcuts can save you time.
Apple confirms the main screenshot shortcuts and the Control modifier for copying a screenshot to the clipboard. The Touch Bar shortcut applies only to supported Mac models.
How to Copy a Snip to the Clipboard on MacBook
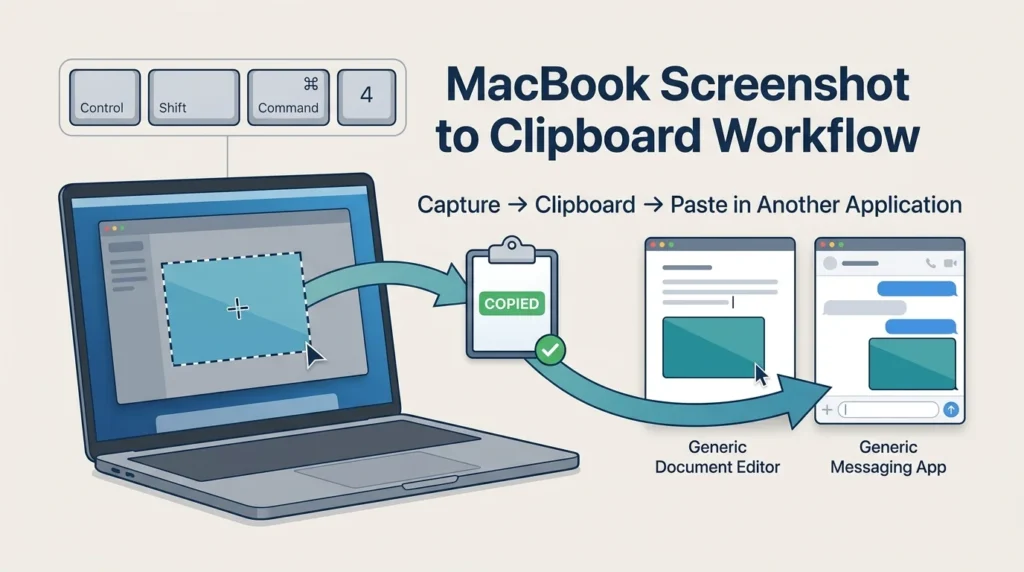
Sometimes you don’t want to save a screenshot as a file. Instead, you may want to paste it directly into an email, document, chat, or another application.
macOS lets you copy a screenshot directly to the clipboard.
Copy a Selected Area
Press:
Control + Shift + Command + 4
Then select the area you want to capture.
The screenshot will be copied to the clipboard instead of being saved as a normal screenshot file.
You can then open the application where you want to use the image and press:
Command + V
Apple documents the Control-modified screenshot shortcuts for copying captures to the clipboard.
Copy the Entire Screen
To copy the entire screen to the clipboard, press:
Control + Shift + Command + 3
You can then paste the captured image using Command + V.
How to Edit a Screenshot on MacBook
After taking a screenshot, macOS can display a thumbnail in the corner of the screen.
Click the thumbnail to open the screenshot editing interface.
Depending on the available tools, you can use Markup features to add annotations and make basic changes before saving or sharing the image. Apple also allows you to drag the floating thumbnail into another location, such as a document or Finder window.
This can be especially useful when you need to:
- Highlight part of a screenshot
- Add annotations
- Mark an area
- Share the screenshot
- Drag the screenshot into another application
If you do not need to edit the image, simply wait for the thumbnail to disappear and the screenshot will be saved according to your configured settings.
Where Does the MacBook Snipping Tool Save Screenshots?
By default, screenshots taken with macOS screenshot shortcuts are saved to the Desktop.
Apple says the default screenshot filenames include the date and time. You can change the default save location through the Screenshot app.
If you cannot find a screenshot, first check your Desktop.
If it is not there, your screenshot save location may have been changed.
How to Change the Screenshot Save Location on MacBook
You can choose a different location for future screenshots.
Follow these steps:
- Press Shift + Command + 5.
- Click Options.
- Look for the Save to section.
- Select one of the available locations.
- Choose another folder if needed.
Apple’s current Screenshot settings allow users to choose where screenshots are saved.
This is useful if you take many screenshots and do not want your Desktop to become cluttered.
How to Take a Timed Screenshot on MacBook
The Screenshot toolbar also includes a timer option.
To use it:
- Press Shift + Command + 5.
- Click Options.
- Find the Timer setting.
- Select the available delay.
- Choose the screenshot type.
- Start the capture.
A timer can be useful when you need to open a menu, position a window, or prepare something on the screen before the screenshot is taken.
Apple’s current Screenshot documentation confirms that the Screenshot app includes a timer option.
How to Screenshot a Menu on MacBook
You can also capture menus using the MacBook screenshot shortcuts.
Open the menu you want to capture, then use:
Shift + Command + 4
After that, drag the pointer over the menu items you want to capture.
For a menu or window capture, you can also use Shift + Command + 4, followed by the Space bar.
This makes it easier to capture specific interface elements without taking a screenshot of the entire display.
Can You Record Your Screen With the MacBook Snipping Tool?
Yes. The built-in Screenshot utility can also record your Mac screen.
Press:
Shift + Command + 5
Then select one of the available screen-recording options.
Depending on your Mac and macOS version, you can record the entire screen or a selected portion. Apple currently documents additional recording options on supported Macs running macOS Tahoe 26 or later.
This means you do not necessarily need a third-party application for basic screen recording.
How to Customize MacBook Screenshot Shortcuts
If a screenshot shortcut conflicts with another keyboard shortcut, you can check or change the screenshot shortcuts in macOS settings.
Open:
Apple menu → System Settings → Keyboard → Keyboard Shortcuts → Screenshots
From there, you can review the screenshot-related keyboard shortcuts and customize them if necessary.
Apple confirms that screenshot shortcuts can be customized through Keyboard settings.
MacBook Snipping Tool Not Working? Try These Fixes
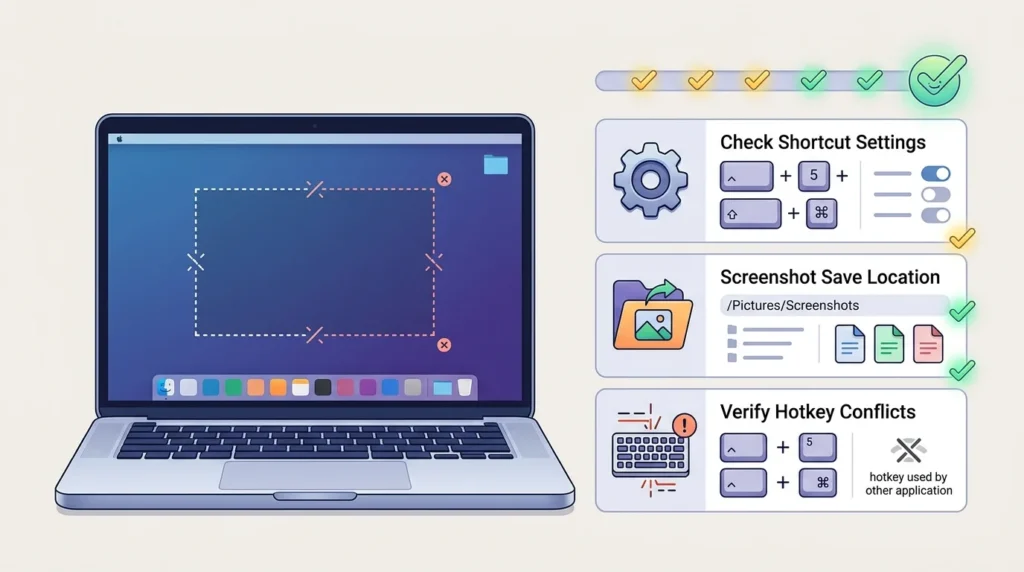
If the MacBook Snipping Tool shortcut is not working, try the following solutions.
1. Check the Keyboard Shortcut
First, make sure you are pressing the correct combination:
Shift + Command + 4
For the Screenshot toolbar, use:
Shift + Command + 5
Also make sure you are pressing the keys together rather than one at a time.
2. Check Screenshot Shortcuts in Settings
A shortcut may have been disabled or changed.
Go to:
Apple menu → System Settings → Keyboard → Keyboard Shortcuts → Screenshots
Check whether the screenshot shortcuts are enabled and assigned correctly.
3. Check Where Screenshots Are Being Saved
The screenshot may actually be working even though you cannot find the file.
Press Shift + Command + 5, select Options, and check the Save to location.
4. Try the Screenshot Toolbar
If a keyboard shortcut does not behave as expected, press:
Shift + Command + 5
The Screenshot toolbar gives you another way to capture the screen.
5. Check for Shortcut Conflicts
Another application or custom keyboard shortcut can interfere with a screenshot shortcut.
Review your keyboard shortcut settings and look for conflicting assignments.
6. Restart Your MacBook
If the screenshot feature suddenly stops responding, a restart can sometimes resolve temporary macOS issues.
After restarting, test Shift + Command + 4 again.
MacBook Snipping Tool vs. Windows Snipping Tool
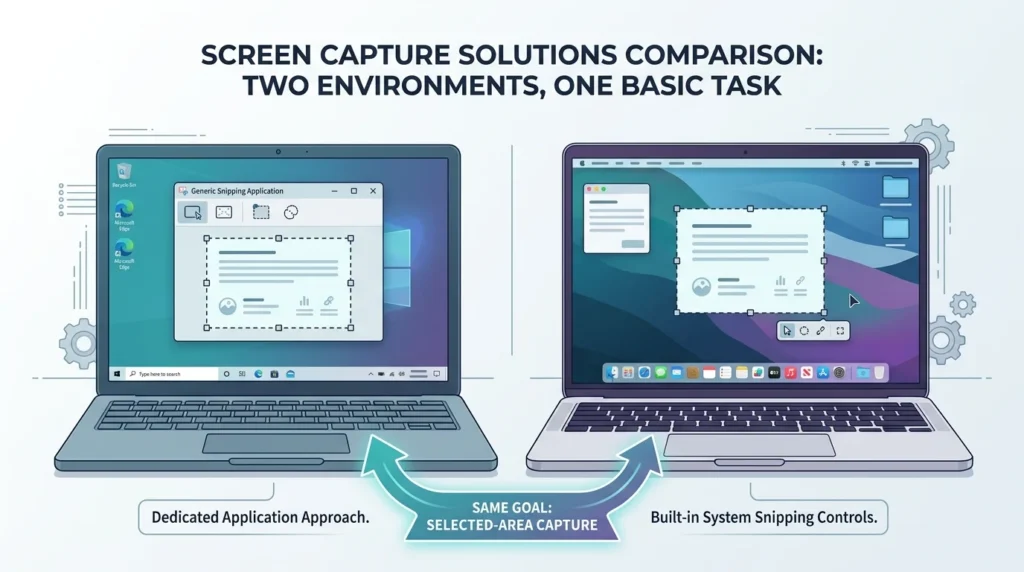
The biggest difference is the terminology.
Windows includes an application called Snipping Tool, while macOS uses its built-in Screenshot functionality.
However, the basic workflow is very similar.
The important point is that MacBook users do not need an application literally named Snipping Tool to perform basic screen captures.
Best MacBook Snipping Tool Shortcut to Remember
If you only want to remember one shortcut, make it:
Shift + Command + 4
It is the closest match to the basic Windows Snipping Tool workflow because it lets you select exactly which portion of the screen you want to capture.
However, Shift + Command + 5 is worth remembering too.
It opens the Screenshot toolbar and gives you access to more capture, recording, timer, pointer, and save-location options.
Final Thought
The MacBook Snipping Tool is not a separate app with the same name as the Windows Snipping Tool. Instead, macOS provides a built-in Screenshot utility that can capture selected areas, windows, menus, and entire screens.
For a quick snip, press Shift + Command + 4 and drag over the area you want to capture.
For additional options, press Shift + Command + 5 to open the Screenshot toolbar. From there, you can choose what to capture, record your screen, set a timer, change the save location, and control other screenshot options.
Once you learn these two shortcuts, taking screenshots on a MacBook becomes quick and straightforward.
Frequently Asked Questions
The quickest shortcut for snipping a selected portion of the screen is Shift + Command + 4. After pressing the shortcut, drag over the area you want to capture.
MacBook does not have an application literally called Snipping Tool. Instead, macOS includes the built-in Screenshot utility, which provides similar screenshot functionality.
The built-in Screenshot utility is the closest Mac equivalent to Windows Snipping Tool. Use Shift + Command + 4 for a selected area or Shift + Command + 5 for the Screenshot toolbar.
Press Shift + Command + 4, then click and drag around the part of the screen you want to capture. Release the mouse or trackpad button to take the screenshot.
Press Shift + Command + 3 to capture the entire screen.
Press Shift + Command + 4, then press the Space bar. Your pointer will change to a camera icon. Click the window you want to capture.
Screenshots are saved to the Desktop by default. You can change the save location through Shift + Command + 5 → Options → Save to.
Check your screenshot keyboard shortcuts under System Settings → Keyboard → Keyboard Shortcuts → Screenshots. Also check your screenshot save location and look for possible keyboard shortcut conflicts.