How to Change the Snipping Tool Save Location in Windows 11 and Windows 10
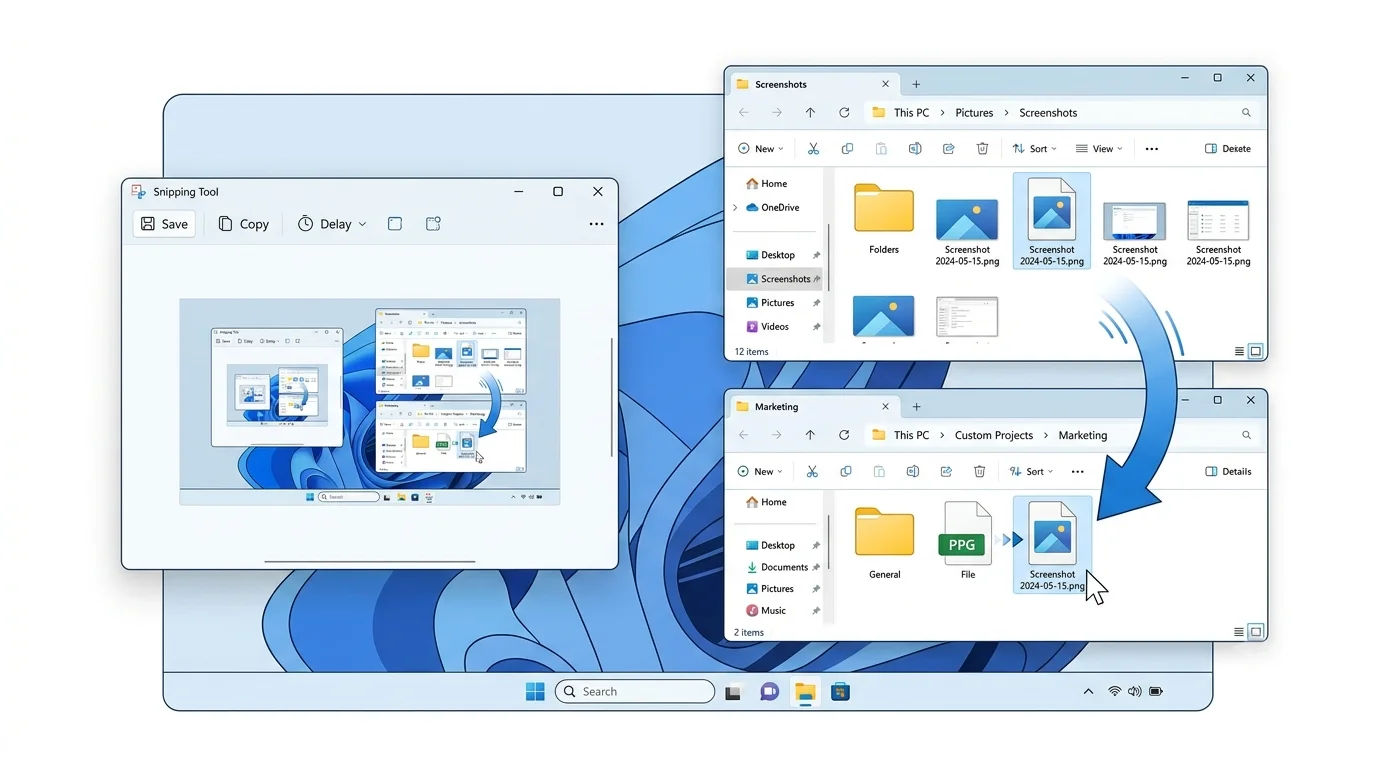
Changing the Snipping Tool save location is possible, although the method depends on how Windows stores screenshots. In most cases, Snipping Tool automatically saves screenshots to the Pictures > Screenshots folder. By changing the location of that folder or adjusting available Snipping Tool settings, you can save screenshots to a custom destination such as Desktop, Documents, another drive, or a cloud storage folder.
Introduction
The Snipping Tool is one of the most useful screenshot utilities available on Windows. Whether you capture screenshots for work, school, tutorials, or personal use, keeping those files organized is important.
However, many users become frustrated when screenshots continue saving to the default Pictures folder. They often want screenshots to be stored directly on the Desktop, in Documents, on an external drive, or inside a dedicated project folder.
The good news is that Windows provides several ways to manage where screenshots are saved. In this guide, you’ll learn how to change the Snipping Tool save location in Windows 11 and Windows 10, how automatic saving works, and what to do if your screenshots continue appearing in the wrong folder.
Where Does Snipping Tool Save Screenshots by Default?
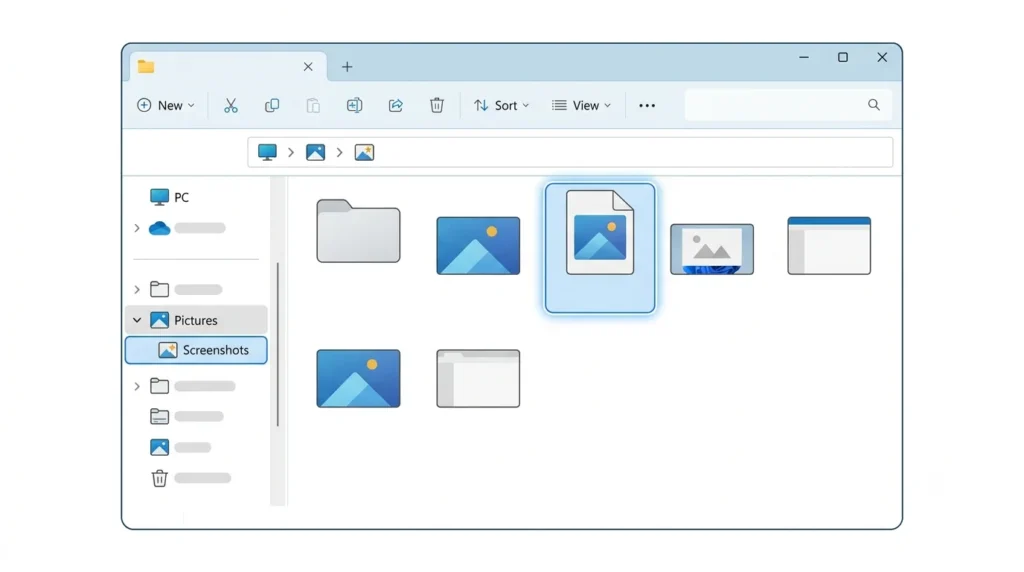
Before changing the save location, it’s important to understand where the Snipping Tool stores screenshots.
By default, screenshots are usually saved in:
C:\Users\YourUsername\Pictures\ScreenshotsIf you manually choose Save As after taking a screenshot, the file can be saved anywhere you select.
Auto-Saved Screenshots vs Manually Saved Screenshots
There are two common ways screenshots are stored:
- Auto-saved screenshots are automatically placed in the Screenshots folder.
- Manually saved screenshots allow you to choose a location each time.
The behavior depends on your Windows version and Snipping Tool settings.
How Automatic Saving Works
Newer versions of Windows 11 include an option called Automatically Save Original Screenshots. When enabled, every screenshot is automatically stored in the Screenshots folder without requiring manual saving.
This feature helps users quickly access screenshots but can create clutter if the default folder isn’t ideal.
Can You Change the Snipping Tool Save Location Directly?
The answer depends on your version of Windows and Snipping Tool.
Unlike some third-party screenshot tools, Snipping Tool does not always provide a dedicated setting that lets you select a custom save folder.
Instead, Windows typically uses the Screenshots folder associated with your user account. Therefore, the most reliable solution is to change the location of the Screenshots folder itself.
Some newer Snipping Tool versions may offer additional saving options, but availability varies by Windows build and application version.
Why Some Users Cannot Find a Save Location Setting
Many online guides mention a save location setting that users cannot find.
This happens because:
- Windows updates change Snipping Tool features over time.
- Different versions of Windows 10 and Windows 11 include different settings.
- Microsoft frequently updates Snipping Tool through the Microsoft Store.
If you cannot find a save location option inside Snipping Tool settings, use one of the methods below.
Method 1: Change the Screenshots Folder Location (Recommended)
This is the safest and most reliable method.
Step 1: Open the Screenshots Folder
Open File Explorer and navigate to:
Pictures > Screenshots
Step 2: Open Folder Properties
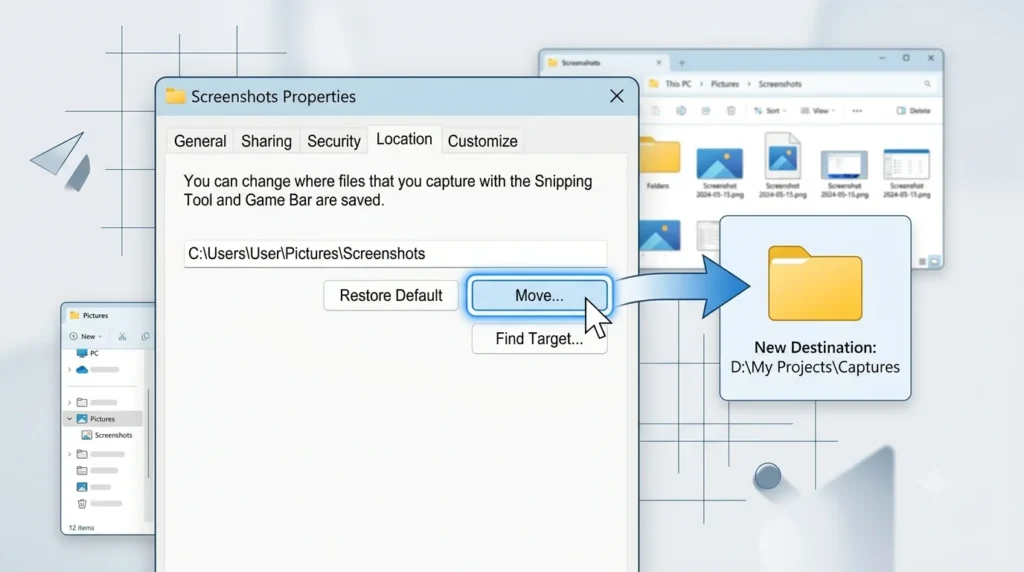
Right-click the Screenshots folder and select:
Properties
Step 3: Open the Location Tab
Click the Location tab.
Windows allows special folders to be redirected to a different location.
Step 4: Choose Move
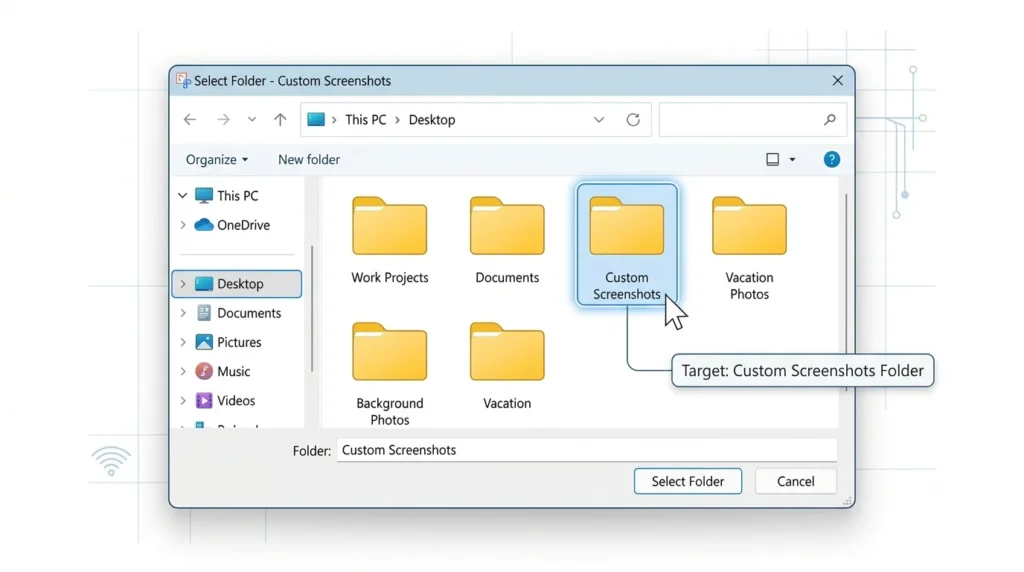
Click:
Move
Browse to your preferred destination.
Examples include:
- Desktop
- Documents
- Another drive
- External SSD
- Cloud storage folder
Step 5: Apply Changes
Click:
Apply > Yes
Windows will ask whether existing screenshots should be moved.
Select Yes to keep everything organized.
Step 6: Test the New Location
Take a screenshot using Snipping Tool.
If automatic saving is enabled, future screenshots should appear in the new folder.
Method 2: Change the Save Folder Through Snipping Tool Settings
Some newer Snipping Tool versions may include additional save preferences.
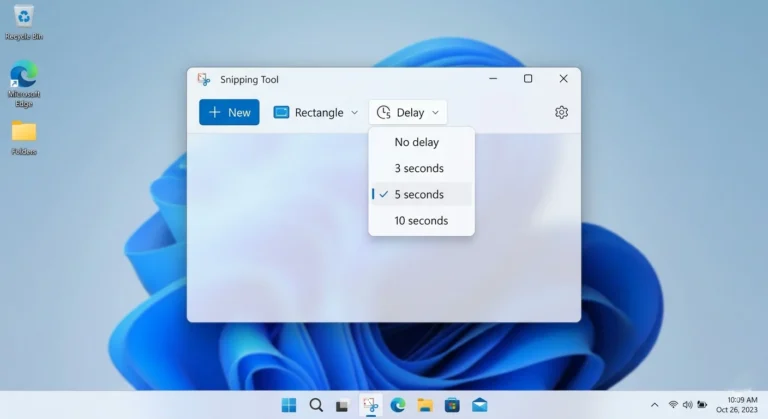
Open Snipping Tool
Launch Snipping Tool from the Start menu.
Open Settings
Click the three-dot menu and select:
Settings
Look for Screenshot Saving Options
Depending on your version, you may see settings related to:
- Automatic saving
- Save notifications
- Screenshot management
Select a Custom Folder (If Available)
If your version includes a custom save location option, select your preferred folder and save the changes.
If the option is unavailable, use Method 1 instead.
Method 3: Save Snipping Tool Screenshots to the Desktop Automatically
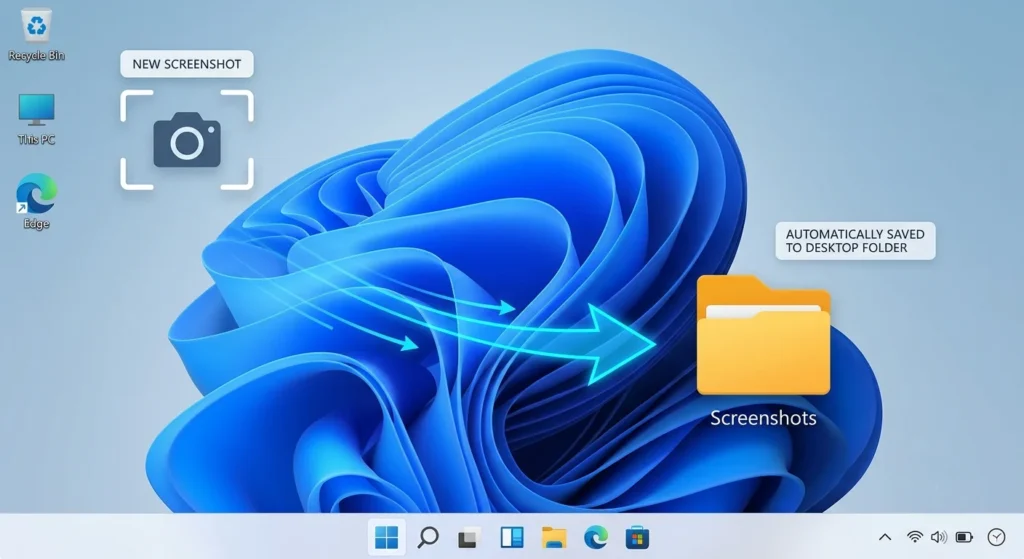
Many users prefer having screenshots appear directly on the Desktop.
Create a Screenshot Folder on the Desktop
Create a folder named:
Desktop\Screenshots
Move the Screenshots Folder
Use the Location tab method described earlier and redirect the Screenshots folder to your new Desktop folder.
Verify Functionality
Take a test screenshot.
The screenshot should now appear on the Desktop automatically.
Benefits of Saving to Desktop
Advantages include:
- Faster access
- Better visibility
- Easier drag-and-drop sharing
- Convenient for tutorials and presentations
Method 4: Change the Save Location Using Registry Editor
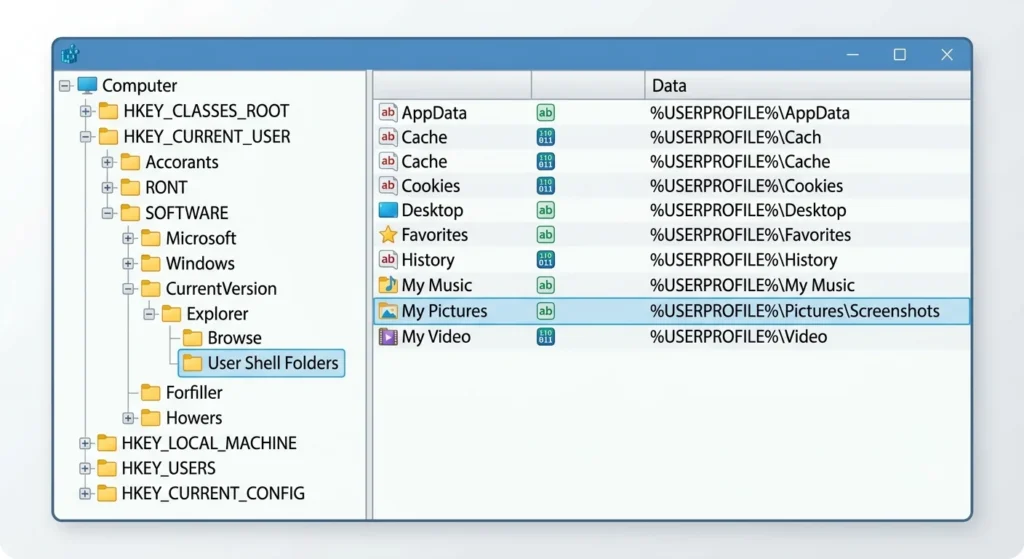
Advanced users can modify screenshot paths through the Windows Registry.
Important Warning
Always create a backup before editing the Registry.
Incorrect changes can affect Windows functionality.
Open Registry Editor
Press:
Windows + R
Type:
regedit
Then press Enter.
Navigate to User Shell Folders
Locate:
- HKEY_CURRENT_USER
- \Software
- \Microsoft
- \Windows
- \CurrentVersion
- \Explorer
- \User Shell Folders
Modify Screenshot Paths
Find entries related to screenshot storage.
Adjust the path to your preferred folder.
Restart Windows
Restart your PC to apply the changes.
For most users, the folder relocation method remains easier and safer than Registry modifications.
Advanced users can use Registry Editor to modify system paths and customize screenshot storage locations.
How to Turn Off Automatic Screenshot Saving
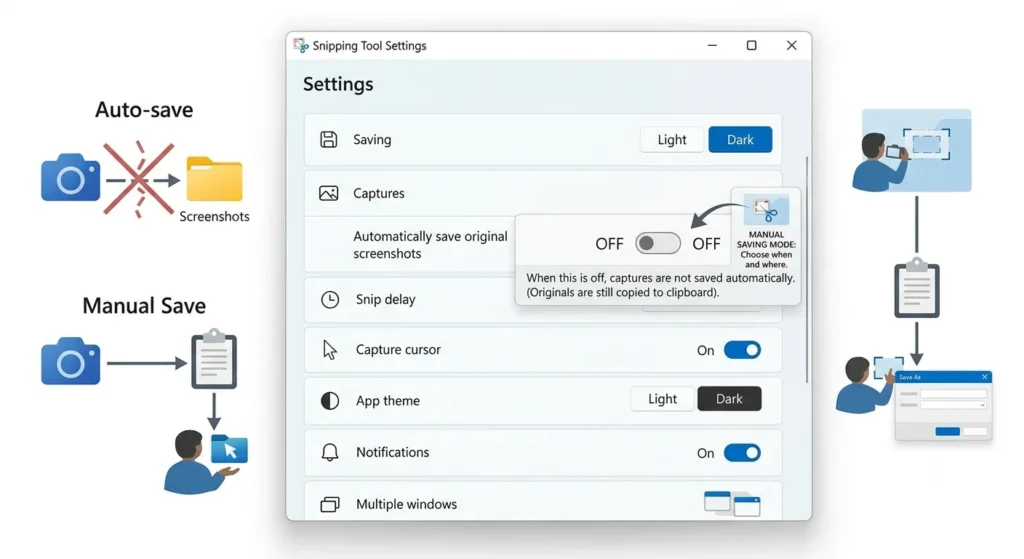
If you prefer saving screenshots manually, you can disable automatic saving.
Open Snipping Tool Settings
Launch Snipping Tool and open Settings.
Disable Automatic Saving
Look for:
Automatically Save Original Screenshots
Toggle the feature off.
Save Screenshots Manually
After taking a screenshot:
- Open the screenshot preview.
- Click Save.
- Choose a destination.
This provides full control over file organization.
How to Find Missing Snipping Tool Screenshots
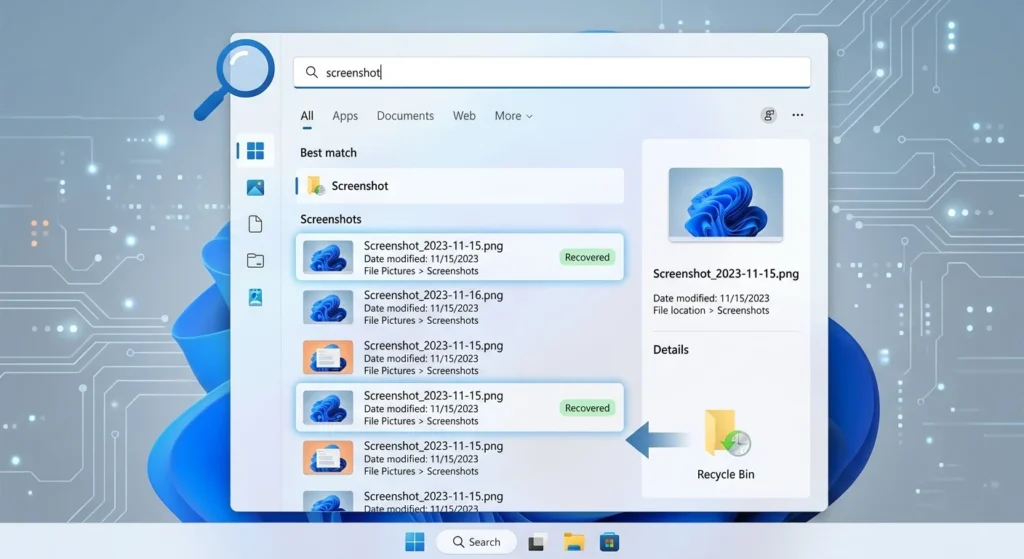
If screenshots seem to disappear, try these solutions.
Check the Screenshots Folder
Open:
Pictures > Screenshots
Search Windows
Search for:
Screenshot
inside File Explorer.
Check Clipboard History
Press:
Windows + V
Recent captures may still be available.
Verify Auto Save Settings
Ensure automatic saving is enabled if you expect screenshots to be stored automatically.
Common Snipping Tool Save Location Problems and Fixes
Screenshots Still Save to the Old Folder
Restart Windows after changing folder locations.
The Location Tab Is Missing
Create a Screenshots folder manually inside Pictures and try again.
Automatic Saving Is Not Working
Update Snipping Tool from the Microsoft Store and verify settings.
OneDrive Keeps Changing Screenshot Locations
OneDrive can automatically redirect folders.
Check OneDrive backup settings and screenshot preferences.
Snipping Tool Save Location in Windows 10 vs Windows 11
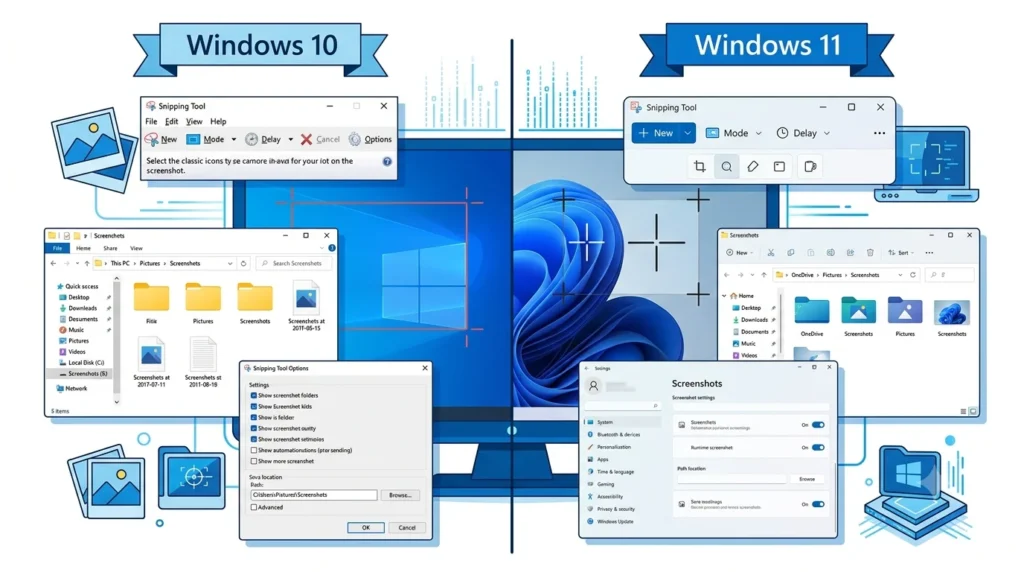
| Feature | Windows 10 | Windows 11 |
|---|---|---|
| Automatic Screenshot Saving | Yes | Yes |
| Default Save Folder | Pictures\Screenshots | Pictures\Screenshots |
| Folder Relocation Support | Yes | Yes |
| Manual Save As Option | Yes | Yes |
| Built-In Save Location Settings | Limited | Depends on Version |
Both operating systems support changing the screenshot storage location through folder redirection.
Best Practices for Managing Screenshot Storage
Create Dedicated Screenshot Folders
Separate screenshots by project, client, or category.
Use Consistent Naming
Rename important screenshots immediately.
Clean Old Files Regularly
Remove unnecessary screenshots every month.
Back Up Important Captures
Store critical screenshots in cloud storage or external drives.
Avoid Saving Everything to the Desktop
Large numbers of screenshots can create clutter and reduce productivity.
Final Thought
Changing the Snipping Tool save location helps keep screenshots organized and easier to find. While some versions of Snipping Tool may offer limited save location controls, the most dependable solution is to relocate the Windows Screenshots folder using Folder Properties.
Whether you prefer storing screenshots on the Desktop, in Documents, on another drive, or within cloud storage, Windows provides flexible options for managing screenshot storage. After making the change, take a test screenshot to confirm that Snipping Tool is saving files to your preferred location.
If you experience issues after changing the save location, consult Microsoft’s official support documentation for the latest guidance.
Frequently Asked Questions
Yes. The most reliable method is changing the location of the Windows Screenshots folder through Folder Properties.
Most Windows systems save screenshots in:
C:\Users\Username\Pictures\Screenshots
Not all Snipping Tool versions include a dedicated save location setting. Features vary by Windows version and updates.
Move the Screenshots folder to the Desktop folder using the Location tab in Folder Properties.
Yes. OneDrive can redirect screenshot storage locations when folder backup is enabled.
Yes. Open Snipping Tool Settings and disable automatic screenshot saving if the option is available.