How to Reinstall the Snipping Tool on Windows 11 and Windows 10 (Step-by-Step Guide)
If the Snipping Tool is missing, won’t open, or was accidentally uninstalled, you can reinstall it using the Microsoft Store, Windows Settings, or PowerShell. In most cases, reinstalling the app restores screenshot functionality and fixes issues caused by corrupted files or incomplete updates. This guide walks you through every proven method for both Windows 11 and Windows 10.
Introduction
The Snipping Tool is Microsoft’s built-in screenshot application that lets you capture, annotate, and save screenshots quickly. While it’s preinstalled on modern versions of Windows, users sometimes find that it disappears after a Windows update, gets accidentally uninstalled, or stops working because of corrupted app files.
Fortunately, reinstalling the Snipping Tool is usually straightforward. Whether you’re using Windows 11 or Windows 10, there are several official ways to restore the app. This guide explains each method step by step, along with troubleshooting tips if the installation doesn’t go as planned.
Why You May Need to Reinstall the Snipping Tool
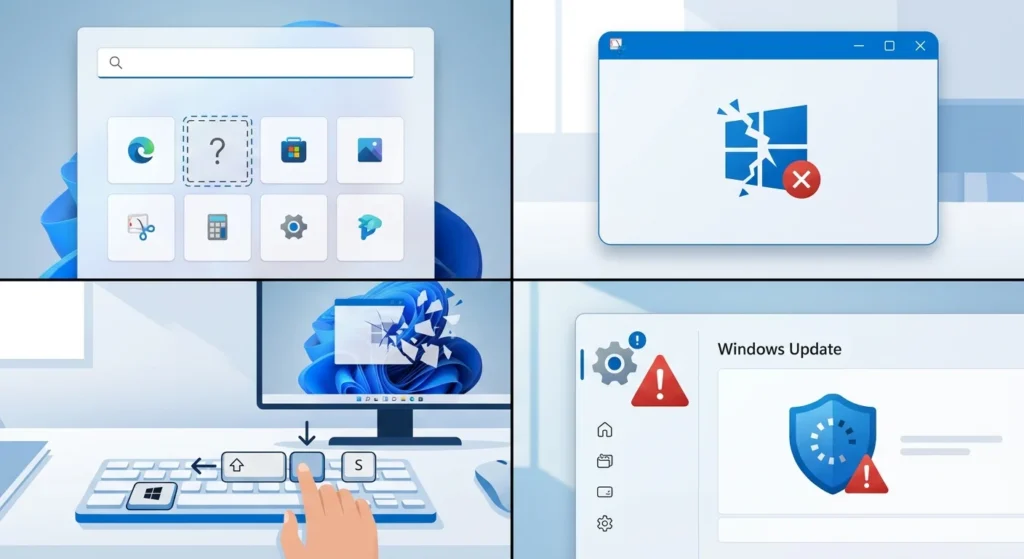
Several situations can require reinstalling the Snipping Tool.
The App Was Accidentally Uninstalled
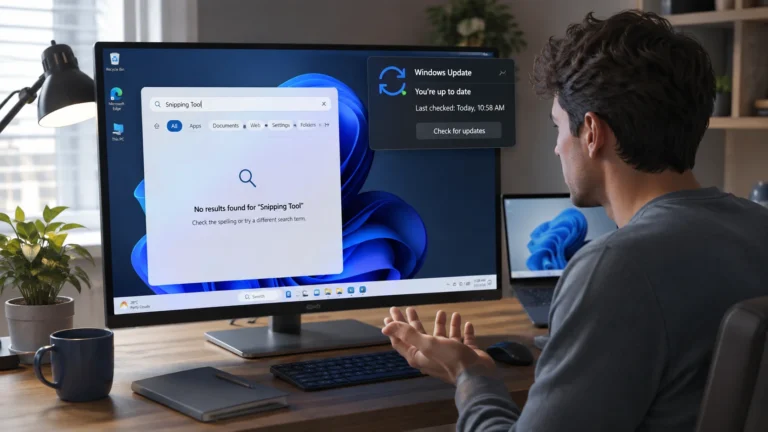
It’s possible to remove the Snipping Tool from Windows like many other Microsoft Store apps. If this happens, searching for the app in the Start menu won’t return any results.
The Snipping Tool Is Missing After a Windows Update
Occasionally, Windows updates may temporarily remove or fail to register built-in apps correctly. Reinstalling the application usually restores normal functionality.
The App Won’t Open
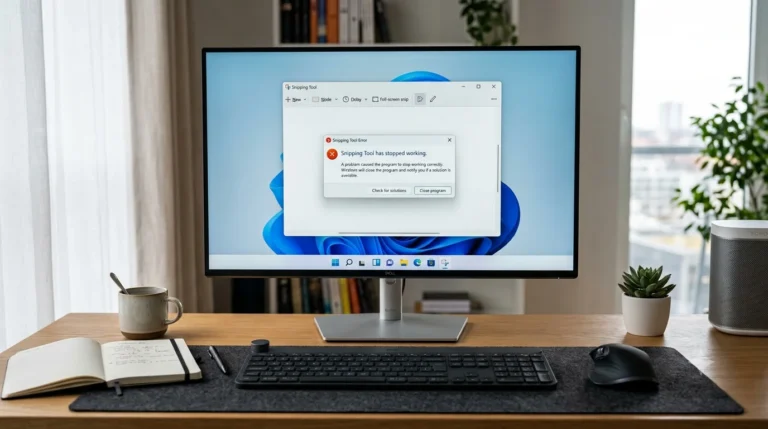
If the Snipping Tool crashes immediately after opening or refuses to launch altogether, corrupted application files may be responsible.
Keyboard Shortcut Doesn’t Work
The Win + Shift + S shortcut may stop responding if the app is damaged or improperly registered.
Corrupted Microsoft Store Installation
A damaged Microsoft Store installation can prevent apps from updating correctly, including the Snipping Tool.
Check Whether the Snipping Tool Is Already Installed

Before reinstalling the application, verify whether it’s already installed.
Search From the Start Menu
- Click Start.
- Type Snipping Tool.
- If it appears in the search results, open it.
Check Installed Apps
- Open Settings.
- Select Apps.
- Click Installed apps (Windows 11) or Apps & features (Windows 10).
- Search for Snipping Tool.
Test the Keyboard Shortcut
Press:
Windows + Shift + S
If the screen dims and the snipping toolbar appears, the app is already installed.
Check Microsoft Store Library
Open Microsoft Store and view your installed apps library to see whether Snipping Tool is already available for download or update.
Method 1: Reinstall the Snipping Tool from Microsoft Store (Recommended)
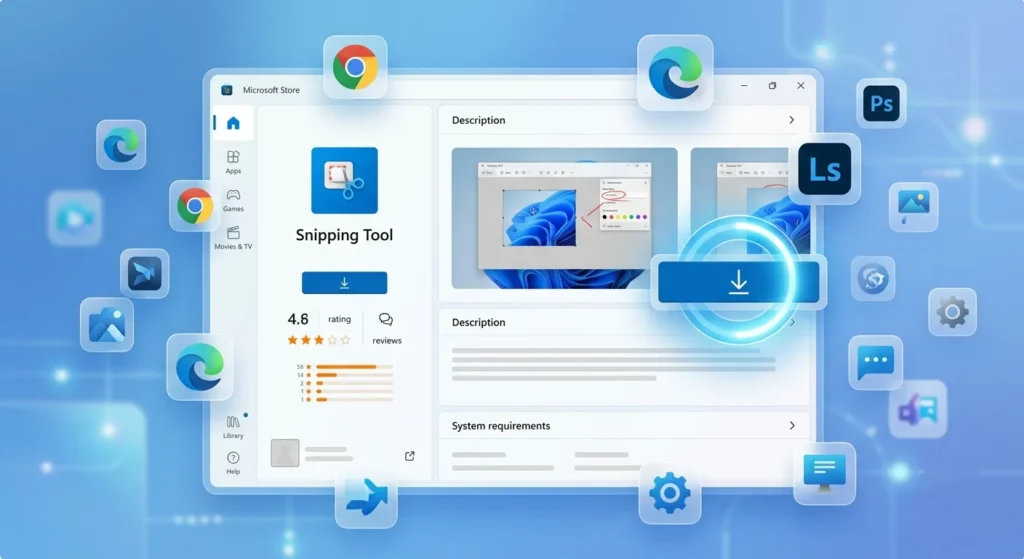
This is the easiest and safest method.
Step 1: Open Microsoft Store
Click Start, search for Microsoft Store, and open it.
Step 2: Search for Snipping Tool
Type:
Snipping Tool
into the Store search bar.
Be sure you’re downloading Microsoft’s official application.
Step 3: Install the App
Click:
Install
or
Get
depending on what appears.
The download usually finishes within a minute.
Step 4: Launch the Application
After installation completes:
- Open Snipping Tool.
- Capture a test screenshot.
- Verify that Win + Shift + S works properly.
Step 5: Restart Your Computer
Although usually unnecessary, restarting Windows ensures all background services register correctly.
Method 2: Repair or Reset the Snipping Tool Before Reinstalling
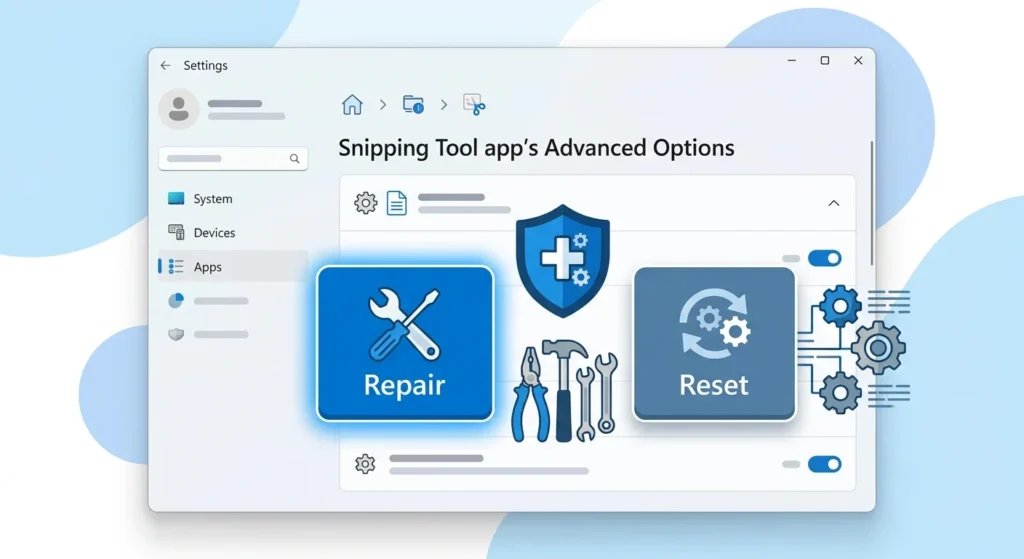
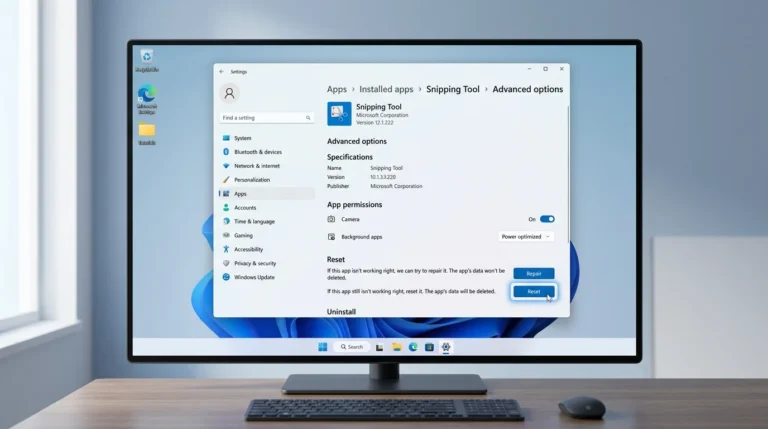
If the app is already installed but not functioning correctly, repairing it may solve the problem without requiring a complete reinstall.
Repair the App
- Open Settings.
- Select Apps.
- Open Installed apps.
- Find Snipping Tool.
- Click the three dots.
- Select Advanced options.
- Click Repair.
Windows attempts to fix damaged application files while preserving your settings.
Reset the App
If repairing doesn’t work:
- Return to Advanced options.
- Click Reset.
- Confirm the reset.
Resetting restores the application to its default state.
Method 3: Uninstall and Reinstall the Snipping Tool
If repairing fails, completely reinstall the application.
Uninstall
- Open Settings.
- Navigate to Apps.
- Select Installed apps.
- Locate Snipping Tool.
- Click Uninstall.
Wait until Windows removes the app.
Install Again
Open Microsoft Store.
Search for:
Snipping Tool
Click Install.
After installation finishes, restart your computer.
Method 4: Reinstall the Snipping Tool Using PowerShell

PowerShell can help restore Microsoft Store apps if they become corrupted or fail to register properly.
Note: The exact command may vary depending on your Windows version and how the app is installed. Microsoft periodically changes package names. For this reason, use current Microsoft documentation or Microsoft Support guidance if the command shown on your system differs.
Open PowerShell as Administrator
- Press Start.
- Type PowerShell.
- Select Run as administrator.
Re-register Microsoft Store Apps
A commonly used command to re-register installed Microsoft Store apps is:
Get-AppxPackage -AllUsers | Foreach {Add-AppxPackage -DisableDevelopmentMode -Register "$($_.InstallLocation)\AppXManifest.xml"}This command re-registers installed Store apps and can resolve registration issues affecting the Snipping Tool.
After the process completes:
- Restart Windows.
- Open the Snipping Tool.
- Test the screenshot shortcut.
Important: Avoid copying PowerShell commands from unofficial websites. Commands can change over time, so always verify them against Microsoft documentation when possible.
Method 5: Reinstall the Snipping Tool Without Microsoft Store
Some school, work, or enterprise computers disable Microsoft Store access through organizational policies.
If Microsoft Store isn’t available:
- Contact your IT administrator.
- Install the app using your organization’s approved software deployment tools if provided.
- Ensure your Windows installation includes the required Microsoft Store components.
For most home users, Microsoft Store remains the recommended and officially supported installation method.
What to Do If the Snipping Tool Still Won’t Install

If reinstalling the Snipping Tool doesn’t solve the problem, the issue may be related to Windows, Microsoft Store, or corrupted system files. Try the following solutions in order.
Reset the Microsoft Store Cache
A corrupted Microsoft Store cache can prevent apps from downloading or updating correctly.
Steps
- Press Windows + R to open the Run dialog.
- Type:
wsreset.exe- Press Enter.
- Wait for the Microsoft Store to open automatically.
- Try installing the Snipping Tool again.
Install the Latest Windows Updates
Microsoft frequently fixes bugs and app-related issues through Windows Update.
Windows 11
- Open Settings.
- Select Windows Update.
- Click Check for updates.
- Install all available updates.
- Restart your PC.
Windows 10
- Open Settings.
- Go to Update & Security.
- Click Windows Update.
- Select Check for updates.
- Restart your computer after the updates finish installing.
Run the System File Checker (SFC)
Corrupted Windows system files can prevent built-in apps from functioning correctly.
Steps
- Open Command Prompt as Administrator.
- Run:
sfc /scannow- Wait for the scan to finish.
- Restart your computer.
If Windows repairs corrupted files, try installing the Snipping Tool again.
Run the DISM Tool
If SFC cannot repair all files, use the Deployment Image Servicing and Management (DISM) tool.
Open Command Prompt as Administrator and run:
DISM /Online /Cleanup-Image /RestoreHealthWait for the process to complete, then restart your PC.
Check Your Internet Connection
Although the Snipping Tool is a small application, Microsoft Store still requires a stable internet connection to download and verify the package.
If downloads keep failing:
- Restart your router.
- Disable VPN software temporarily.
- Try another network if available.
Verify Your Microsoft Account
Some Microsoft Store downloads require you to be signed in.
To check:
- Open Microsoft Store.
- Click your profile picture.
- Confirm you’re signed in.
- Try downloading the app again.
Ensure the Microsoft Store Service Is Working
If the Microsoft Store itself isn’t functioning:
- Open another Store app.
- Check whether updates are downloading.
- Restart Windows if Store apps appear stuck.
How to Fix Common Snipping Tool Problems After Reinstalling
Sometimes the app installs successfully but still doesn’t work correctly.
Snipping Tool Won’t Open
Try these steps:
- Restart Windows.
- Repair the app.
- Reset the app.
- Update Windows.
- Update the app through Microsoft Store.
Win + Shift + S Doesn’t Work
If the shortcut doesn’t launch the snipping toolbar:
- Restart Windows Explorer using Task Manager.
- Make sure Snipping Tool is installed.
- Check whether another screenshot application is overriding the shortcut.
- Install the latest Windows updates.
Screenshots Aren’t Saving
If screenshots disappear:
- Check the Pictures > Screenshots folder.
- Verify OneDrive isn’t redirecting your screenshots.
- Save captures manually using File > Save As.
Clipboard Doesn’t Copy Screenshots
Sometimes clipboard history causes issues.
Try:
- Press Windows + V.
- Enable Clipboard History if disabled.
- Restart Windows.
Notifications Don’t Appear
If the capture notification never appears:
- Open Settings.
- Go to System > Notifications.
- Enable notifications for Snipping Tool.
Snipping Tool Freezes
If the application becomes unresponsive:
- Close it using Task Manager.
- Restart Windows.
- Repair the app.
- Reset the app if necessary.
Windows 10 vs. Windows 11 Snipping Tool
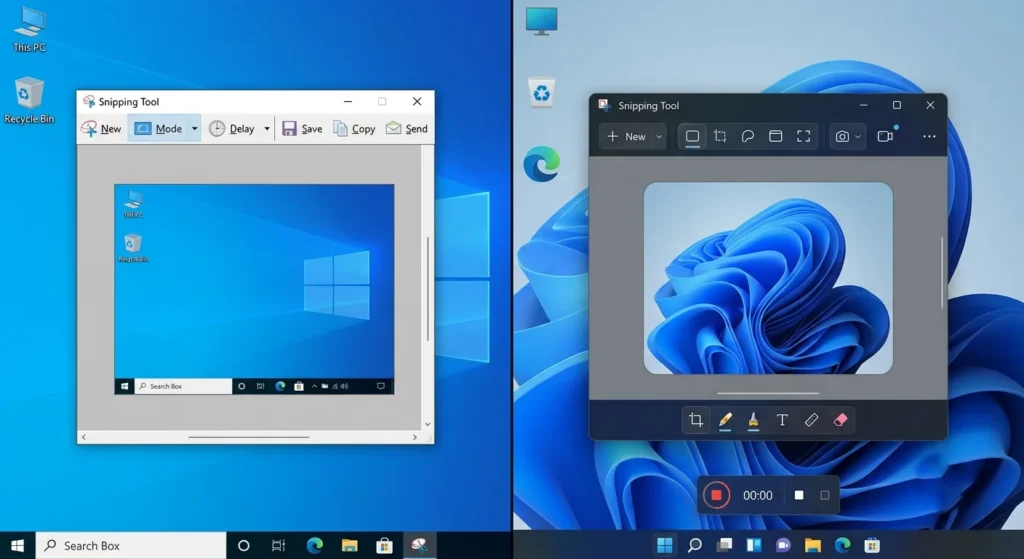
| Feature | Windows 10 | Windows 11 |
|---|---|---|
| Built-in Snipping Tool | Yes | Yes |
| Snip & Sketch Integration | Separate app on older versions | Fully integrated |
| Screen Recording | Limited | Available on supported versions |
| OCR/Text Actions | Not available | Available on newer versions |
| Frequent Feature Updates | Moderate | More frequent |
Windows 11 combines the classic Snipping Tool and Snip & Sketch into a single modern application with additional features such as screen recording and text extraction on supported builds.
Tips to Prevent Future Snipping Tool Problems
Following a few best practices can help avoid future issues.
- Keep Windows updated.
- Install Microsoft Store app updates regularly.
- Avoid deleting built-in Windows apps unless necessary.
- Restart your PC after major Windows updates.
- Create a System Restore Point before making significant system changes.
- Keep sufficient free disk space for Windows updates.
Final Thoughts
Reinstalling the Snipping Tool is one of the most effective ways to restore screenshot functionality when the app is missing, crashes, or stops responding. In most cases, downloading the official version from the Microsoft Store resolves the problem within minutes.
If reinstalling doesn’t help, work through the troubleshooting steps in this guide, repair or reset the app, clear the Microsoft Store cache, install the latest Windows updates, and run the SFC and DISM tools to repair corrupted system files. By following these methods, you can restore the Snipping Tool and continue capturing screenshots without interruption.
Frequently Asked Questions
Yes. Simply open the Microsoft Store, search for Snipping Tool, and install the official Microsoft version.
Yes. The Snipping Tool is included with Windows and can be downloaded from the Microsoft Store at no additional cost.
No. Reinstalling the application does not remove screenshots you’ve already saved. However, unsaved captures stored temporarily in memory will be lost.
Home users should use Microsoft Store whenever possible. In managed work or school environments, an IT administrator may deploy the app using enterprise management tools.
Yes. Windows 10 includes the Snipping Tool, although newer versions also support Snip & Sketch integration and receive updates through the Microsoft Store.
Yes. On current versions of Windows 10 and Windows 11, the Snipping Tool is distributed and updated through the Microsoft Store.