How to Copy Snipped Images to Clipboard (Step-by-Step Guide)
If you’ve ever taken a screenshot using the Snipping Tool and wondered how to copy it directly to the clipboard, you’re not alone. Many users think they must save the image first, but that’s not true.
In this guide, you’ll learn how to copy snipped images to the clipboard instantly, without saving files, along with troubleshooting tips and advanced shortcuts.
What Does “Copy Snipped Image to Clipboard” Mean?
Copying a snipped image to the clipboard means storing your screenshot temporarily in your system memory so you can paste it anywhere.
Windows includes a built-in feature called the Windows Clipboard, which allows you to:
- Store copied images or text
- Paste them using Ctrl + V
- Access clipboard history
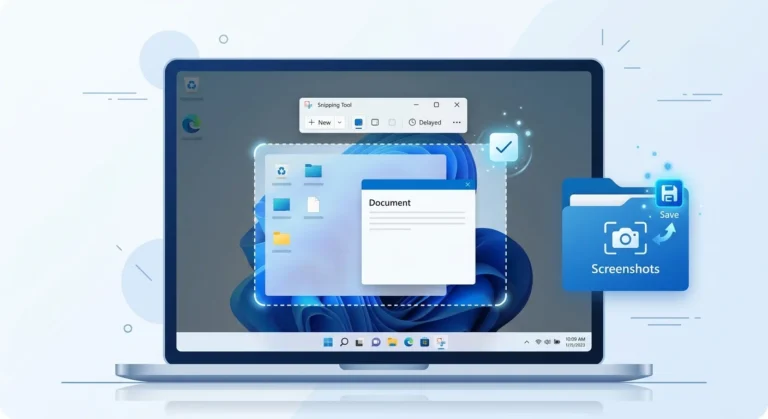
When you use the Snipping Tool correctly, your image is automatically copied to the clipboard.
Method 1 – Copy Snipped Image Automatically (Default Way)

The easiest way to copy a snipped image is by using the default behavior of the Snipping Tool.
Steps:
- Open Snipping Tool
- Click New
- Select the area you want to capture
- Release the mouse
Your screenshot is now automatically copied to the clipboard
You can immediately paste it into:
- Microsoft Word
- Paint
- Browser input fields
No need to save the file first.
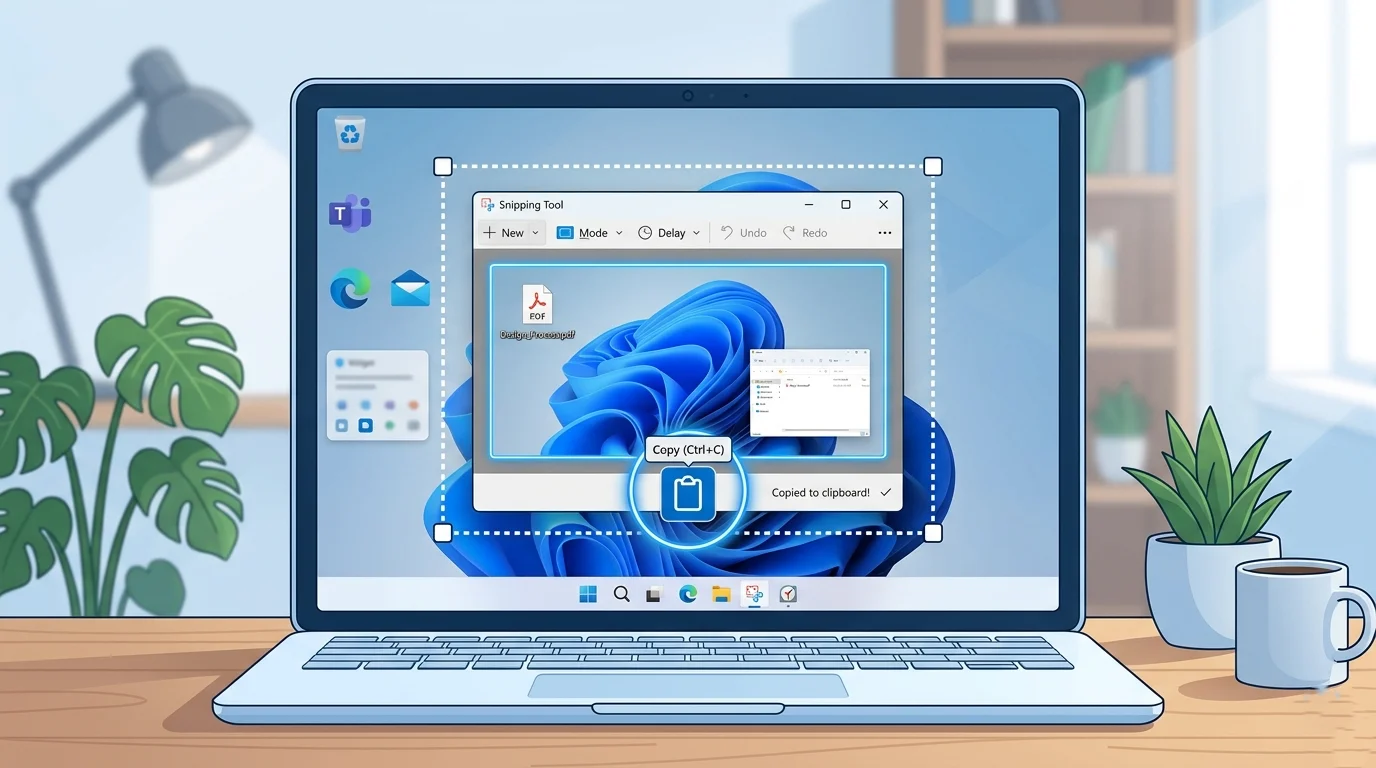
Method 2 – Copy Snipped Image Manually

If the image doesn’t copy automatically, you can do it manually.
Steps:
- Take a screenshot using Snipping Tool
- Open the preview window
- Press Ctrl + C
OR right-click → Copy
This ensures your snipped image is stored in the clipboard.
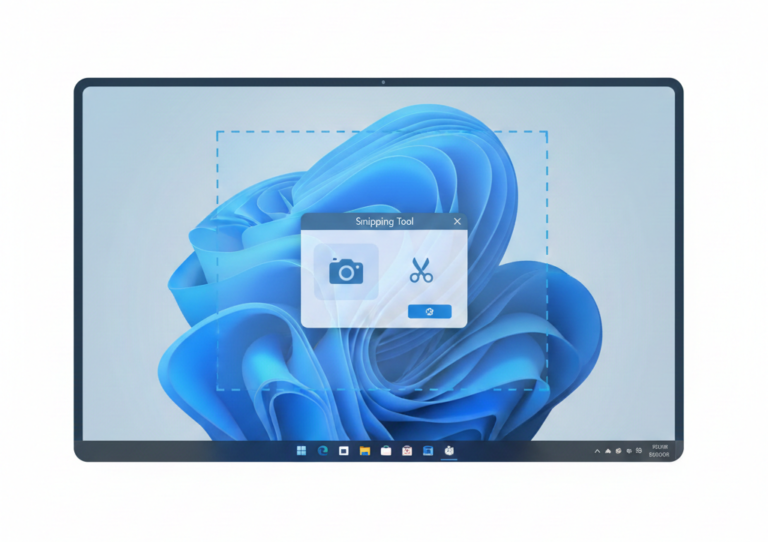
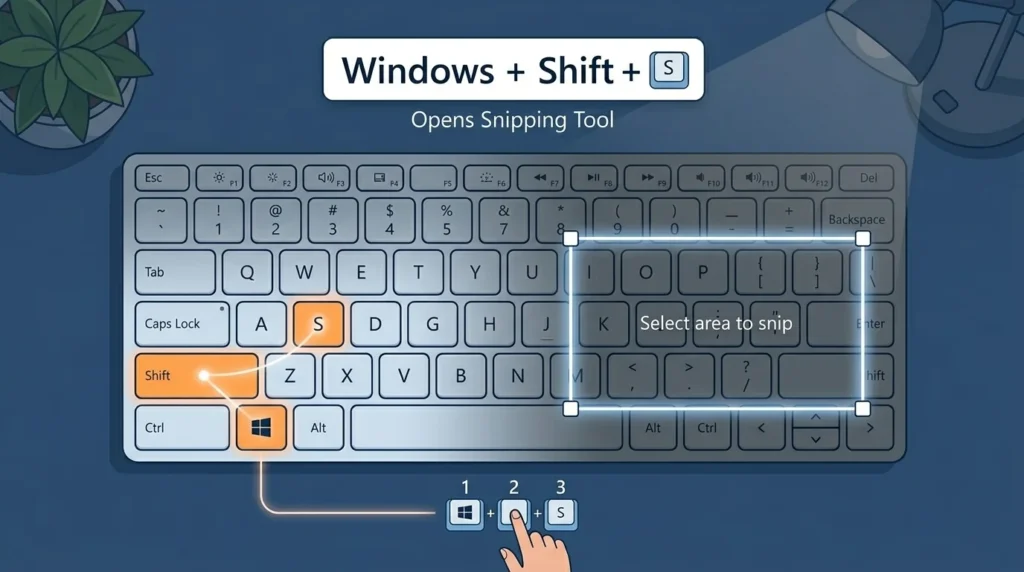
Method 3 – Use Keyboard Shortcut (Fastest Method)
For speed and productivity, keyboard shortcuts are the best option.
Use this shortcut:
- Windows + Shift + S
This opens the snipping toolbar instantly. After selecting an area:
- The image is copied automatically to the clipboard
You can then paste it anywhere using Ctrl + V.
How to Paste Snipped Images from the Clipboard
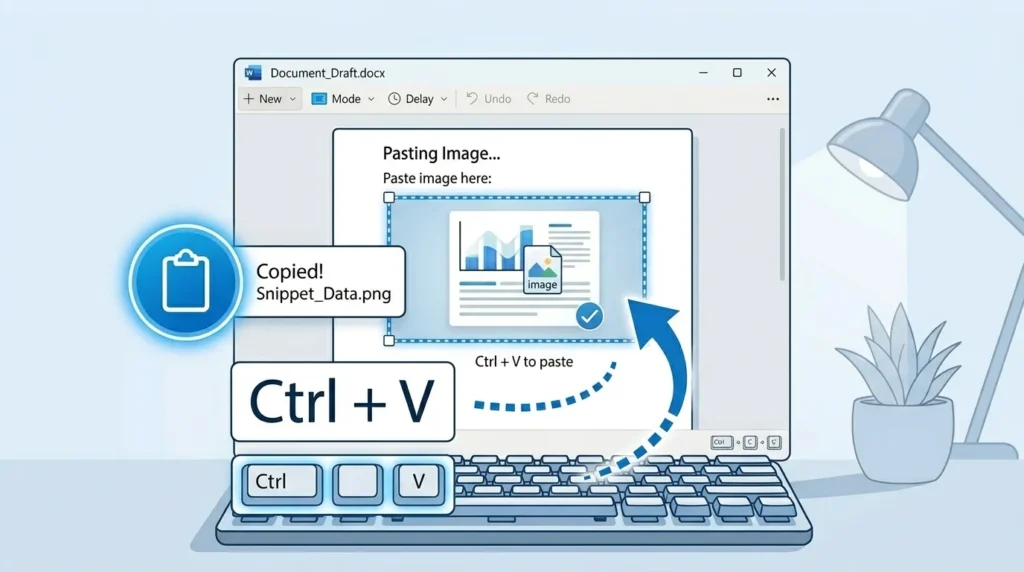
Once your image is copied, pasting is simple.
Use:
Ctrl + V
Works in:
- Microsoft Word
- Paint
- Photoshop
- Browsers
- Chat apps
If nothing pastes, the clipboard may not have stored the image; see the fix section below.
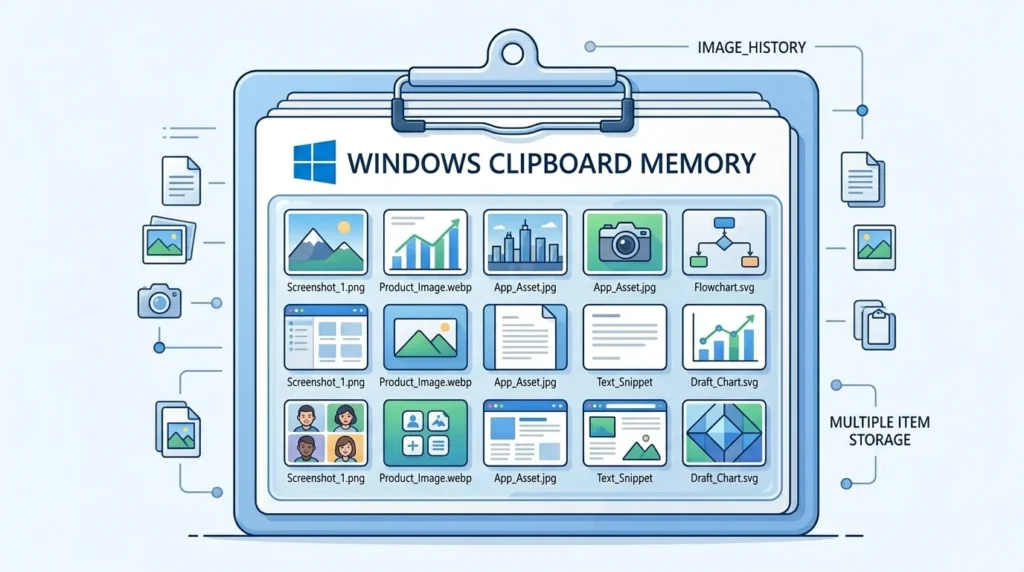
How to Access Clipboard History in Windows
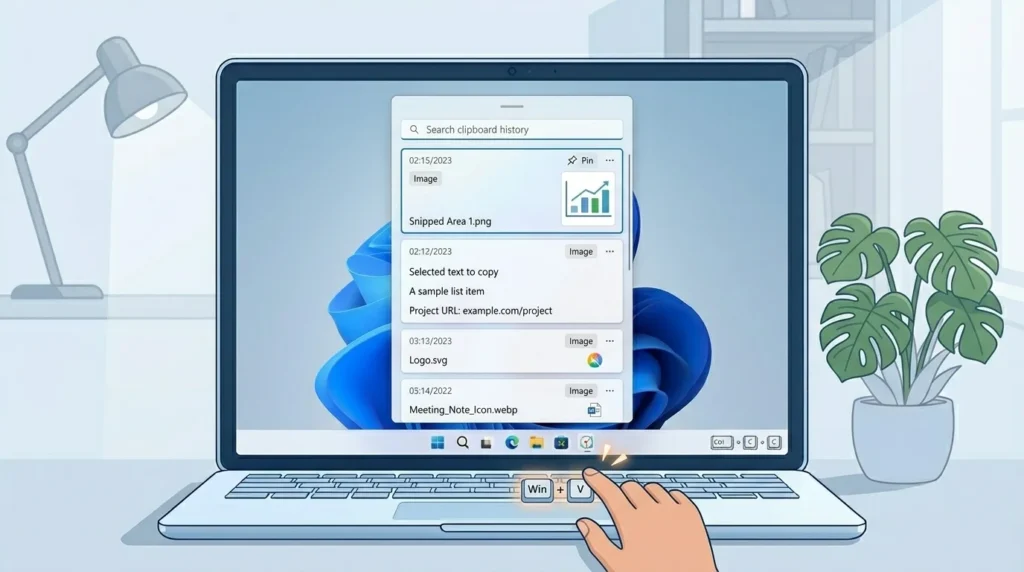
Windows allows you to store multiple copies of items.
Steps:
- Press Windows + V
- Enable clipboard history (if not already enabled)
- Select any previously copied image
This feature is part of the Windows Clipboard and is extremely useful for multitasking.
Fix: Snipping Tool Not Copying to Clipboard
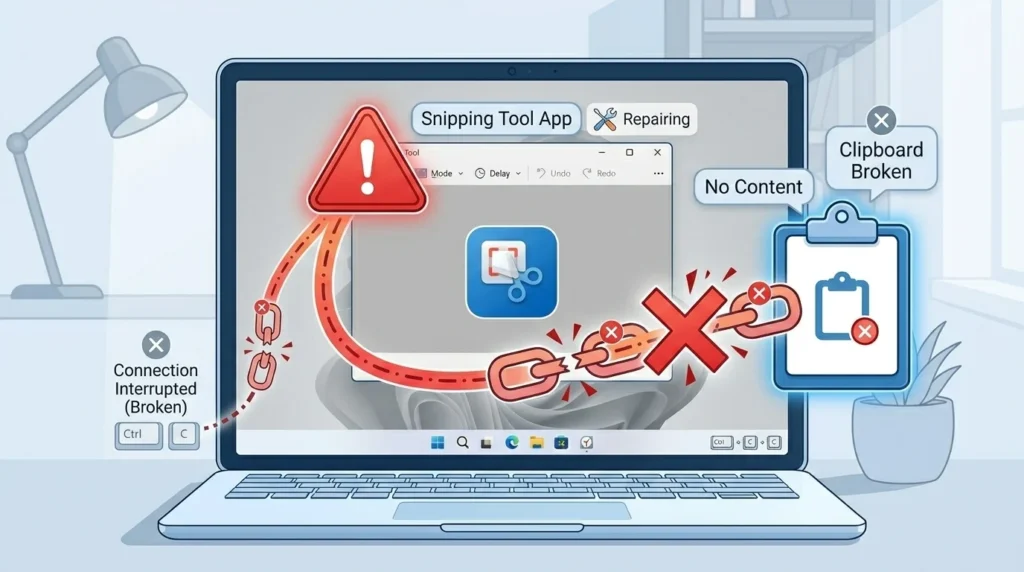
If your snipped image is not copying, here are proven fixes:
1. Restart Snipping Tool
Close and reopen the app.
2. Enable Clipboard History
- Press Windows + V
- Turn it ON
3. Check Windows Updates
Outdated systems may cause bugs.
4. Reset Snipping Tool
- Go to Settings → Apps → Snipping Tool → Reset
5. Try Alternative Shortcut
Use Windows + Shift + S instead of opening the app manually.
How to Copy Snipped Image Without Saving
One of the biggest advantages of the Snipping Tool is that you don’t need to save images.
Just take the snip
It copies automatically
Paste anywhere instantly
This saves time and keeps your workflow efficient.
Advanced Tip: Copy Multiple Snips Efficiently
You can copy multiple screenshots using the clipboard history.
Steps:
- Take multiple snips
- Press Windows + V
- Select the one you want
This is perfect for:
- Documentation
- Tutorials
- Blogging workflows
Best Alternatives for Faster Clipboard Copy
If you want more advanced features, consider these tools:
1. Snagit
- Advanced editing
- Instant clipboard copy
- Professional use
2. Lightshot
- Lightweight
- Quick sharing
- Easy interface
These tools improve speed and workflow compared to the default Snipping Tool.
Final Thought
Now you know exactly how to copy snipped images to the clipboard using multiple methods, automatic, manual, and shortcuts.
The Snipping Tool, combined with the Windows Clipboard, makes it easy to capture and paste images instantly without saving files.
For better productivity:
- Use Windows + Shift + S
- Enable clipboard history
- Try advanced tools if needed
Frequently Asked Questions
Yes, by default, it copies the screenshot immediately after capture.
It could be due to disabled clipboard history, outdated Windows, or app glitches.
Press Windows + V and turn on clipboard history.
Yes, using clipboard history (Windows + V).