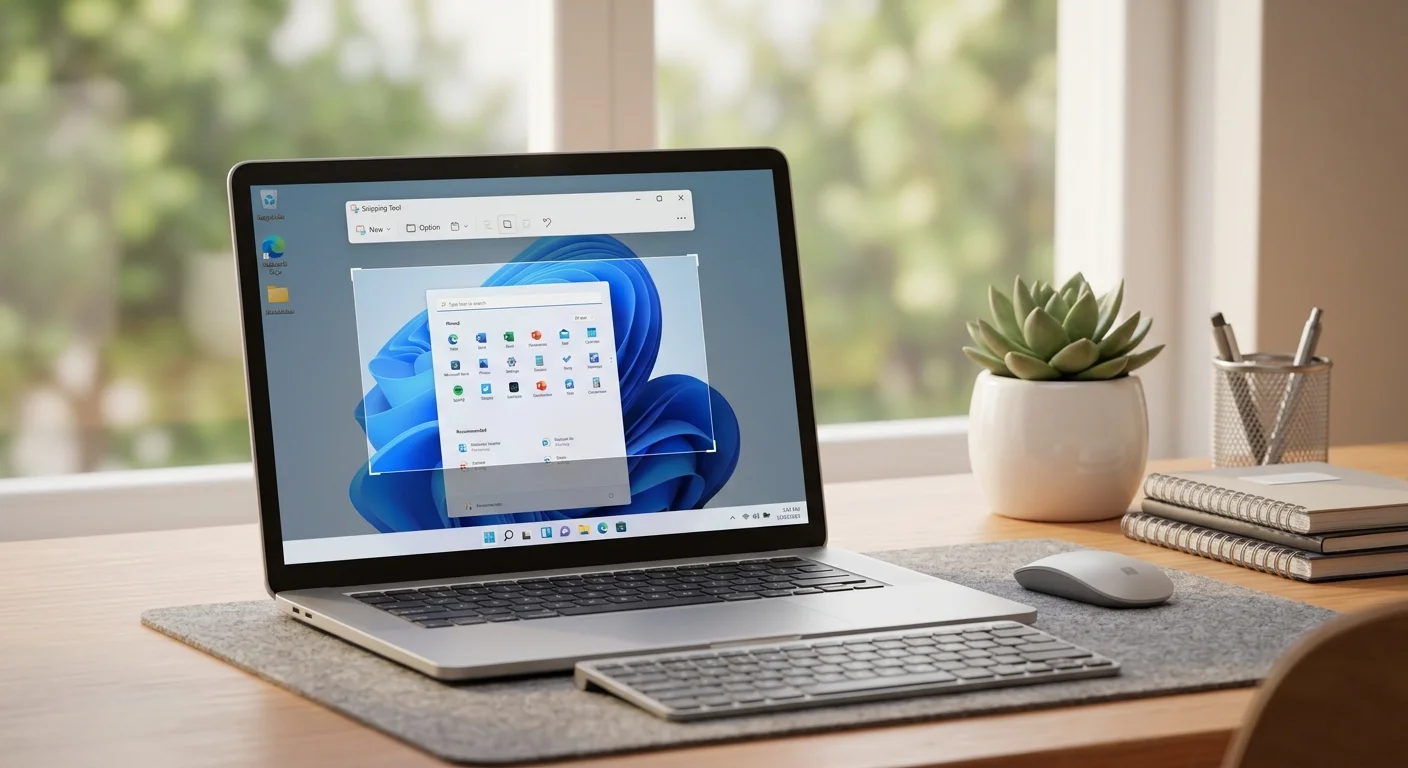
Snipping Tool Tips for Office (Boost Productivity Like a Pro)
In today’s fast-paced office environment, clear communication and quick documentation are essential. Whether you’re working remotely or in a corporate setting, screenshots help you explain ideas, report issues, and collaborate efficiently.
The built-in Snipping Tool in Windows makes this process simple and effective,without needing any third-party apps.
In this guide, you’ll discover the best Snipping Tool tips for office work to save time, improve clarity, and boost your productivity.
Why Snipping Tool is Essential for Office Work
Using screenshots in the workplace isn’t just convenient, it’s powerful.
Key Benefits:
- Improves communication – Show instead of explaining long text
- Speeds up documentation – Capture steps instantly
- Enhances collaboration – Share visual feedback with teams
- Reduces misunderstandings – Clear visual instructions
Whether you’re using Microsoft Word, Microsoft Teams, or email, screenshots make everything easier.
Basic Snipping Tool Tips (For Beginners)
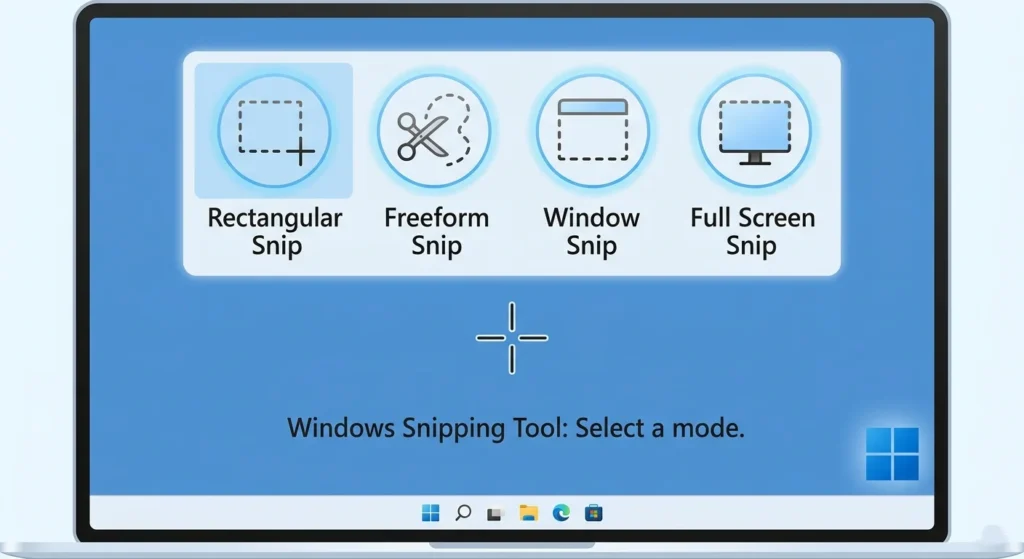
1. Use the Keyboard Shortcut

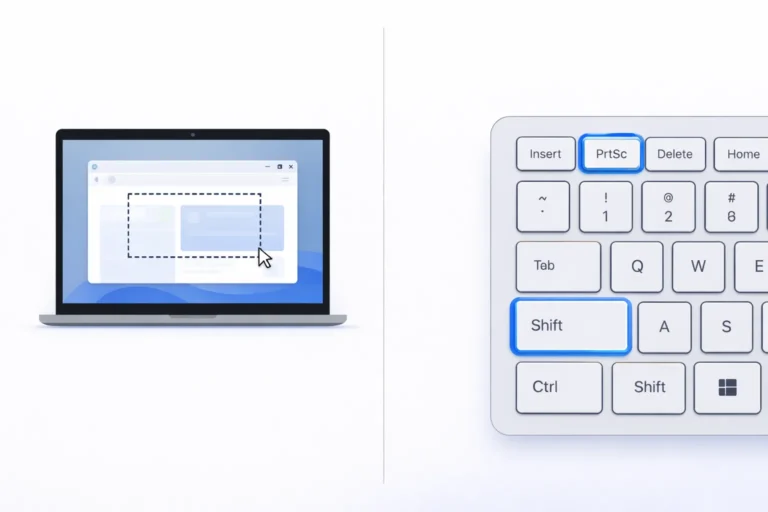
Press Windows + Shift + S to quickly open the snipping toolbar.
This is the fastest way to capture anything on your screen.
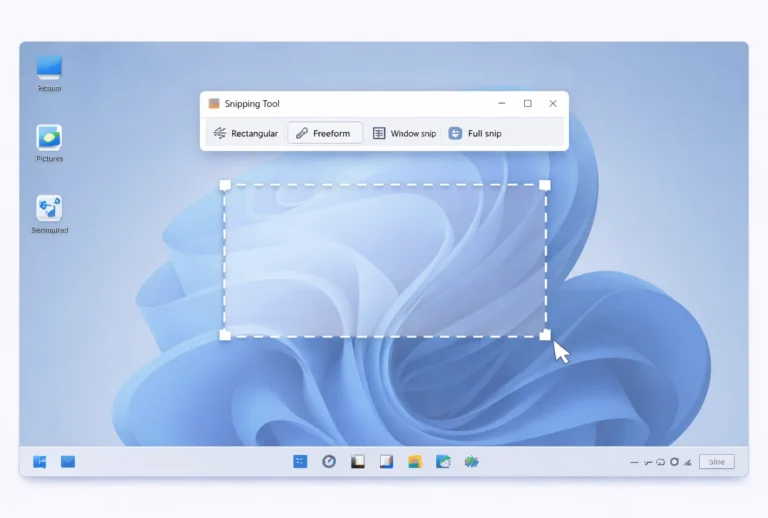
2. Choose the Right Snip Mode
The Snipping Tool offers different modes:
- Rectangular Snip – Best for sections
- Freeform Snip – Draw custom shapes
- Window Snip – Capture a specific window
- Full-Screen Snip – Capture everything
Choosing the right mode saves editing time.
3. Copy and Paste Instantly
After capturing:
- Screenshot is copied automatically
- Press Ctrl + V to paste into apps like Word, email, or chat
Advanced Snipping Tool Tips for Office Productivity
1. Use Delay Feature to Capture Menus
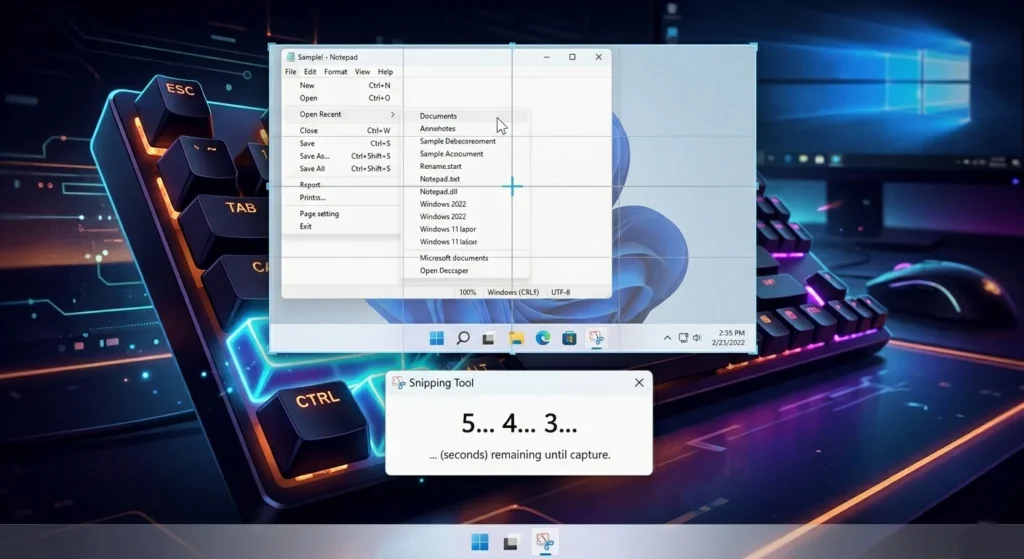
Some elements (like dropdown menus) disappear quickly.
Use the delay feature to capture them easily:
- Set delay (3–10 seconds)
- Open the menu
- Capture without rush
2. Annotate Screenshots for Clarity
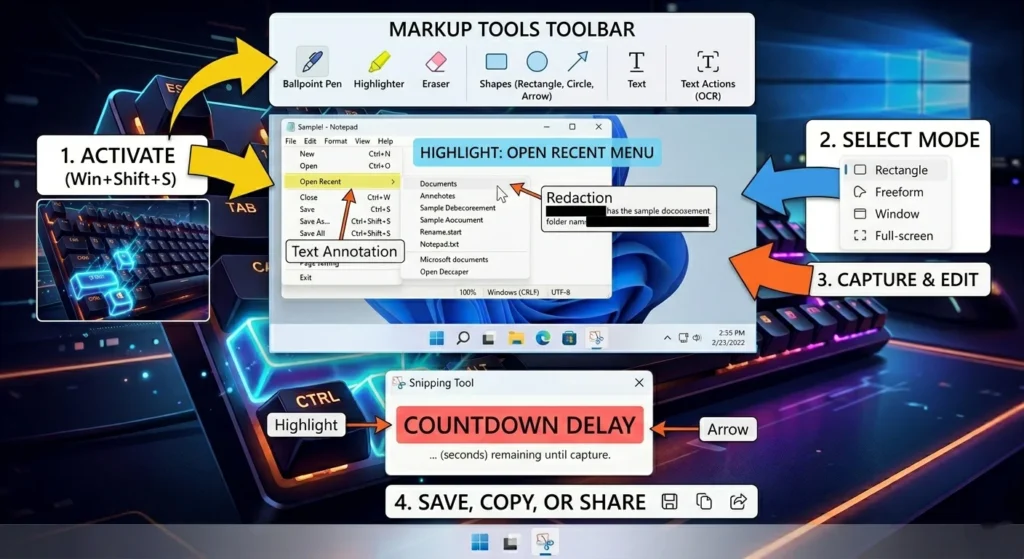
Use built-in tools to:
- Highlight important areas
- Add arrows or notes
- Mark errors or instructions
This is extremely useful in team communication.
3. Save Screenshots with Proper Naming
Instead of random file names:
- Use descriptive names like:
project-report-error.png
client-feedback-section.png
Helps in organization and quick retrieval.
4. Use Clipboard History (Windows + V)
Enable clipboard history to:
- Store multiple screenshots
- Reuse previously copied images
5. Combine with Office Tools
Snipping Tool works smoothly with:
- Microsoft Outlook
- Microsoft Excel
- Microsoft PowerPoint
You can instantly paste screenshots into reports, emails, and presentations.
Real Office Use Cases (Practical Examples)
1. Capture Meeting Notes
Quickly screenshot:
- Important slides
- Shared documents
- Key discussion points
2. Report Bugs with Screenshots
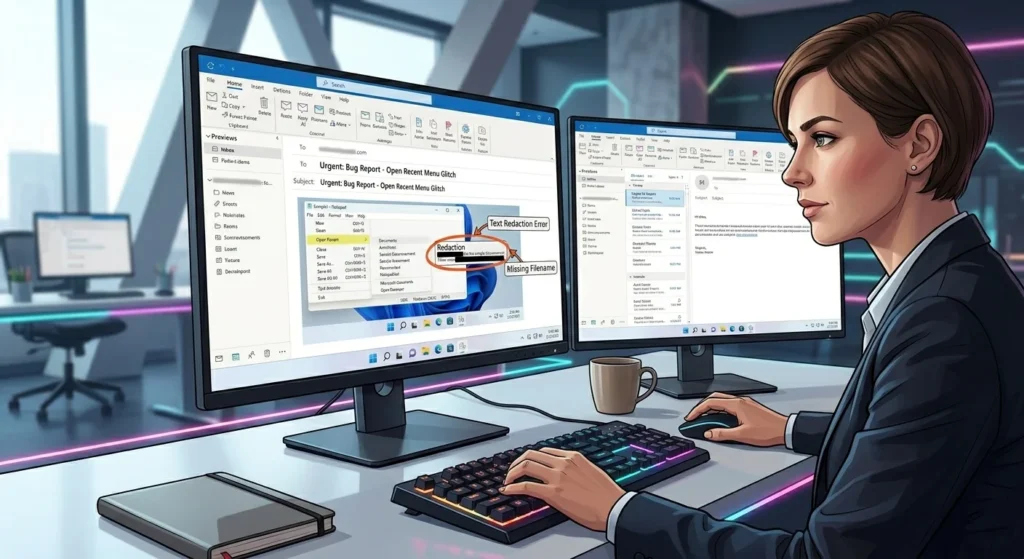
Instead of long explanations:
- Capture the issue
- Highlight the problem
- Share with your IT or dev team
3. Create Step-by-Step Guides
Screenshots make tutorials easier:
- Capture each step
- Add annotations
- Share internally
4. Share Visual Instructions
Perfect for:
- Training new employees
- Explaining workflows
- Giving feedback
Snipping Tool Workflow for Office Professionals
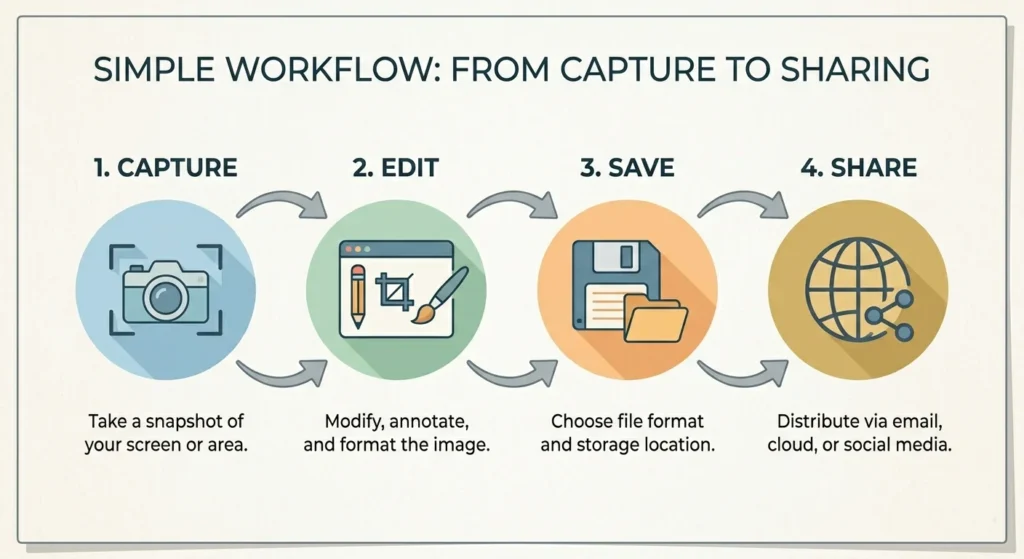
Follow this simple workflow:
- Capture screenshot (Windows + Shift + S)
- Edit/annotate
- Save with the proper name
- Share via email or Teams
This structured approach improves efficiency.
Common Mistakes to Avoid
Taking full-screen screenshots unnecessarily
Not using the delay feature
Saving files with random names
Skipping annotations
Avoid these to work smarter, not harder.
Best Snipping Tool Shortcuts (Quick Reference)
- Windows + Shift + S → Open snipping toolbar
- Ctrl + C → Copy
- Ctrl + V → Paste
- Windows + V → Clipboard history
Snipping Tool vs Other Screenshot Tools for Office
While Snipping Tool is great, other tools offer extra features:
| Tool | Best For |
|---|---|
| Snipping Tool | Built-in simplicity |
| Snagit | Advanced editing |
| Lightshot | Quick sharing |
For most office users, Snipping Tool is more than enough.
Pro Tips to Work Faster (Hidden Hacks )
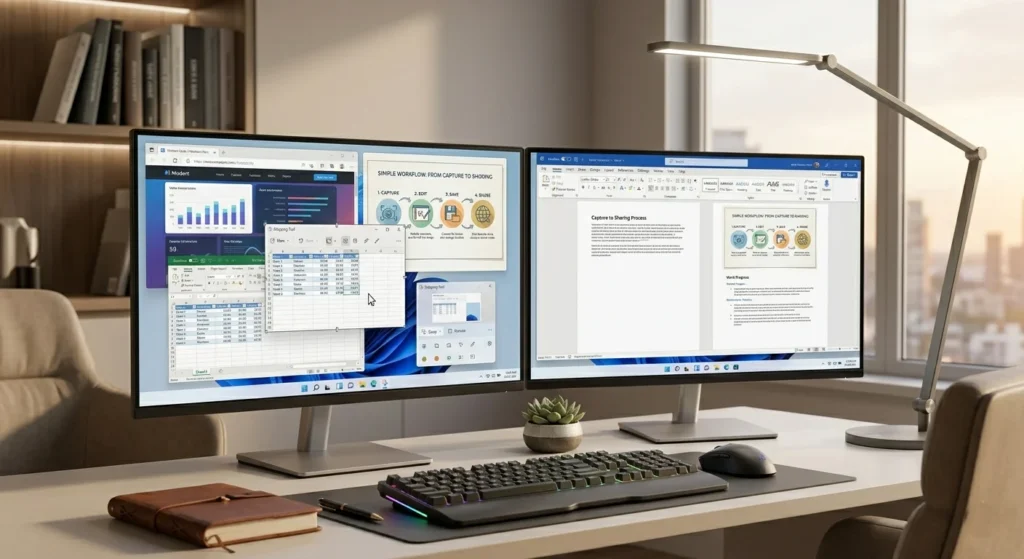
- Pin Snipping Tool to the taskbar
- Use dual monitors for better workflow
- Combine screenshots with notes in Word
- Use a consistent file naming system
Final Thought
The Snipping Tool is one of the most underrated productivity tools in the workplace. By using these practical tips, you can simplify communication, speed up workflows, and work more efficiently every day.
Start applying these Snipping Tool tips for the office today, and see the difference in your productivity.
Frequently Asked Questions
Use it to capture, edit, and share screenshots for communication, reporting, and documentation.
Yes, it saves time and improves clarity in daily office tasks.
Use the delay feature to capture menus before they disappear.