Preview App Screenshot Guide (Mac) – Complete Beginner to Pro Tutorial
Taking screenshots on a Mac is easy, but did you know you can capture and edit them directly using the built-in Preview app?
In this complete Preview App Screenshot Guide, you’ll learn how to take screenshots, edit them professionally, and export them in different formats, all without installing any third-party tools.
Whether you’re a beginner or an advanced user, this guide covers everything step by step.
What Is the Preview App on Mac?
Preview is a default macOS application designed to:
- View images and PDFs
- Edit screenshots
- Annotate files
- Convert formats
Unlike what many users think, Preview isn’t just a viewer; it’s a powerful, lightweight editing tool built into macOS.
Can You Take Screenshots with the Preview App?
Yes, you can take screenshots directly using Preview.
Preview includes a hidden feature under the File menu that allows you to capture:
- Entire screen
- Selected area
- Specific window
This makes it a great alternative to the default Mac screenshot shortcuts.
How to Take a Screenshot Using the Preview App (Step-by-Step)
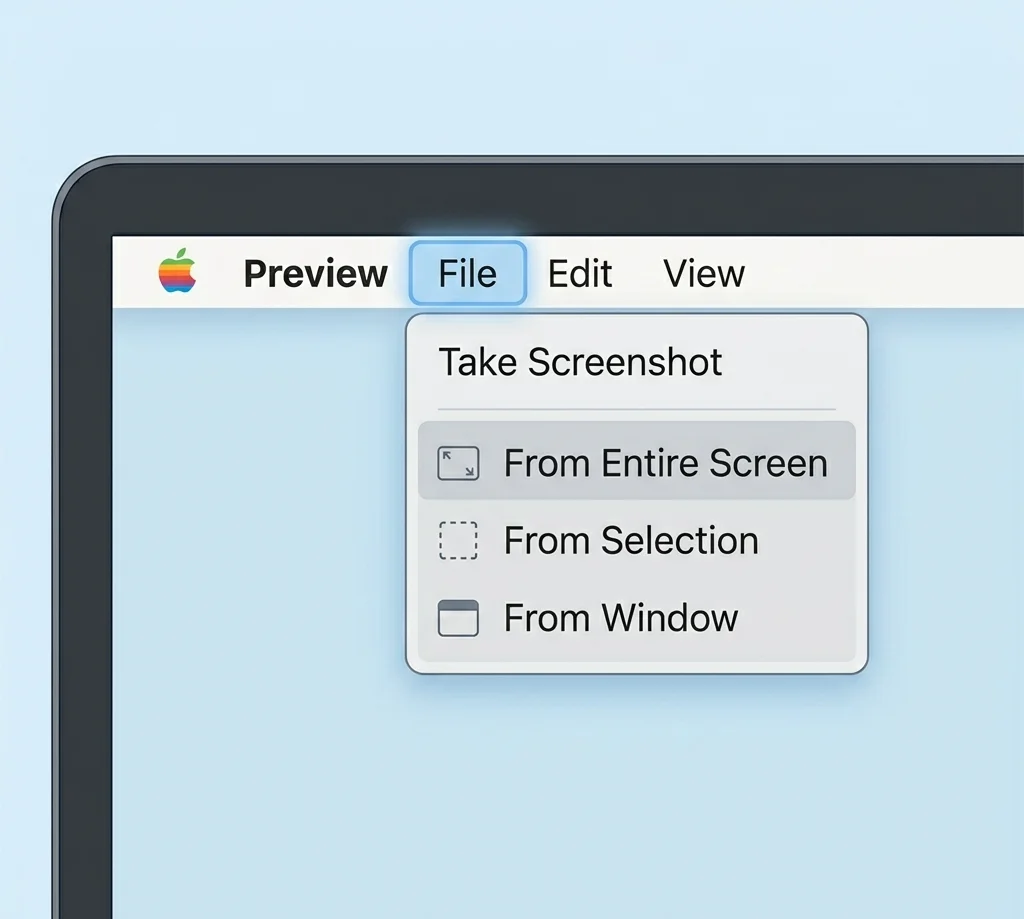
Capture Entire Screen
- Open Preview
- Click File → Take Screenshot → From Entire Screen
- Click anywhere to capture
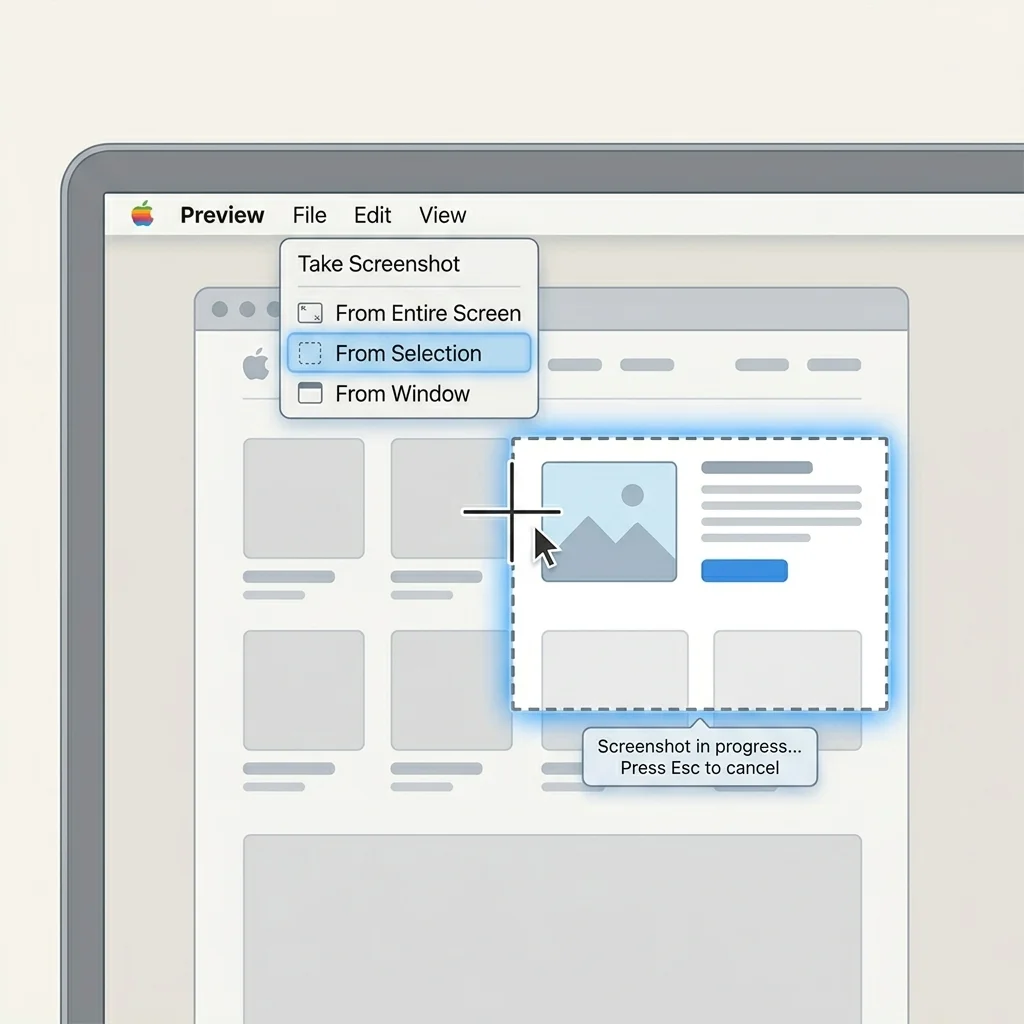
Capture Selected Area
- Open Preview
- Go to File → Take Screenshot → From Selection
- Drag to select an area
Capture Specific Window
- Open Preview
- Click File → Take Screenshot → From Window
- Select the window
Where Do Screenshots Go in Preview?
When you take a screenshot using Preview:
- It opens instantly inside Preview
- The file is named Untitled by default
- You must manually save it
This gives you full control over file naming and location.
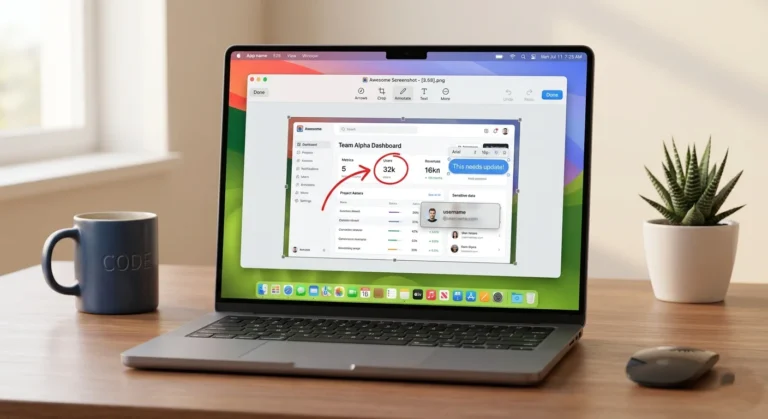
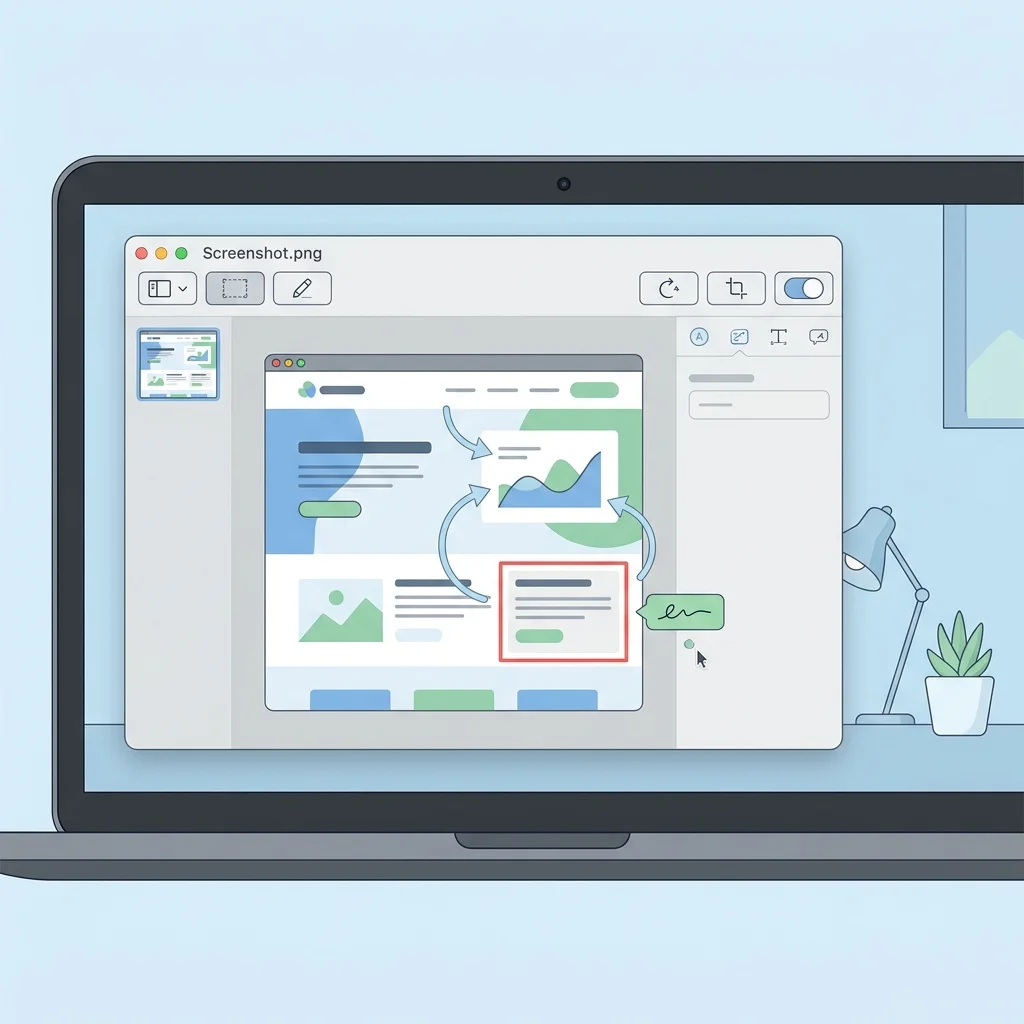
How to Edit Screenshots in Preview
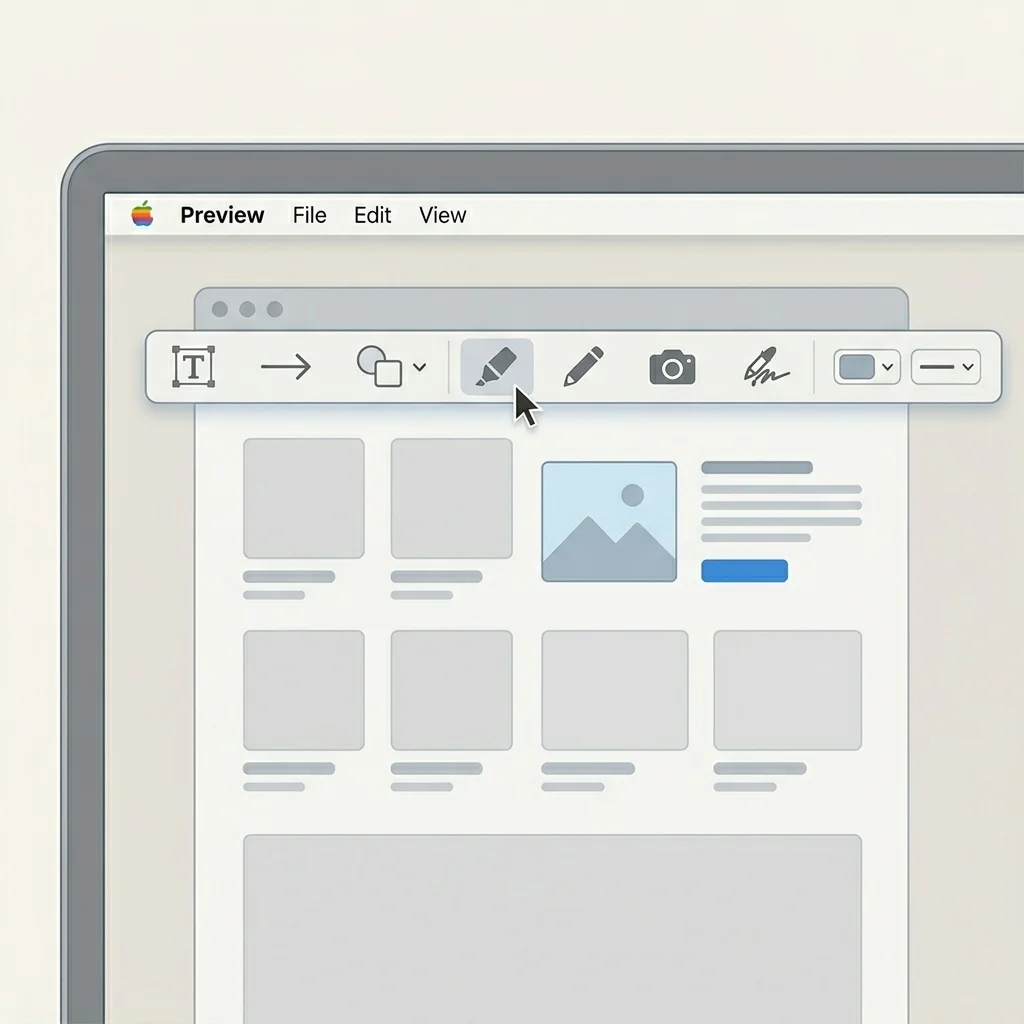
Open Markup Toolbar
Click the Markup Toolbar to access:
- Text tool
- Shapes and arrows
- Highlight tool
Crop, Resize, Rotate
You can:
- Crop using selection
- Resize via Tools → Adjust Size
- Rotate images easily
Annotate Screenshots
Add:
- Notes
- Highlights
- Callouts
Perfect for tutorials, documentation, and presentations.
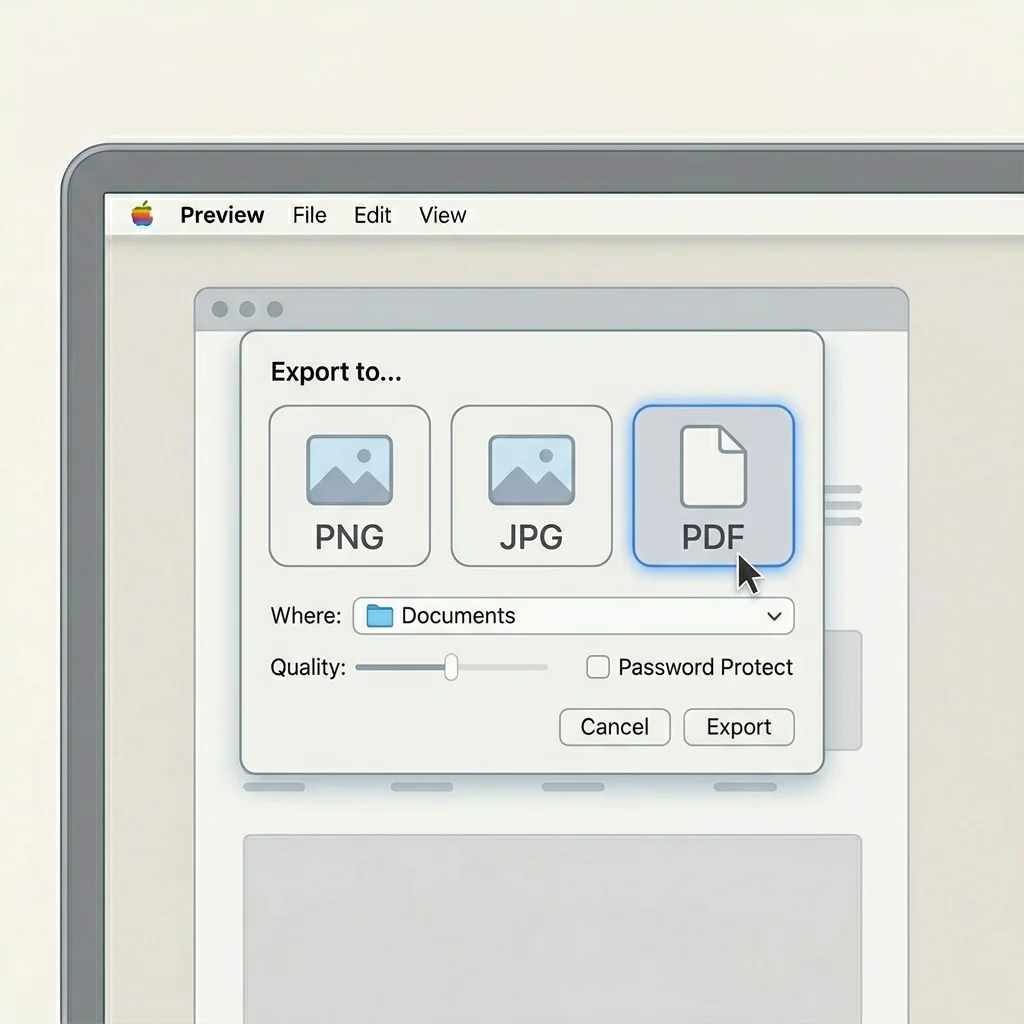
How to Save & Export Screenshots
- Click File → Save or Export
- Choose format:
- PNG (best quality)
- JPG (smaller size)
Preview vs Mac Screenshot Tool
| Feature | Preview | Screenshot Tool |
|---|---|---|
| Capture | Yes | Yes |
| Editing | Strong | Basic |
| Annotation | Yes | Limited |
| Workflow | Manual | Fast |
Use Preview if you want editing immediately after capture.
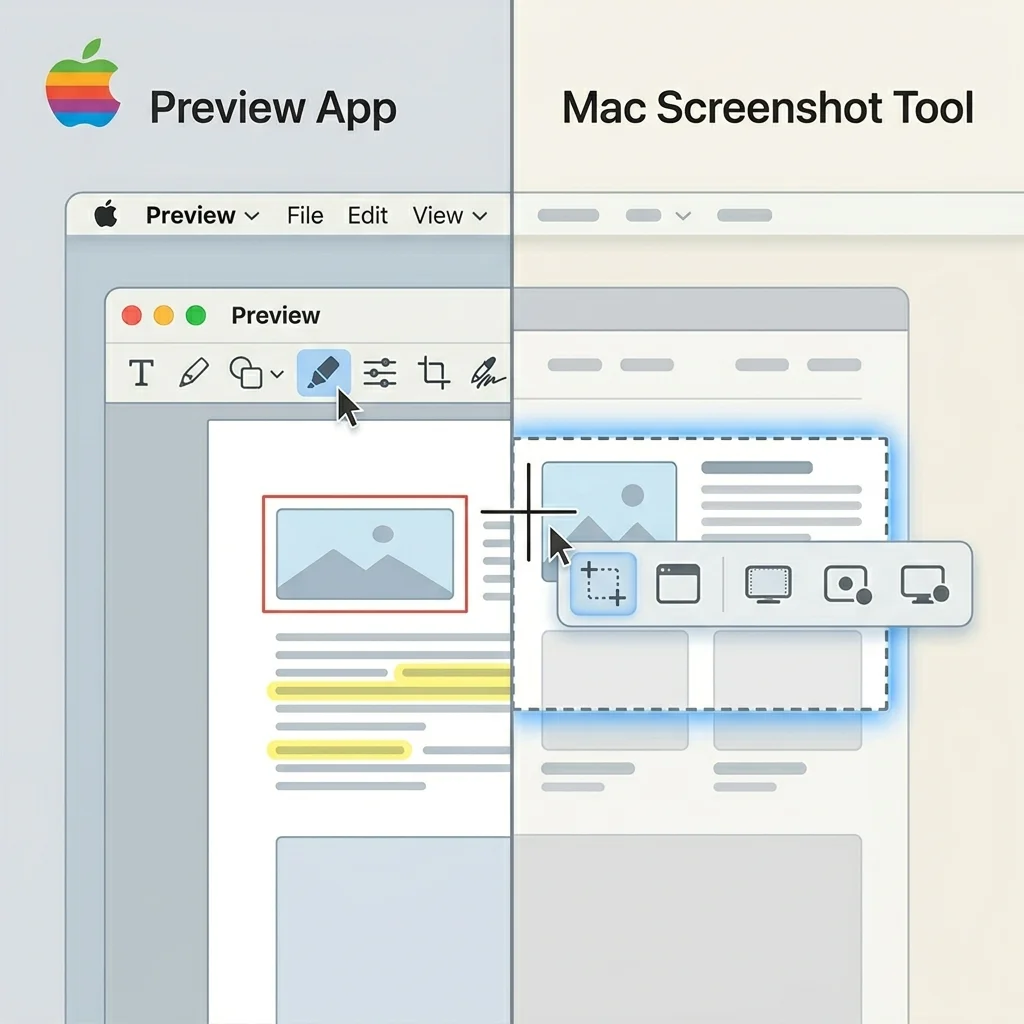
Keyboard Shortcut Alternative
Mac also provides built-in screenshot shortcuts:
- Command + Shift + 3 → Full screen
- Command + Shift + 4 → Selected area
These are part of macOS itself and work alongside Preview.
Advanced Tips for Power Users
- Batch resize multiple images
- Combine screenshots into a single PDF
- Rename files properly for SEO
- Use annotations for client work
These features make Preview a powerful productivity tool.
Common Issues & Fixes
Preview not opening after screenshot
- Restart Preview
- Check default app settings
- Ensure you click Save manually
Markup toolbar missing
- Enable via View → Show Markup Toolbar
Best Alternatives to Preview
If you need more advanced features:
- Snagit
- Greenshot
- Monosnap
Final Thought
The Preview app is more powerful than most users realize. It allows you to:
- Capture screenshots
- Edit and annotate them
- Export in multiple formats
If your workflow involves editing screenshots, Preview is one of the best built-in tools available on Mac.
Frequently Asked Questions
Open Preview → File → Take Screenshot → choose option.
Because it is set as the default image viewer on macOS.
Yes, it includes annotation, cropping, resizing, and export tools.
It depends. Preview is better for editing, while shortcuts are faster for quick captures.