How to Record Screen on Mac (Complete Guide for MacBook Users)
Want to know how to record a screen on Mac? Apple includes a built-in screen recording tool that lets you capture your entire screen, a selected portion, or even record audio without installing extra software. Whether you use a MacBook Air, MacBook Pro, or desktop Mac, you can start recording in just a few clicks using the Screenshot Toolbar or QuickTime Player.
Introduction
Screen recording has become an essential feature for students, professionals, content creators, and remote workers. You can use it to create tutorials, record online meetings, save presentations, demonstrate software, or capture gameplay.
The good news is that macOS includes powerful screen recording tools that are free and easy to use. You do not need to download third-party applications for most recording tasks.
This guide explains everything you need to know about how to record your screen on Mac, including recording with audio, saving recordings, editing videos, troubleshooting common issues, and choosing the best alternative tools.
Can You Record Your Screen on a Mac?
Yes, every modern Mac includes built-in screen recording features.
Apple provides two primary methods:
- Screenshot Toolbar (Shift + Command + 5)
- QuickTime Player
These tools allow you to:
- Record the entire screen
- Record a selected area
- Capture microphone audio
- Save recordings automatically
- Share recordings instantly
If your Mac runs a recent version of macOS, you already have everything you need.
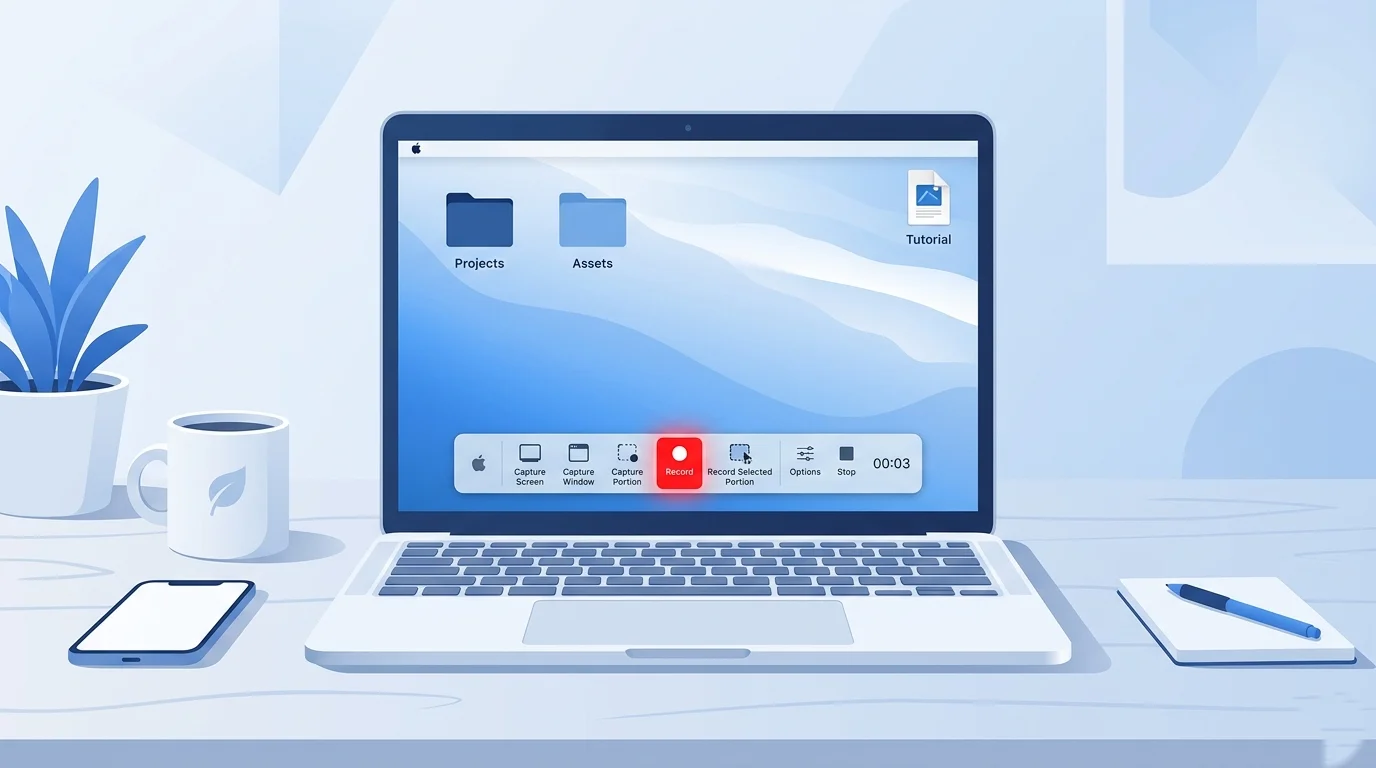
How to Record Screen on Mac Using Shift + Command + 5

The easiest method is using the Screenshot Toolbar.
Open the Screenshot Toolbar
Press:
Shift + Command + 5
A control panel will appear at the bottom of your screen.
You will see options for screenshots and screen recordings.
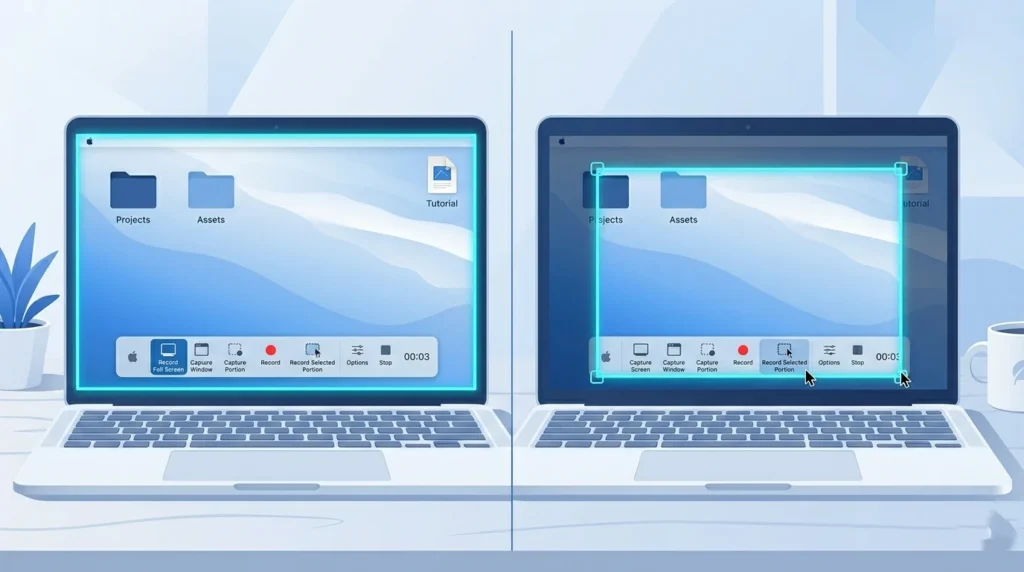
Record the Entire Screen
- Press Shift + Command + 5.
- Select Record Entire Screen.
- Click anywhere on the screen.
- Recording will begin immediately.
This option captures everything displayed on your Mac.
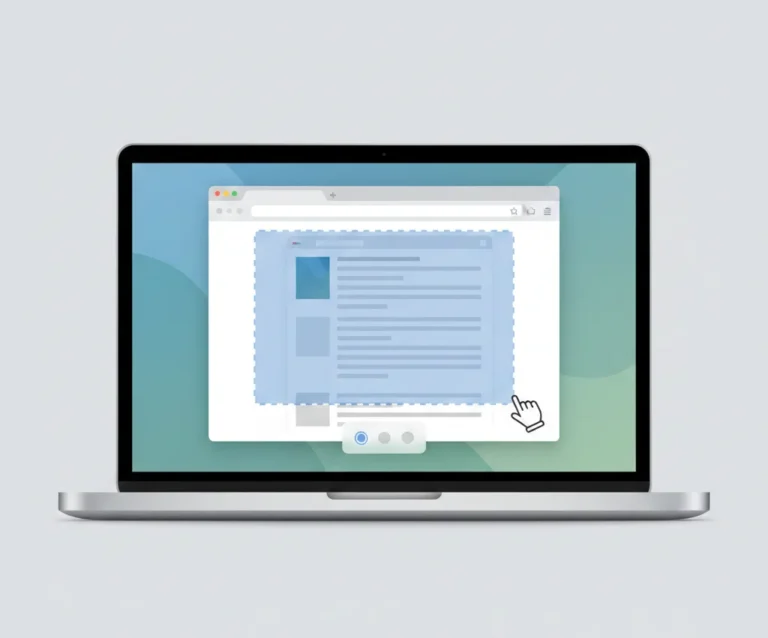
Record a Selected Portion of the Screen
If you only want to record a specific area:
- Press Shift + Command + 5.
- Select Record Selected Portion.
- Drag the frame to choose the recording area.
- Click Record.
This method is useful for software tutorials and presentations.
Stop the Recording
When finished:
- Click the Stop button in the menu bar.
- Or press Command + Control + Esc.
A thumbnail preview appears in the corner of your screen.
How to Record Screen on Mac With Audio
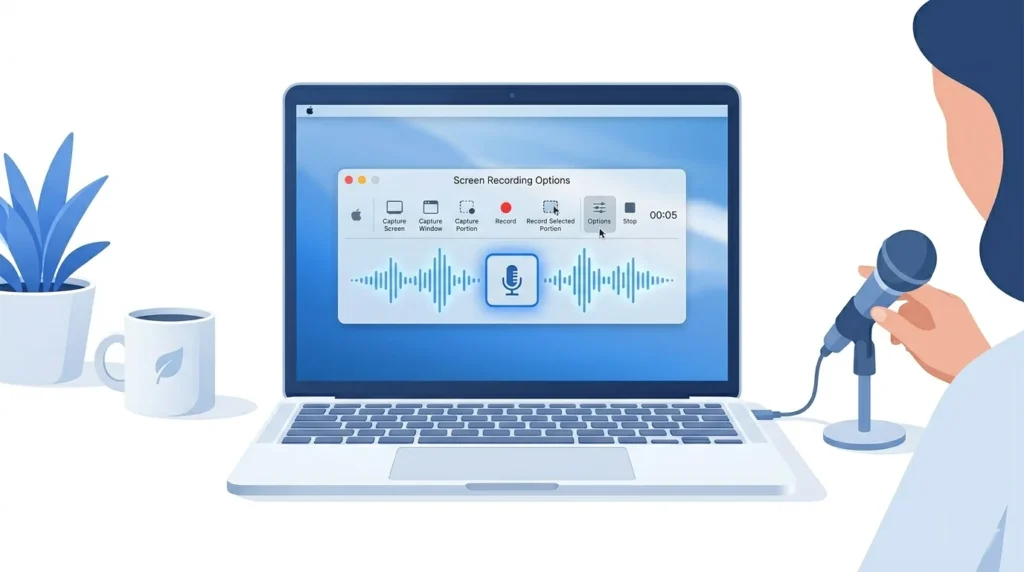
Many users want to record voice narration while capturing their screen.
Mac allows microphone recording through the Screenshot Toolbar.
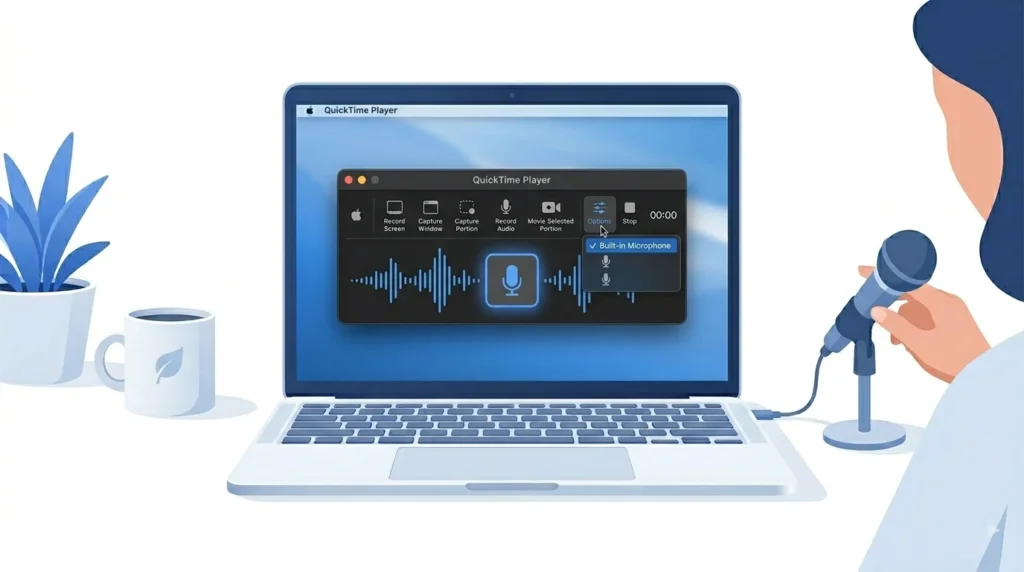
Enable Microphone Audio
- Press Shift + Command + 5.
- Click Options.
- Under Microphone, select:
- Built-In Microphone
- External USB Microphone
- AirPods Microphone
- Start recording.
Your voice will now be included in the recording.
Tips for Better Audio Quality
- Use an external microphone when possible.
- Record in a quiet room.
- Turn off fans and background noise.
- Position the microphone close to your mouth.
These steps can significantly improve recording quality.
How to Record Screen on Mac Using QuickTime Player
QuickTime Player is another built-in option.
Some users prefer it because it offers a straightforward recording workflow.
Open QuickTime Player
- Open Finder.
- Navigate to Applications.
- Launch QuickTime Player.
Start a New Screen Recording
- Click File.
- Select New Screen Recording.
- Choose your audio source if needed.
Select Recording Area
You can:
- Click to record the entire screen.
- Drag to record a selected portion.
Save the Recording
After stopping the recording:
- Click File.
- Select Save.
- Choose a destination folder.
Your recording will be saved as a video file.
Screenshot Toolbar vs QuickTime Player
Both methods are excellent, but each serves different needs.
| Feature | Screenshot Toolbar | QuickTime Player |
|---|---|---|
| Built Into macOS | Yes | Yes |
| Easy to Access | Excellent | Good |
| Entire Screen Recording | Yes | Yes |
| Selected Area Recording | Yes | Yes |
| Microphone Audio | Yes | Yes |
| Basic Editing | Limited | Better |
| Beginner Friendly | Excellent | Good |
For most users, Shift + Command + 5 is the fastest option.
How to Record Screen on MacBook Air
Recording the screen on a MacBook Air works exactly the same way.
Simply:
- Press Shift + Command + 5.
- Choose your recording mode.
- Start recording.
Because MacBook Air models are designed for efficiency, closing unnecessary applications can improve recording performance.
How to Record Screen on MacBook Pro
MacBook Pro users can take advantage of powerful hardware for higher-resolution recordings.
This is especially useful when:
- Recording tutorials
- Creating YouTube videos
- Capturing gameplay
- Recording external displays
The recording process remains identical to other Mac devices.
Where Do Screen Recordings Go on Mac?
By default, screen recordings are saved to your Desktop.
After recording:
- Look for a file ending in .MOV.
- Double-click it to open the recording.
Change the Save Location
To choose another location:
- Press Shift + Command + 5.
- Click Options.
- Under Save To, choose:
- Desktop
- Documents
- Downloads
- Other Location
This helps keep recordings organized.
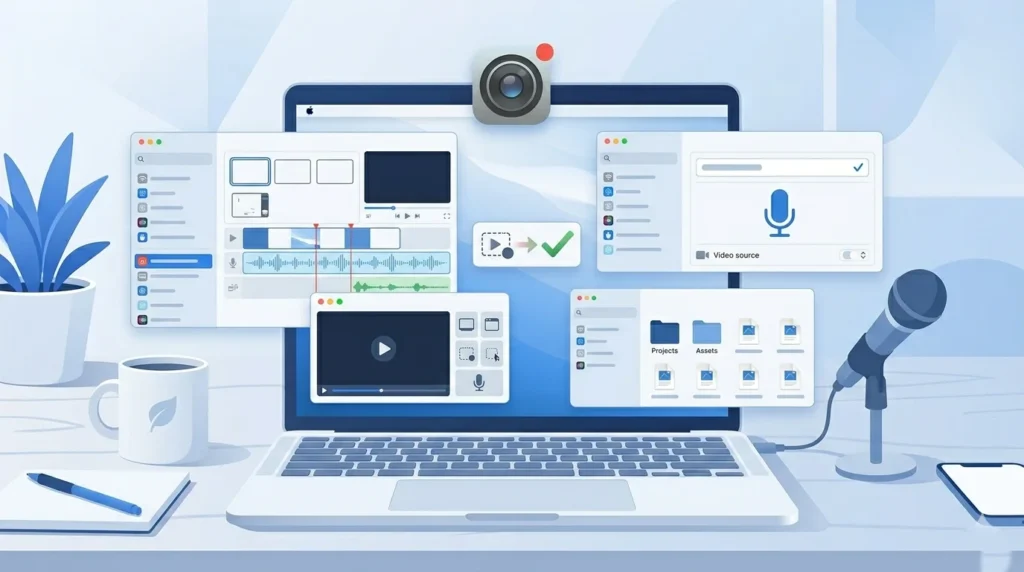
How to Edit a Screen Recording on Mac
You can make quick edits without installing extra software.
Trim a Recording
- Open the video.
- Click Edit.
- Select Trim.
- Adjust the yellow handles.
- Save your changes.
Rename the Recording
Right-click the file and select Rename.
Use descriptive names for easier organization.
Share the Recording
You can share recordings through:
- AirDrop
- Messages
- Cloud Storage
- Video Platforms
How to Record Zoom Meetings and Presentations on Mac
Screen recording is useful for meetings and presentations.
Record Zoom Meetings
Start a screen recording before joining the meeting.
Always ensure you comply with local laws and obtain permission when required.
Record Microsoft Teams Meetings
Use the Screenshot Toolbar or QuickTime Player before starting the presentation.
Record Google Meet Sessions
Select the browser window or entire screen depending on your needs.
Record PowerPoint Presentations
Open your presentation in full-screen mode and begin recording.
This creates an easy-to-share presentation video.
Mac Screen Recording Not Working? Try These Fixes
Sometimes screen recording may fail to start.
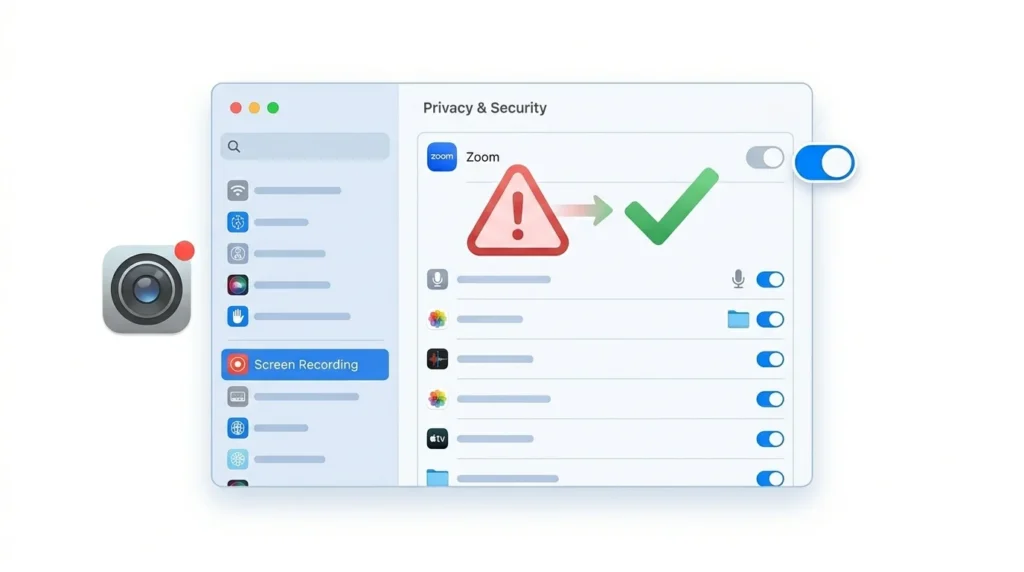
Enable Screen Recording Permissions
- Open System Settings.
- Go to Privacy & Security.
- Select Screen Recording.
- Enable access for the application.
Restart the app if necessary.
Restart Your Mac
A simple restart often resolves temporary issues.
Update macOS
Keeping macOS updated ensures compatibility and bug fixes.
Check Available Storage
Screen recordings can consume significant disk space.
Verify that sufficient storage is available.
Reset Permissions
Disable and re-enable Screen Recording permissions if problems persist.
Best Tips for High-Quality Mac Screen Recordings
For professional-looking videos:
- Use a quality microphone.
- Hide notifications before recording.
- Close unnecessary applications.
- Use native screen resolution.
- Record in a quiet environment.
- Keep your desktop organized.
- Test audio before starting.
These small improvements can make your recordings look much more professional.
Best Screen Recording Apps for Mac
Although macOS includes excellent built-in tools, some users need advanced features.
OBS Studio
Ideal for streaming and professional recording.
More info: Click Here
Loom
Excellent for quick screen recordings and team communication.
More info: Click Here
Camtasia
Provides advanced editing and annotation tools.
More info: Click Here
Screen Studio
Popular among content creators for polished recordings.
More info: Click Here
CleanShot X
Offers enhanced capture and workflow features for Mac users.
Final Thought
Learning how to record screen on Mac is simple because Apple includes powerful recording tools directly in macOS. The Screenshot Toolbar, accessed with Shift + Command + 5, is the fastest method for most users, while QuickTime Player offers another reliable option.
Whether you need to record tutorials, presentations, meetings, or demonstrations, Mac provides everything necessary to capture high-quality screen recordings without installing additional software. By following the steps in this guide, you can record your screen, include audio, edit recordings, and troubleshoot common issues with confidence.
Frequently Asked Questions
Press Shift + Command + 5 to open the Screenshot Toolbar and access screen recording tools.
Yes. Open the Screenshot Toolbar, click Options, and select a microphone before recording.
Yes. Choose Record Selected Portion from the Screenshot Toolbar.
By default, recordings are saved to the Desktop unless you choose a different location.
The most common causes include missing permissions, outdated macOS software, insufficient storage, or temporary system issues.
Yes, but you should always follow local laws and obtain permission when required.