Snipping Tool Auto Save Guide (Windows 11 & 10)
If you frequently take screenshots on Windows, understanding how the Snipping Tool auto-save feature works can save you time and prevent lost files. In this complete guide, you’ll learn how to enable auto-save, where your screenshots are stored, how to change the save location, and how to fix issues when screenshots are not saving automatically.
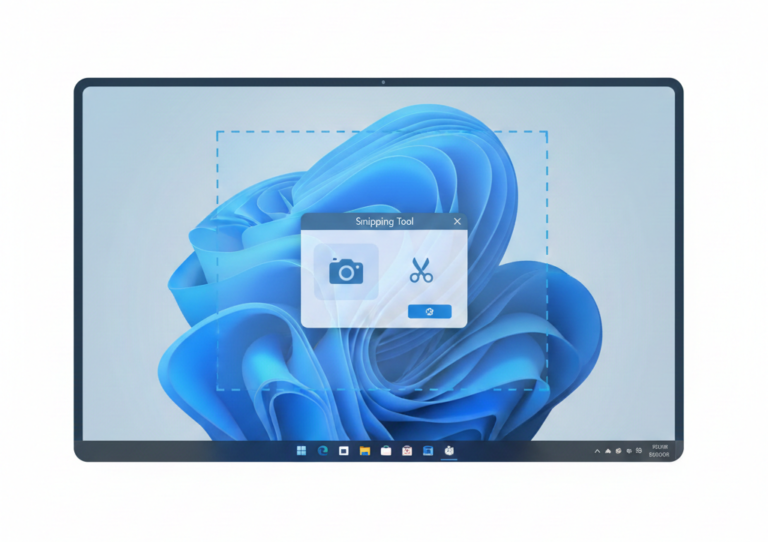
What Is Snipping Tool Auto Save Feature?
The Snipping Tool’s auto-save feature lets Windows automatically store screenshots without you having to click the save button.
In Windows 11, this feature is built directly into the Snipping Tool and can be toggled on or off in settings. Once enabled, every screenshot you capture is saved instantly to your device.
In contrast, Windows 10 does not fully support automatic saving in the same way. Screenshots are usually copied to the clipboard and must be saved manually unless you use alternative methods.
Does Snipping Tool Automatically Save Screenshots?
Yes, but it depends on your system and settings.
- Windows 11: Auto save is available and enabled via settings
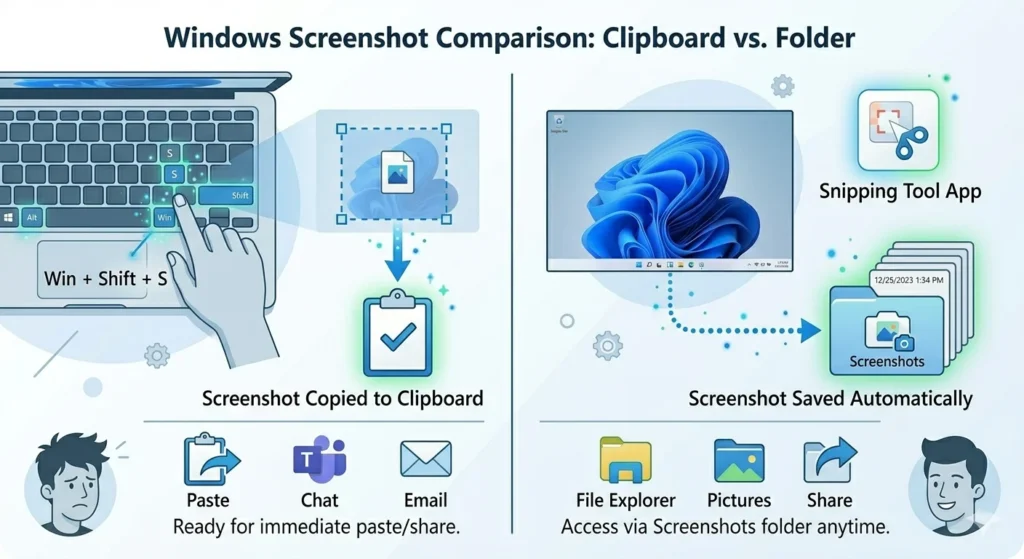
- Windows 10: Screenshots are copied to the clipboard by default
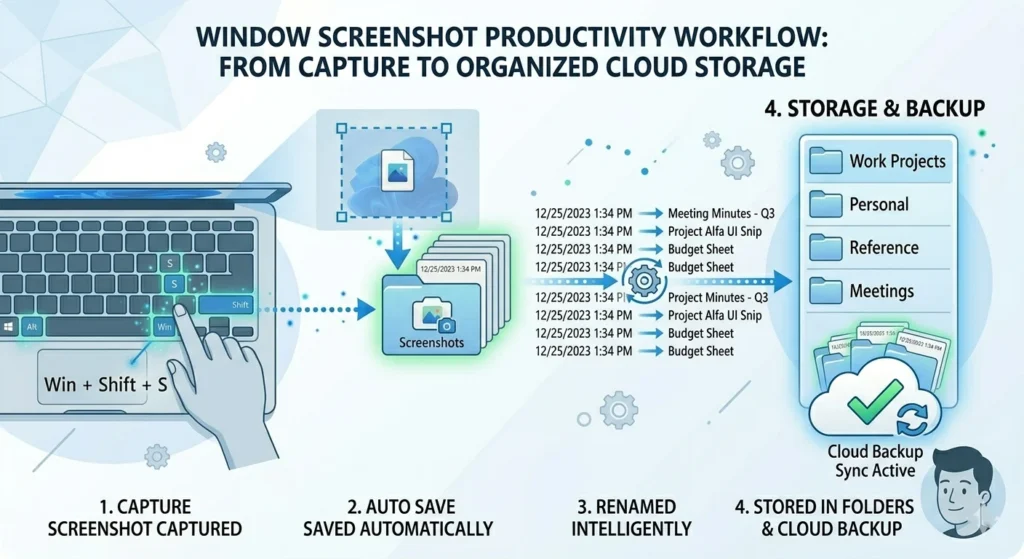
- Keyboard shortcut (Win + Shift + S): May not auto-save unless configured properly
If auto-save is turned on, screenshots are saved instantly after capture without opening the editor.
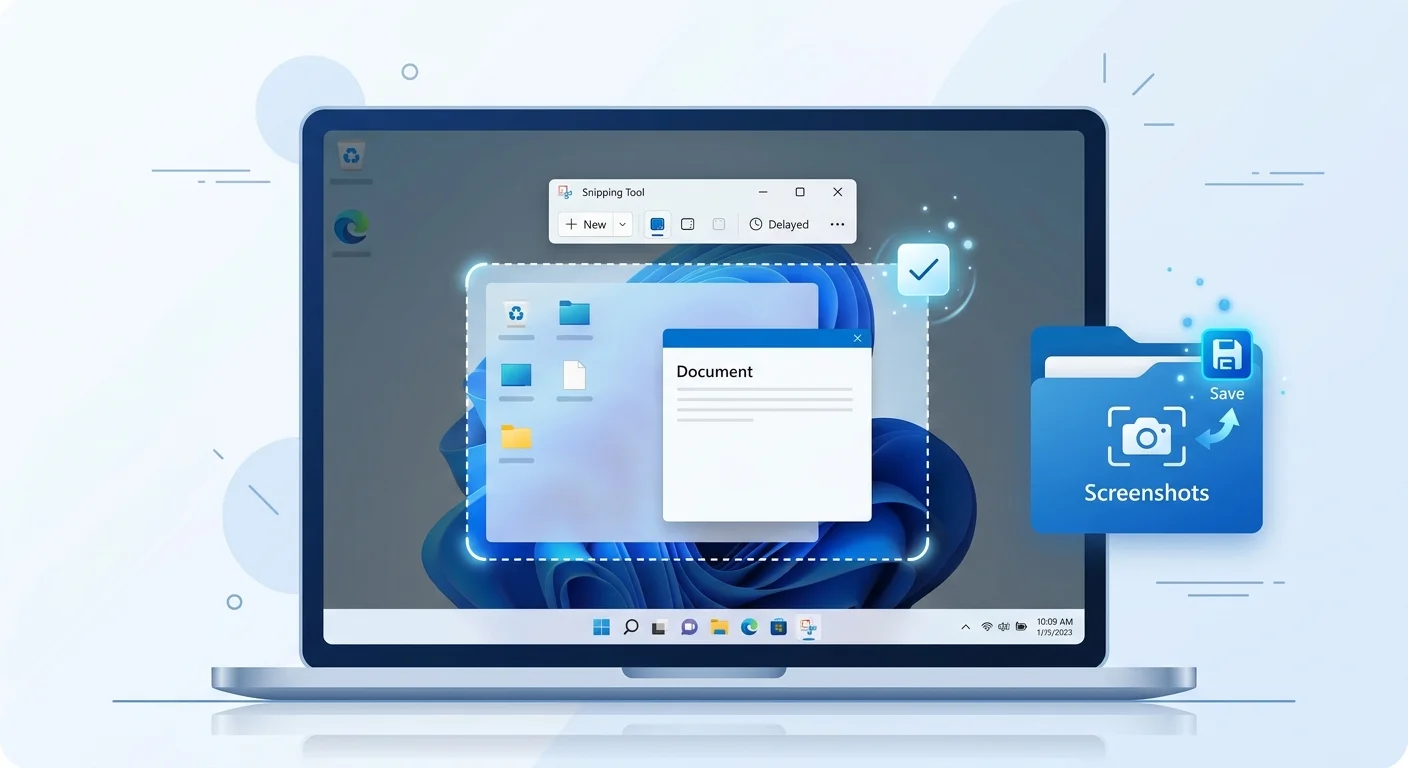
Where Are Snipping Tool Screenshots Saved?
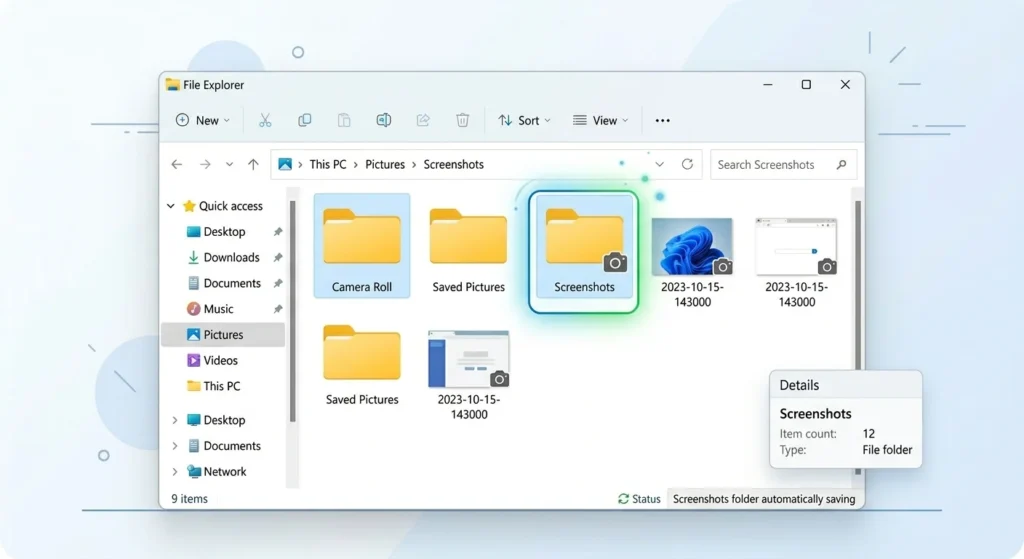
By default, Snipping Tool saves screenshots in the following location:
Pictures → Screenshots
This is the standard folder used by Windows for storing captured images.
Temporary Storage Location
If auto-save is disabled, your screenshot may be temporarily stored in the system memory or the clipboard. In some cases, temporary files may exist in hidden system folders.
OneDrive Integration
If OneDrive is enabled, screenshots may be automatically saved and synced to your OneDrive account under the Pictures folder.
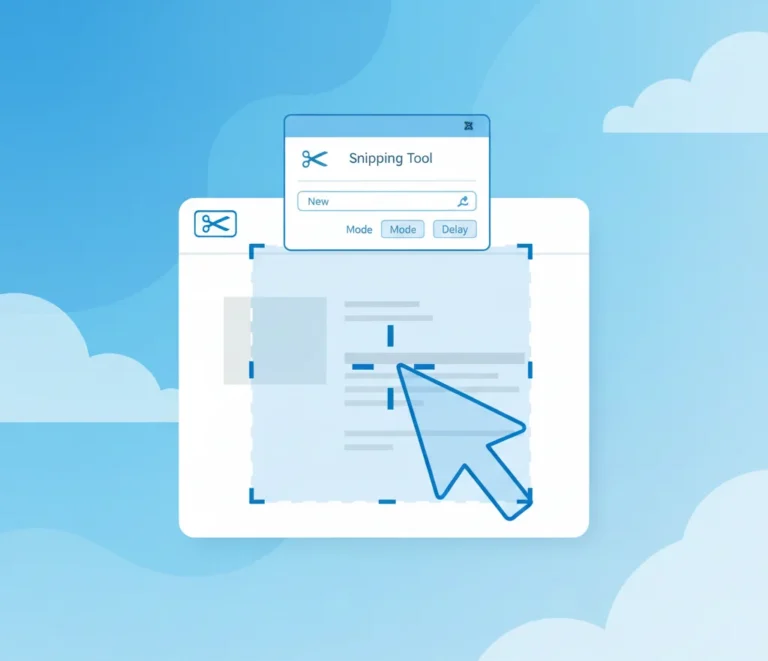
How to Enable Auto Save in Snipping Tool
Follow these steps to turn on auto-save:
- Open Snipping Tool
- Click the three-dot menu (⋯)
- Select Settings
- Turn ON Automatically save screenshots
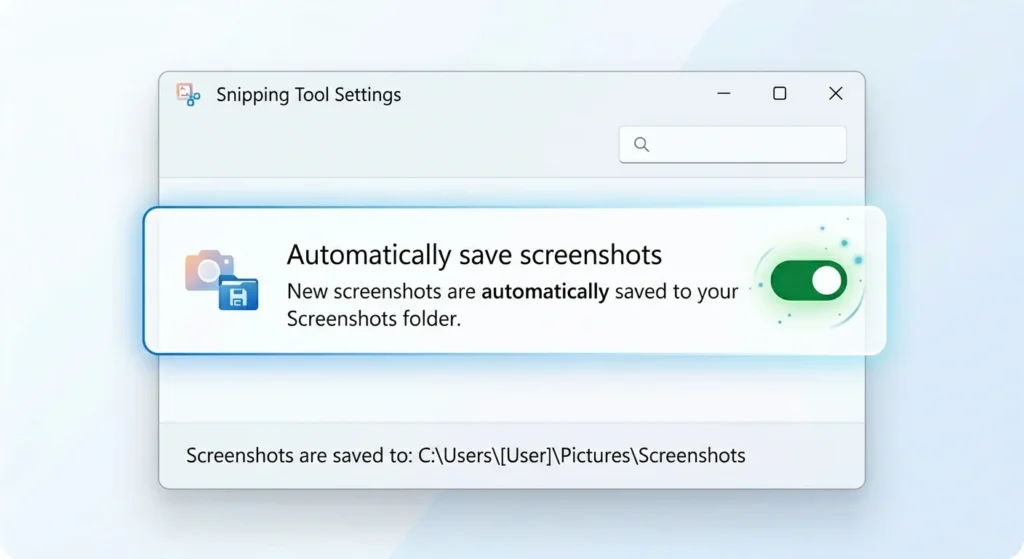
Once enabled, all screenshots will be saved automatically without additional action.
How to Disable Auto Save
If you prefer manual control:
- Open Snipping Tool
- Go to Settings
- Toggle OFF Automatically save screenshots
This will stop screenshots from being saved automatically.
How to Change Snipping Tool Save Location
Windows does not provide a direct setting inside Snipping Tool to change the save location. However, you can modify it using these methods:
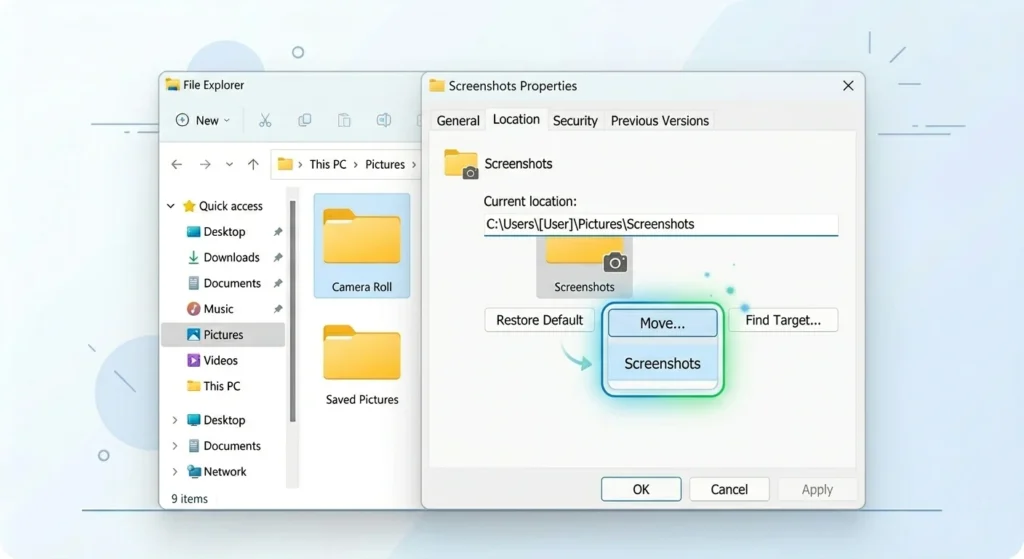
Method 1: Move the Screenshots Folder
- Open Pictures folder
- Right-click on Screenshots
- Select Properties
- Go to the Location tab
- Click Move and choose a new folder
Windows will automatically redirect all future screenshots to the new location.
Method 2: Use Registry Editor (Advanced)
Advanced users can change the save path using the Windows Registry. This method requires caution and is recommended only if you are familiar with system settings.
Snipping Tool Auto Save Not Working (Fixes)
If your screenshots are not saving automatically, try these solutions:

Fix 1: Check Auto Save Settings
Ensure the toggle is enabled in Snipping Tool settings.
Fix 2: Update Windows
Outdated versions of Windows may not support the feature properly.
Fix 3: Check OneDrive Settings
If OneDrive is syncing screenshots, it may override local saving behavior.
Fix 4: Reset Snipping Tool
- Go to Settings → Apps → Installed Apps
- Find Snipping Tool
- Click Advanced Options → Reset
Fix 5: Check Storage Permissions
Ensure Windows has permission to save files in the Pictures folder.
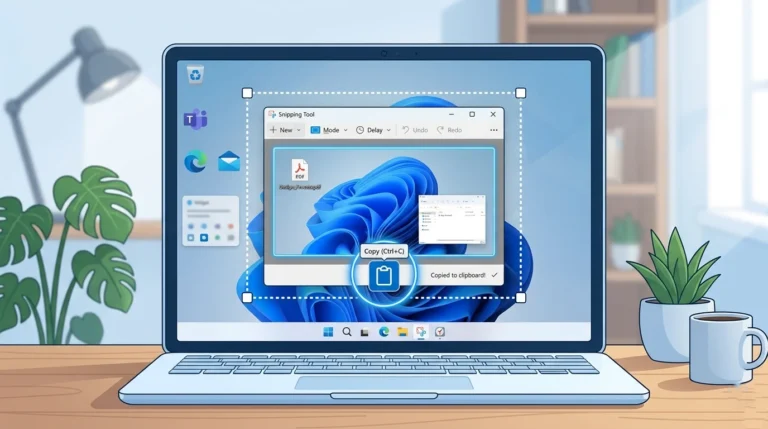
Win + Shift + S Not Auto Saving (Important)
Many users get confused between:
- Snipping Tool app
- Keyboard shortcut (Win + Shift + S)
The shortcut captures screenshots and copies them to the clipboard. It may not auto-save unless:
- Snipping Tool settings allow it
- Notifications are enabled
- You click the preview pop-up
How to Recover Unsaved Screenshots
If your screenshot was not saved:
- Check the clipboard (press Ctrl + V in Paint)
- Look in temporary folders
- Reopen Snipping Tool to see recent captures
Pro Tips for Managing Screenshots
- Enable OneDrive backup to avoid losing files
- Rename screenshots immediately for better organization
- Use folders for different projects
- Consider third-party tools for advanced features
Final Thoughts
The Snipping Tool auto-save feature in Windows 11 makes capturing and storing screenshots much easier. However, it requires proper setup and understanding of how it works.
By enabling auto-save, configuring your storage location, and knowing how to troubleshoot issues, you can streamline your screenshot workflow and avoid losing important captures.
Frequently Asked Questions
Auto save may be disabled in settings or affected by system updates.
Snipping Tool saves images in PNG format by default.
Check the Pictures → Screenshots folder or clipboard.
No, some shortcuts only copy to the clipboard unless configured.