

Snipping Tool Not Working? Try These Proven Fixes (Windows 11 & Windows 10)
If your Snipping Tool is not working, you’re not alone. Many Windows users face issues where the Snipping Tool won’t open, keyboard shortcuts stop working, the screen turns grey and freezes, or screenshots don’t save.
The good news?
Most Snipping Tool problems can be fixed in minutes, without installing third-party software.
This guide walks you through all working fixes, step by step, for Windows 11 and Windows 10.
Quick Fixes (Try These First)
Most Snipping Tool issues are temporary and caused by background glitches.
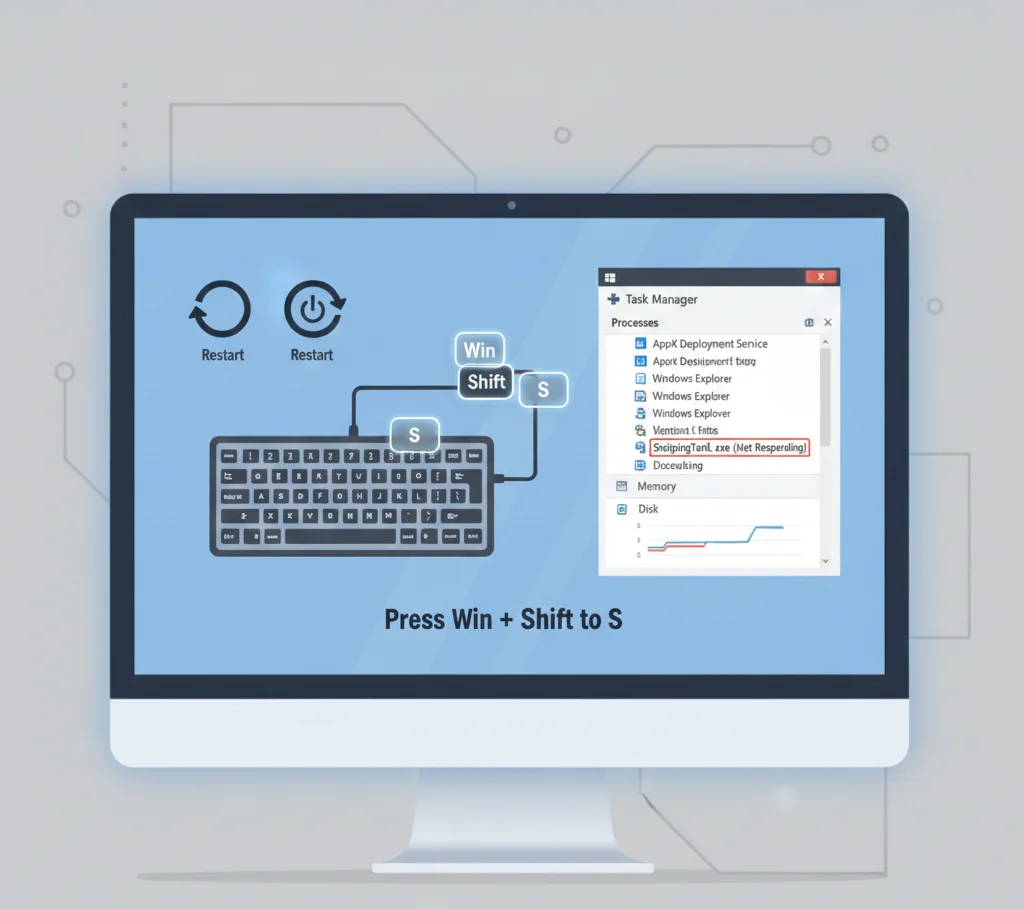
1. Restart the Snipping Tool
- Close the Snipping Tool completely
- Open Task Manager
- End any Snipping Tool processes
- Reopen the app
This alone fixes many launch and freeze issues.
2. Use the Keyboard Shortcut
Press:
Windows + Shift + S
This shortcut opens the snipping overlay directly and works even if the app icon doesn’t respond.
3. Restart Windows Explorer
- Open Task Manager
- Right-click Windows Explorer
- Click Restart
This fixes broken overlays and shortcut issues.
Common Snipping Tool Problems (Identify Your Issue)
Understanding the symptom helps you apply the correct fix.
- Snipping Tool won’t open
- Win + Shift + S not working
- The screen turns grey and freezes
- Can’t select a snip area
- Screenshots not saving
- No notification after taking a snip
- Snipping Tool crashes or closes instantly
If any of these sound familiar, continue below.
Fix 1: Update Windows and Snipping Tool
Outdated system files are a major cause of Snipping Tool errors.
Update Windows
- Open Settings → Windows Update
- Install all available updates
- Restart your PC
Update Snipping Tool
- Open Microsoft Store
- Search for Snipping Tool
- Click Update if available
Microsoft regularly fixes Snipping Tool bugs through updates.
Fix 2: Repair or Reset Snipping Tool (Recommended)
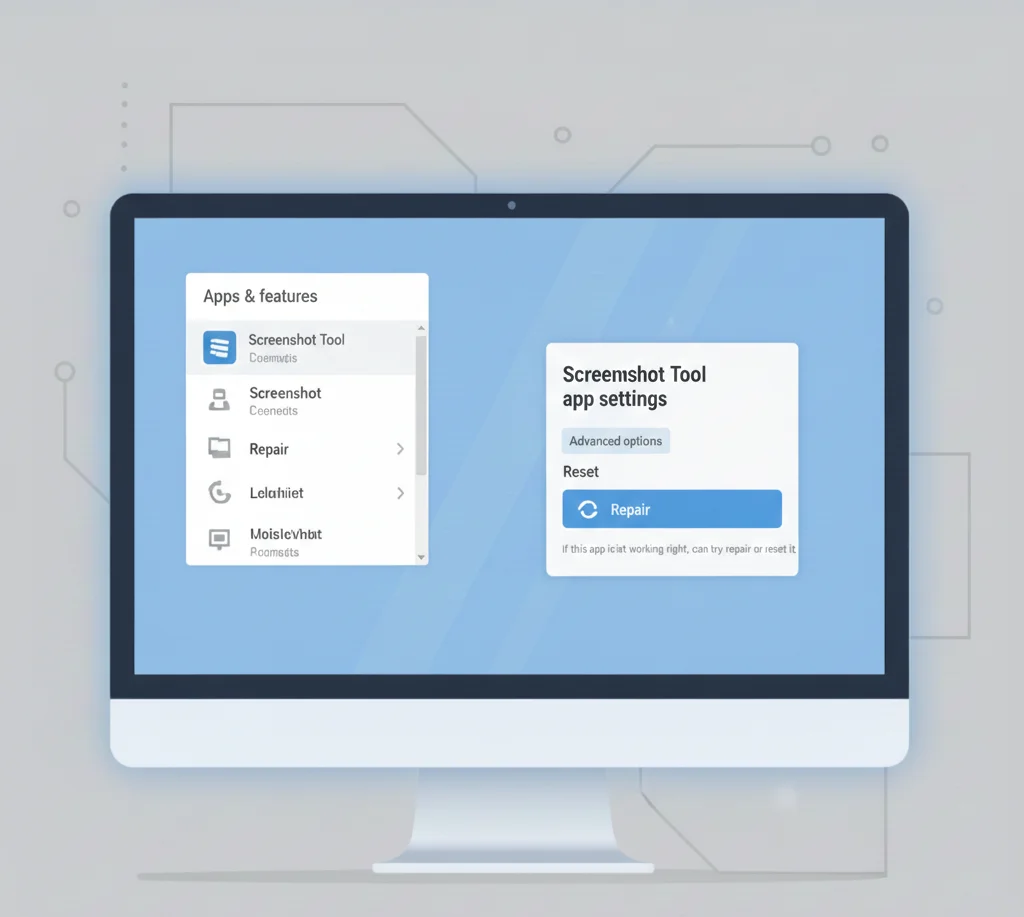
This is one of the most effective fixes.
Steps:
- Open Settings → Apps → Installed apps
- Find Snipping Tool
- Click Advanced options
- Click Repair
- If the issue continues, click Reset
Repair keeps your data. Reset clears app data but fixes deeper issues.
Fix 3: Reinstall Snipping Tool

If repair and reset don’t work, do a clean reinstall.
Steps:
- Open Settings → Apps
- Uninstall Snipping Tool
- Restart your computer
- Reinstall it from the Microsoft Store
This resolves corrupted installation issues.
Fix 4: Check Screenshot & Keyboard Settings

Incorrect settings can silently break the Snipping Tool.
Enable Print Screen for Snipping Tool
- Open Settings → Accessibility → Keyboard
- Enable Use the Print Screen button to open screen snipping
Check Notifications
- Go to Settings → System → Notifications
- Make sure Snipping Tool notifications are enabled
If notifications are disabled, snips may save but appear “missing.”
Fix 5: Fix Win + Shift + S Not Working
If the shortcut does nothing:
- Restart Windows Explorer
- Repair the Snipping Tool
- Disable conflicting screen recording or overlay apps
- Check if another app is overriding the shortcut
Keyboard shortcut conflicts are common with screen recorders.
Fix 6: Grey Screen or Dim Overlay Issue

A dim screen is normal when selecting a snip, but it should not freeze.
If it freezes:
- Press Esc to exit
- Restart Snipping Tool
- Restart Windows Explorer
- Repair or reset the app
Frozen overlays usually indicate a background process conflict.
Fix 7: Screenshots Not Saving
If your snips disappear:
- Check the Screenshots folder
(Pictures → Screenshots) - Enable Snipping Tool notifications
- Press Ctrl + S after taking a snip
- Verify OneDrive isn’t interfering with folders
Snips don’t auto-save unless configured or manually saved.
Fix 8: Repair Windows System Files (Advanced)

If nothing works, system files may be damaged.
Run System File Checker
- Open Command Prompt as Administrator
- Run:
sfc /scannowRun DISM Tool
DISM /Online /Cleanup-Image /RestoreHealthRestart your PC afterward and test the Snipping Tool again.
Windows 11 vs Windows 10: Important Notes
- Windows 11 combines Snipping Tool + Snip & Sketch
- Windows 10 may still show older naming
- Shortcuts and core features are the same
- Updates are more frequent on Windows 11
Knowing your Windows version helps apply the right fixes.
How to Prevent Snipping Tool Issues in the Future
- Keep Windows updated
- Avoid multiple screenshot tools running together
- Restart Explorer if shortcuts stop working
- Use Win + Shift + S instead of opening the app manually
Final Thoughts
When the Snipping Tool is not working, the problem is usually simple: outdated files, broken settings, or a frozen process. By following the fixes above in order, you can restore it without installing extra software.
If you frequently take screenshots, keeping the Snipping Tool updated and knowing its shortcuts will save you time and frustration.
Frequently Asked Questions
Usually, this is due to outdated updates, corrupted app files, or disabled screenshot settings.
The shortcut may be overridden, Windows Explorer may be frozen, or the app needs repair.
Snips don’t auto-save unless you manually save them or enable notifications.
Go to Settings → Apps → Snipping Tool → Advanced options → Reset.
No. Microsoft continues to update and support it, especially in Windows 11.
