How to Take a Screenshot With Snipping Tool (Windows 10 & Windows 11)
Taking screenshots on Windows is quick and easy using the built-in Snipping Tool. Whether you want to capture a specific area, an active window, or your entire screen, the Snipping Tool gives you full control, without installing any third-party software.
In this guide, you’ll learn exactly how to take a screenshot with Snipping Tool, including keyboard shortcuts, step-by-step instructions, saving locations, and common troubleshooting tips for Windows 10 and Windows 11 users.
What Is the Snipping Tool in Windows?
The Snipping Tool is a built-in screenshot utility included with Windows. It allows you to capture:
- A selected area of the screen
- A specific window
- The entire screen
- Free-form shapes
It also includes basic editing tools like cropping, highlighting, and annotation, making it ideal for tutorials, documentation, and quick sharing.
Quickest Way to Take a Screenshot With Snipping Tool

Use the Keyboard Shortcut (Fastest Method)
The fastest way to take a screenshot with Snipping Tool is:
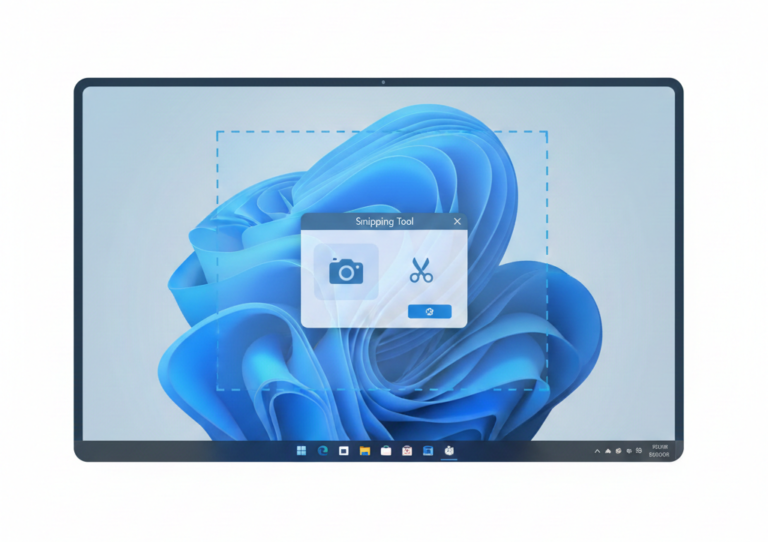
Windows + Shift + S
When you press this shortcut:
- The screen dims
- The snipping toolbar appears at the top
- Choose your snip type
- Capture the screenshot instantly
The screenshot is copied to your clipboard and opens in the Snipping Tool editor when you click the notification.
Best for quick screenshots
Works in both Windows 10 and Windows 11
Step-by-Step: How to Take a Screenshot Using Snipping Tool
Step 1: Open the Snipping Tool
- Click Start
- Type Snipping Tool
- Open the app
(Optional: Pin it to your taskbar for faster access.)
Step 2: Choose a Snip Mode
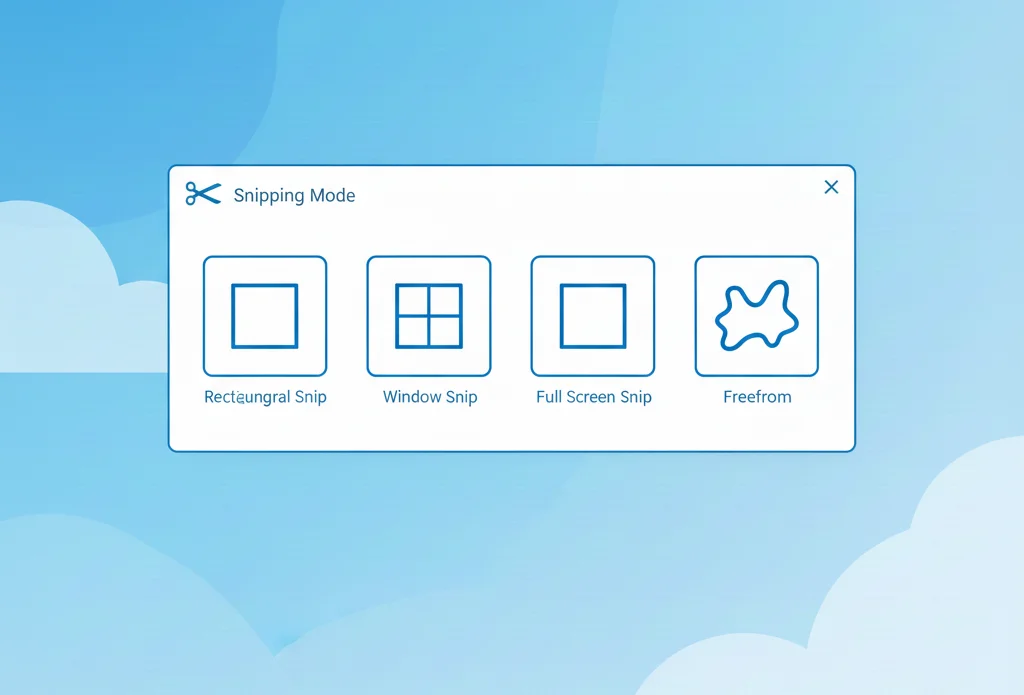
Click the Snip mode dropdown and select:
- Rectangular Snip – capture a specific area
- Window Snip – capture one open window
- Full-screen Snip – capture the entire screen
- Freeform Snip – draw a custom shape
Step 3: Click “New” and Take the Screenshot
- Click New
- Select the area/window/screen you want to capture
- The screenshot opens automatically in the editor
Step 4: Edit or Annotate (Optional)
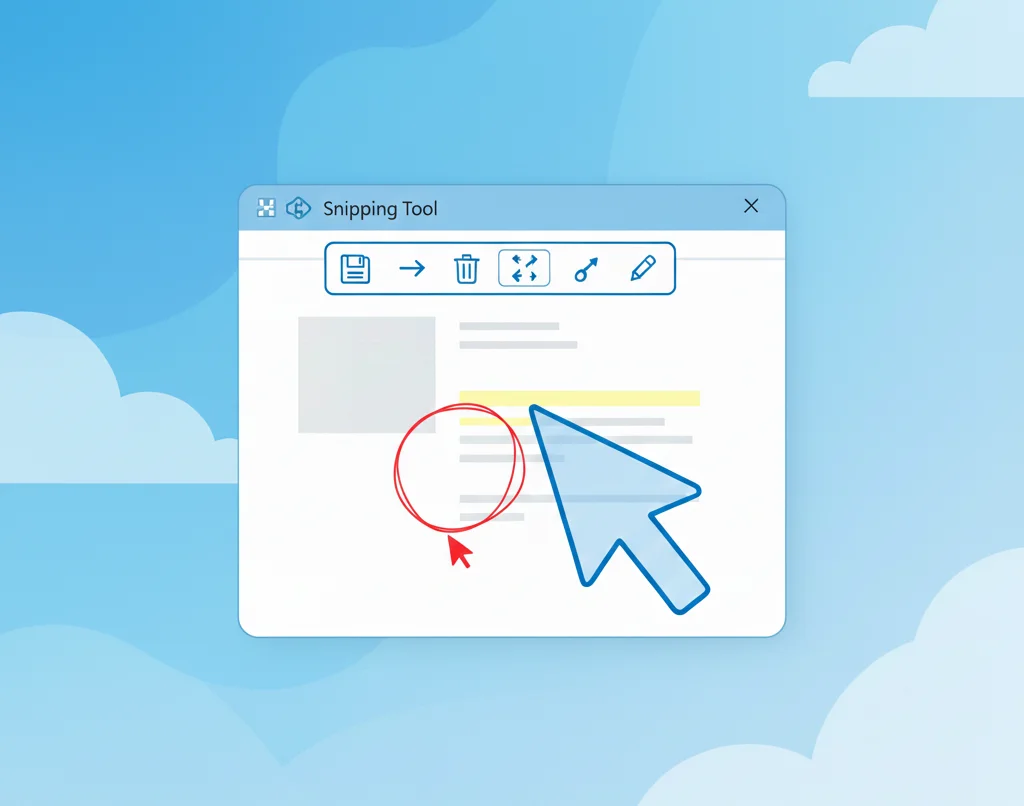
You can:
- Crop the image
- Highlight important areas
- Use pen or highlighter tools
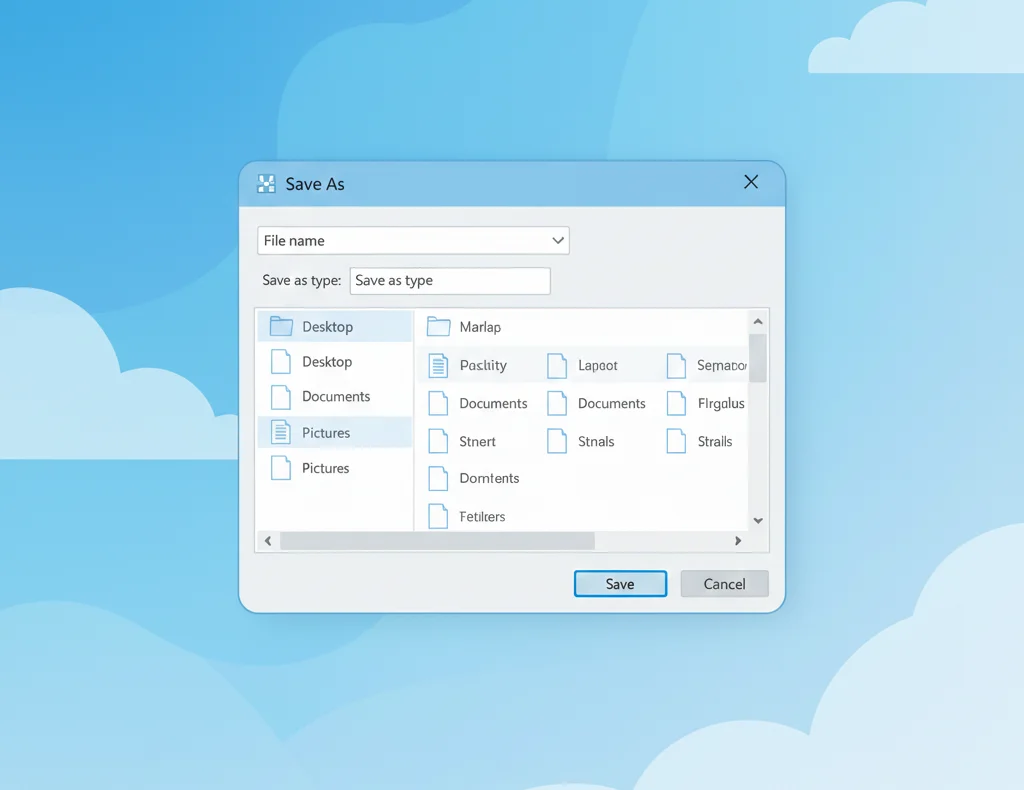
Step 5: Save or Copy the Screenshot
- Click Save to store it on your PC
- Click Copy to paste it into email, Word, or chat apps
How to Screenshot Specific Things With Snipping Tool
Screenshot a Specific Area
Use Rectangular Snip to drag and capture only the part you need.
Best for tutorials and guides
Screenshot an Active Window
Use Window Snip and click the window you want to capture.
Cleaner than cropping later
Screenshot the Full Screen
Use Full-screen Snip to capture everything visible.
Best for error messages or full layouts
Screenshot Menus or Tooltips
Open the menu first, then press Win + Shift + S quickly.
(Some versions also support delayed capture.)
Snipping Tool Keyboard Shortcuts You Should Know
| Shortcut | Action |
|---|---|
| Win + Shift + S | Open snipping overlay |
| Ctrl + S | Save screenshot |
| Ctrl + C | Copy screenshot |
| Esc | Cancel snip |
Where Do Snipping Tool Screenshots Save?
- By default, screenshots are copied to the clipboard
- They are saved only after you click Save
- You can choose any folder (recommended: a dedicated “Screenshots” folder)
Tip: If you close the editor without saving, the screenshot is lost.
Snipping Tool vs Print Screen (Quick Comparison)
| Feature | Snipping Tool | Print Screen |
|---|---|---|
| Select a specific area | Yes | No |
| Capture window only | Yes | No |
| Built-in editing | Yes | No |
| One-key capture | No | Yes |
Troubleshooting Snipping Tool Screenshots
Win + Shift + S Not Working
- Check your keyboard
- Restart Windows Explorer
- Make sure Snipping Tool is installed and updated
Screenshot Didn’t Save
- You must click Save
- Snipping Tool does not auto-save by default
Notification Disappeared
- The screenshot is still in your clipboard
- Paste it into Paint, Word, or Photos
Final Thoughts
If you’re wondering how to take a screenshot with Snipping Tool, the answer is simple:
Use Win + Shift + S for speed, or open the app for more control.
Snipping Tool is powerful enough for most users and eliminates the need for third-party screenshot software on Windows.
Frequently Asked Questions
Press Windows + Shift + S, choose a snip mode, and capture.
Yes, it works on both versions.
Yes, use Window Snip mode.
They stay in the clipboard until you save them manually.
Yes, for selective and annotated screenshots.