Where Are Snipping Tool Screenshots Saved in Windows 10 – Explained
Many Windows users take a screenshot with the Snipping Tool and then immediately ask the same question: Where did my screenshot go?
Unlike other screenshot methods in Windows 10, the Snipping Tool works a little differently, and that difference is exactly what causes the confusion.
In this guide, you’ll learn where Snipping Tool screenshots are saved in Windows 10, why they sometimes seem to disappear, and how to control where your screenshots end up.
Does Snipping Tool Automatically Save Screenshots in Windows 10?
No.
By default, the Snipping Tool does not automatically save screenshots in Windows 10.
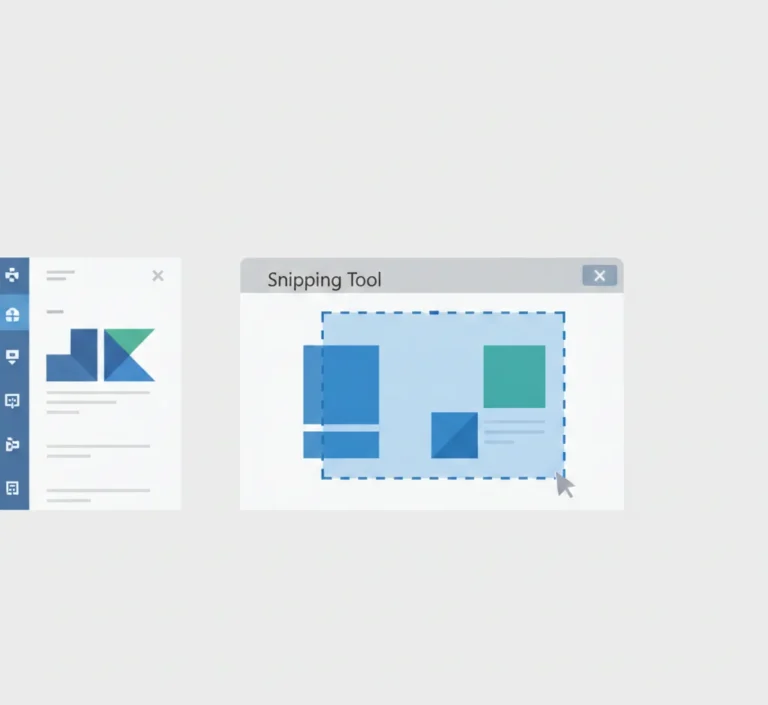
When you capture a snip:
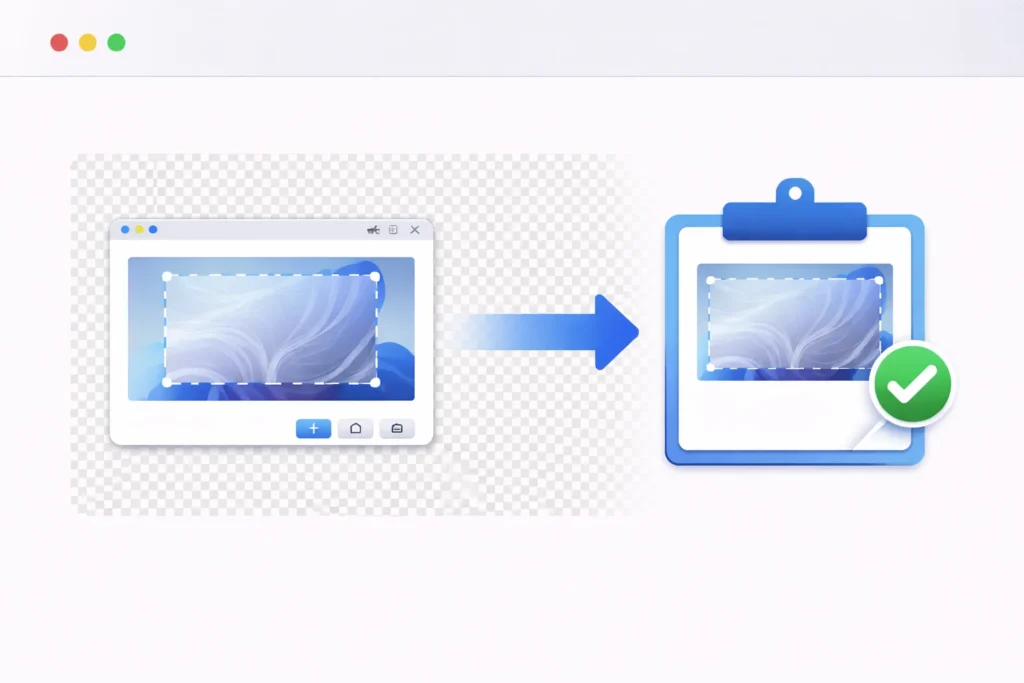
- The image is copied to the clipboard
- A preview opens inside the Snipping Tool window
- Nothing is saved to your computer unless you manually save it
This behavior is intentional and has been part of the Snipping Tool design since its introduction.
Where Are Snipping Tool Screenshots Saved by Default?
The save location depends entirely on what you do after taking the screenshot.
When You Manually Save a Snip
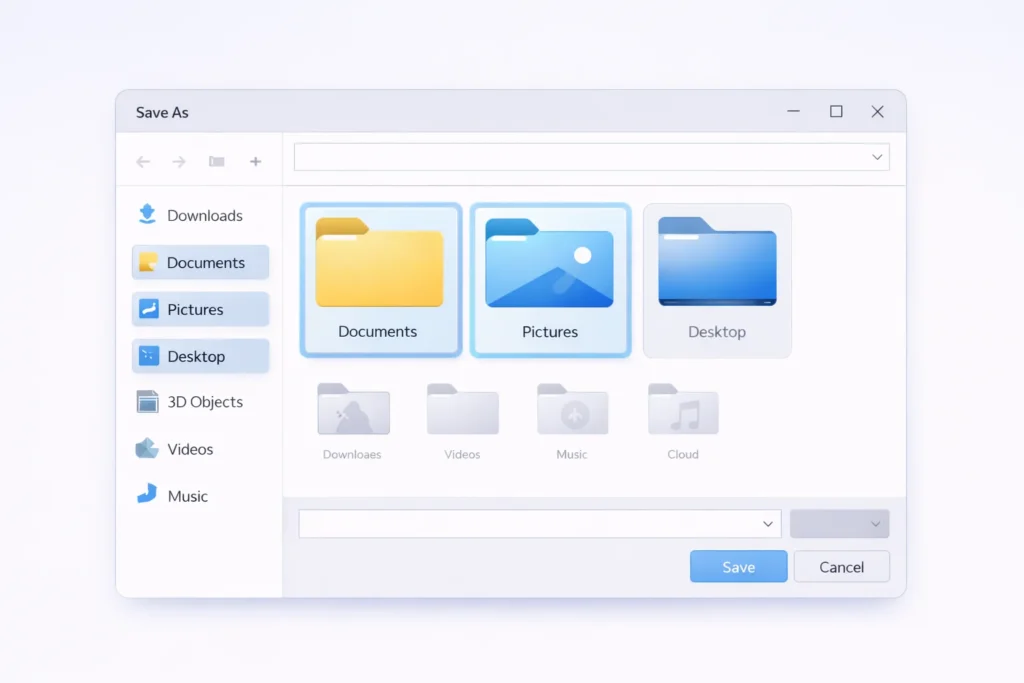
If you click File → Save As, Windows lets you choose the location. Common default suggestions include:
- Documents
- Pictures
- Desktop
- Any folder you previously used
There is no fixed default folder for Snipping Tool screenshots. Windows remembers the last folder you selected, not a permanent save path.
Supported file formats:
- PNG (most common)
- JPG
- GIF
- HTML (single-file webpage capture)
When You Don’t Save the Screenshot
If you close the Snipping Tool without saving:
- The screenshot exists only in the clipboard
- It is not stored anywhere on your disk
- Once the clipboard is overwritten or cleared, the screenshot is lost
This is the most common reason users think their screenshots “disappeared.”
Where Are Screenshots Saved When Using Snip & Sketch?
Many users confuse Snipping Tool with Snip & Sketch, which behaves differently.
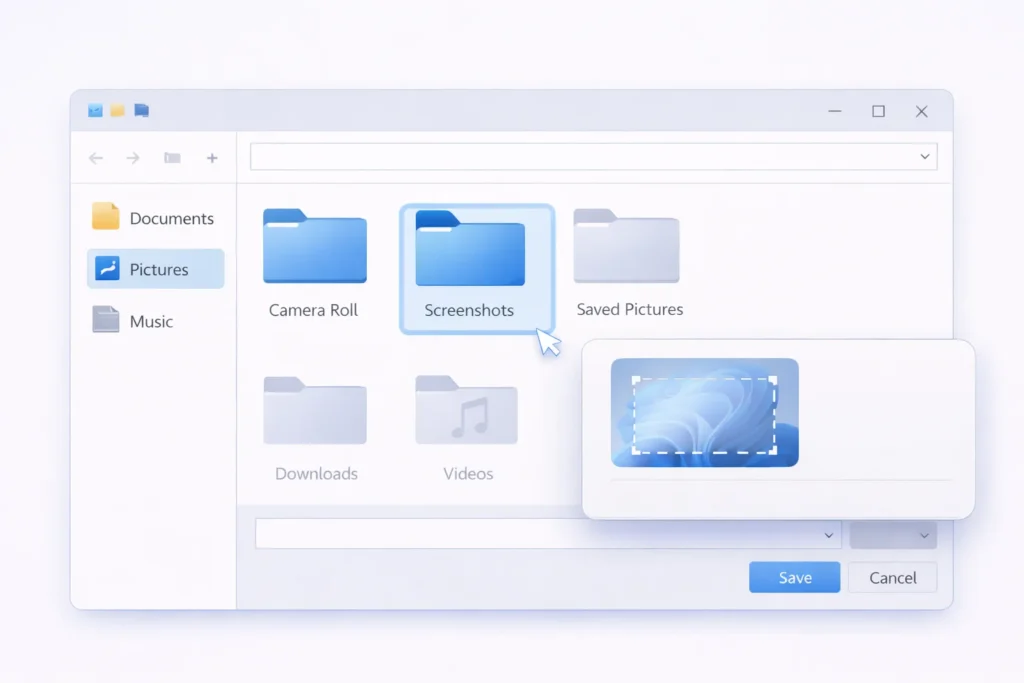
When you use Snip & Sketch:
- Screenshots can be automatically saved
- The default folder is:
Pictures → Screenshots
If notifications are enabled, you’ll see a prompt allowing you to open or edit the screenshot immediately after capture.
How to Change the Screenshot Save Location in Windows 10
Change the Screenshots Folder (For Auto-Saved Screenshots)
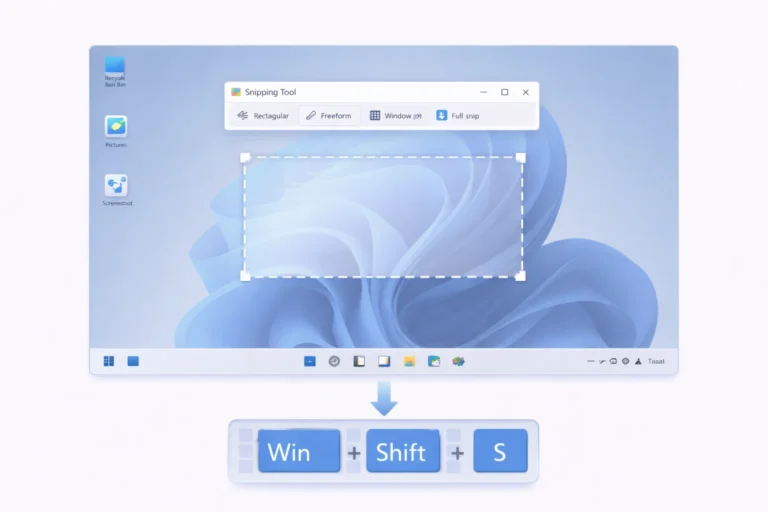
This applies to Win + Print Screen and Snip & Sketch, not classic Snipping Tool.
- Open File Explorer
- Go to Pictures
- Right-click Screenshots
- Select Properties
- Open the Location tab
- Click Move and choose a new folder
Windows will now save all future screenshots to the new location.
Can You Set a Default Save Location for Snipping Tool?
Unfortunately, no.
The classic Snipping Tool does not allow you to define a permanent default save folder. You must manually choose a location every time you save.
Why You Can’t Find Your Snipping Tool Screenshots (Common Reasons)
If you can’t locate your screenshot, one of these is usually the cause:
- You didn’t click Save
- You assumed it auto-saves like Print Screen
- The clipboard was overwritten
- You closed the Snipping Tool accidentally
- You’re signed into a different Windows user account

Tip: If you still have the snip preview open, it hasn’t been lost yet; save it immediately.
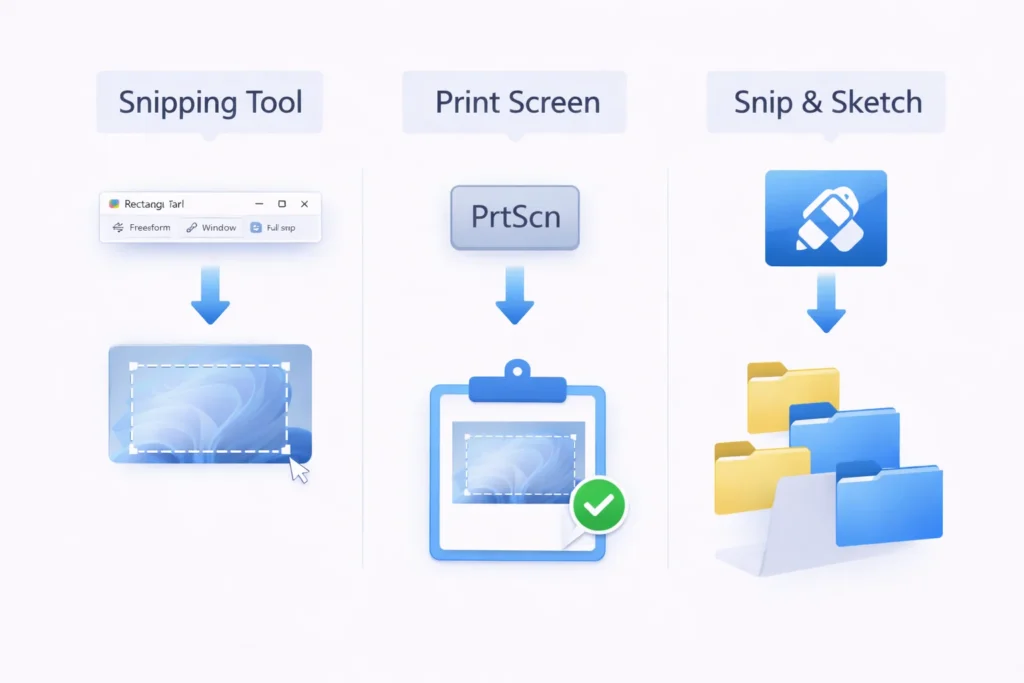
Snipping Tool vs Print Screen: Where Screenshots Are Saved
| Screenshot Method | Save Location |
|---|---|
| Snipping Tool | Manual (user-selected folder) |
| PrtScn | Clipboard only |
| Alt + PrtScn | Clipboard (active window) |
| Win + PrtScn | Pictures → Screenshots |
| Snip & Sketch | Pictures → Screenshots |
Can You Recover an Unsaved Snipping Tool Screenshot?
In most cases, no.
If:
- The Snipping Tool window is closed
- The clipboard has been overwritten
- The system has been restarted
…the screenshot cannot be recovered.
Your only chance is pasting (Ctrl + V) into an image editor before anything else copies over the clipboard.
Is Snipping Tool Still Available in Windows 10?
Yes.
Although Microsoft has encouraged users to move toward Snip & Sketch, the classic Snipping Tool is still included in Windows 10 and continues to work normally.
Best Way to Always Save Screenshots Automatically
If automatic saving matters to you, consider:
- Using Snip & Sketch
- Using Win + Print Screen
- Switching to a third-party screenshot tool with auto-save rules
These options eliminate the clipboard – only limitation of the Snipping Tool.
Final Thoughts
If you’ve been wondering where Snipping Tool screenshots are saved in Windows 10, the answer is simple:
They aren’t saved unless you save them yourself.
Once you understand the clipboard-based behavior, the confusion disappears, and you can choose the screenshot method that best fits your workflow.
Frequently Asked Questions
They are not saved automatically. You must manually choose a save location using Save As.
Because it was designed as a lightweight capture utility that relies on clipboard behavior.
The folder you should check first depends on what you are looking for.
Yes. Snip & Sketch supports auto-saving, while Snipping Tool does not.