What Is the Snipping Tool in Windows? Explained Simply
The Snipping Tool in Windows is a built-in screenshot utility that allows users to capture, edit, and save images of their screen without installing third-party software. It is designed for quick screen captures, making it useful for tutorials, troubleshooting, documentation, and everyday productivity.
Available in modern versions of Microsoft Windows, the Snipping Tool offers multiple capture modes, basic annotation features, and fast keyboard shortcuts, making it one of the simplest ways to take screenshots on a Windows PC.
- What Is the Snipping Tool in Windows?
- What Does the Snipping Tool Do?
- Types of Snips in the Snipping Tool
- How to Open and Use the Snipping Tool
- Key Features of the Snipping Tool
- Snipping Tool in Different Windows Versions
- When Should You Use the Snipping Tool?
- Snipping Tool vs Print Screen vs Third-Party Tools
- Common Problems and Fixes
- Final Thoughts
- Frequently Asked Questions
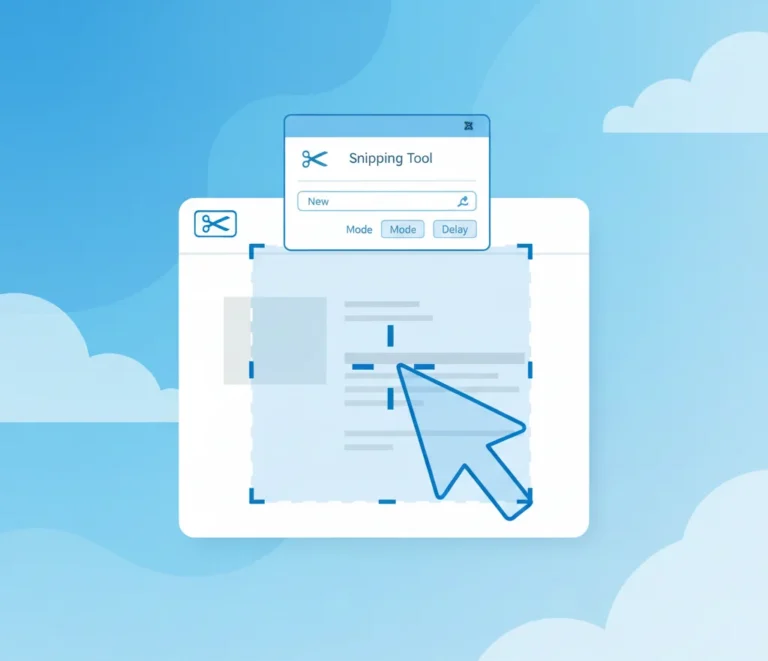
What Is the Snipping Tool in Windows?

The Snipping Tool is a native Windows application developed by Microsoft for taking screenshots (also called snips). It lets you capture specific areas of your screen, entire windows, or the full display, then annotate or save the image.
Microsoft first introduced the Snipping Tool as a built-in feature in Windows Vista, and it has remained part of Windows ever since, including Windows 10 and Windows 11. Over time, the tool has been updated with a modern interface and additional features.
What Does the Snipping Tool Do?
The Snipping Tool allows you to:
- Take screenshots of selected screen areas
- Capture active windows or the full screen
- Annotate screenshots using basic drawing tools
- Save screenshots in common image formats
- Copy screenshots directly to the clipboard
- Use a delay timer to capture menus or pop-ups
In newer Windows versions, the Snipping Tool has also expanded to support basic screen recording, making it more versatile than earlier releases.
Types of Snips in the Snipping Tool

The Snipping Tool includes several capture modes, each suited to a different use case.
Rectangular Snip
Captures a rectangular portion of the screen by clicking and dragging your mouse. This is the most commonly used snip type.
Free-Form Snip
Let’s you draw a custom shape around the area you want to capture. Useful for irregular selections.
Window Snip
Captures an entire application window, such as a browser or dialog box.
Full-Screen Snip
Takes a screenshot of your entire display, similar to the Print Screen key.
How to Open and Use the Snipping Tool
Using the Snipping Tool is simple and requires no technical knowledge.
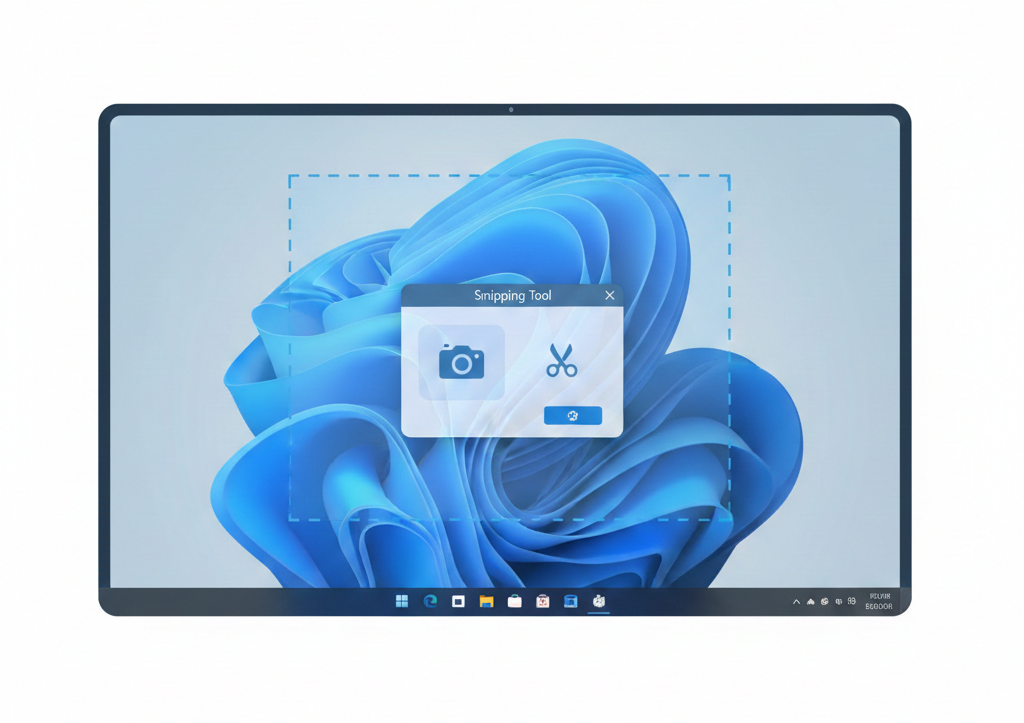
How to Open the Snipping Tool
You can open the Snipping Tool in several ways:
- Open the Start Menu, type Snipping Tool, and select it
- Use the keyboard shortcut Windows + Shift + S
- Search for it using Windows Search
How to Take a Screenshot
- Open the Snipping Tool
- Click New (or use the shortcut)
- Select the snip mode you want
- Capture the desired area of the screen
- Edit, save, or copy the screenshot
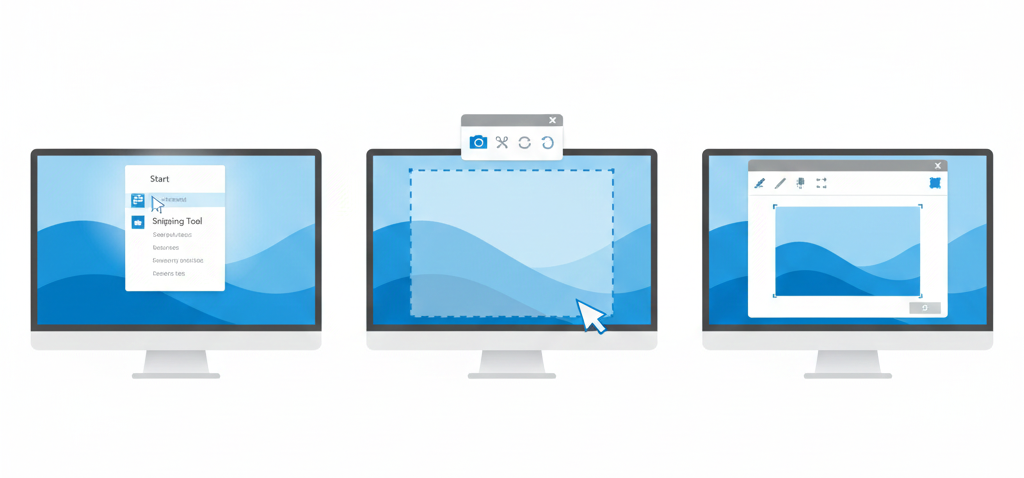
Once captured, the image opens in an editor where you can annotate or save it.
Key Features of the Snipping Tool

The Snipping Tool includes several practical features that make it useful for everyday tasks.
Delay Capture
You can set a timer (a few seconds) before taking a screenshot. This is helpful when capturing tooltips, dropdown menus, or right-click menus.
Basic Annotation Tools
After taking a snip, you can use a pen or highlighter to mark important areas or add simple notes.
Save and Share Options
Screenshots can be saved in popular formats such as PNG, JPEG, or GIF, or copied to the clipboard for immediate use in emails or documents.
Screen Recording (Windows 11)
In newer Windows versions, the Snipping Tool includes basic screen recording functionality, allowing you to capture short videos of on-screen activity.
Snipping Tool in Different Windows Versions
Windows 10
In Windows 10, the Snipping Tool is included by default. Microsoft also introduced Snip & Sketch, which shares similar functionality. Over time, features from Snip & Sketch have been merged back into the Snipping Tool.
Windows 11
Windows 11 features an updated version of the Snipping Tool with a modern interface, tighter system integration, and optional screen recording support.
Despite visual changes, the core purpose of the Snipping Tool remains the same across versions.
When Should You Use the Snipping Tool?
The Snipping Tool is ideal for:
- Creating tutorials or step-by-step guides
- Capturing error messages for support requests
- Documenting software bugs or UI issues
- Sharing screen information with team members
- Taking quick screenshots without installing extra software
Because it’s built into Windows, it’s often faster and safer than downloading third-party screenshot tools.
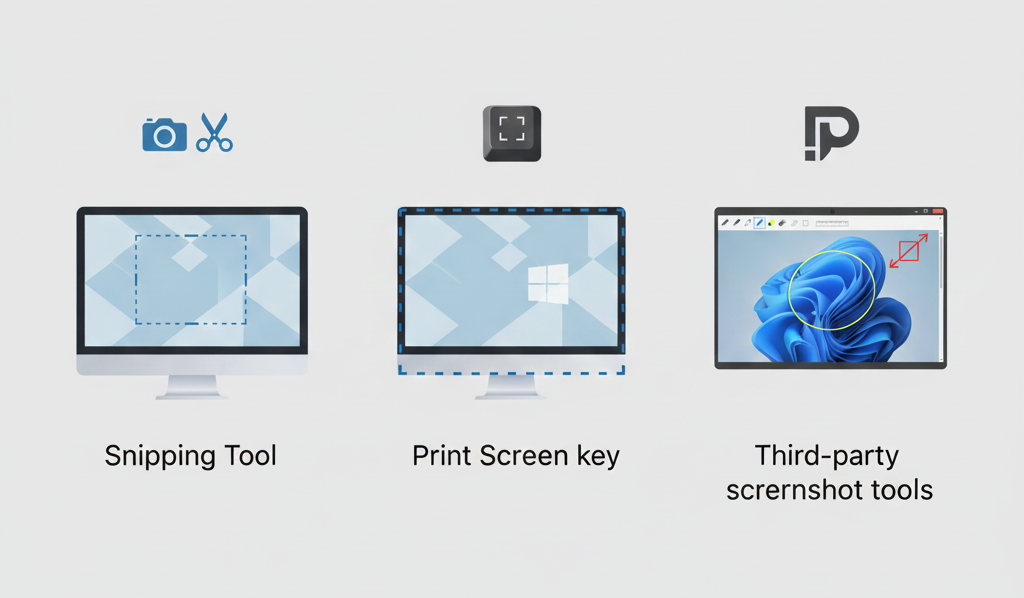
Snipping Tool vs Print Screen vs Third-Party Tools
| Feature | Snipping Tool | Print Screen | Third-Party Tools |
|---|---|---|---|
| Built into Windows | Yes | Yes | No |
| Select specific area | Yes | No | Yes |
| Annotation tools | Basic | No | Advanced |
| Screen recording | Limited | No | Yes |
| Installation needed | No | No | Yes |
Common Problems and Fixes
Snipping Tool Missing
If you can’t find the Snipping Tool, it may be disabled or removed. Updating Windows or reinstalling system apps usually restores it.
Screenshot Not Saving
By default, screenshots are not auto-saved in older versions. You must manually save them unless auto-save is enabled.
Shortcut Not Working
Make sure Windows + Shift + S is enabled in system settings and not overridden by another application.
Final Thoughts
The Snipping Tool in Windows is a simple yet powerful utility for capturing screenshots and basic screen recordings. Whether you’re a casual user, a professional, or a support technician, it provides an easy way to capture and share on-screen information without relying on third-party software.