
Snipping Tool Screen Record: Complete Guide for Windows 11 (Step-by-Step)
If you’re searching for Snipping Tool Screen Record, you probably want to know whether Windows’ built-in tool can record video, and how to use it properly.
The good news? Yes, Snipping Tool can record your screen on Windows 11. Microsoft added screen recording functionality in recent updates, allowing users to capture video clips without installing third-party software.
In this article, you’ll learn:
- How to use the Snipping Tool screen record
- Keyboard shortcuts
- Audio recording support
- Where recordings are saved
- Limitations
- Best alternatives if you need advanced features
Let’s dive in.
What Is Snipping Tool?
Snipping Tool is a built-in Windows utility developed by Microsoft for capturing screenshots.
Originally introduced in Windows Vista, it has evolved significantly. In Windows 11, Microsoft merged the classic Snipping Tool with Snip & Sketch and later added screen recording capability.
Today, the tool supports:
- Screenshot capture (rectangular, window, fullscreen, freeform)
- Basic annotation tools
- Screen recording (video snip feature)
Does Snipping Tool Screen Record?
Yes, but only on:
- Windows 11 (updated versions)
- Not supported on Windows 10
The screen recording feature was first rolled out to Windows Insiders and later became widely available via Microsoft Store updates.
It allows you to:
- Select a portion of the screen
- Record video
- Save recordings as MP4
- Record with a microphone (in newer versions)
How to Use Snipping Tool Screen Record (Step-by-Step)
Follow these steps to record your screen using Snipping Tool:
Step 1: Open Snipping Tool
Press:
Windows + Shift + S
OR
Search Snipping Tool from the Start menu and open it.
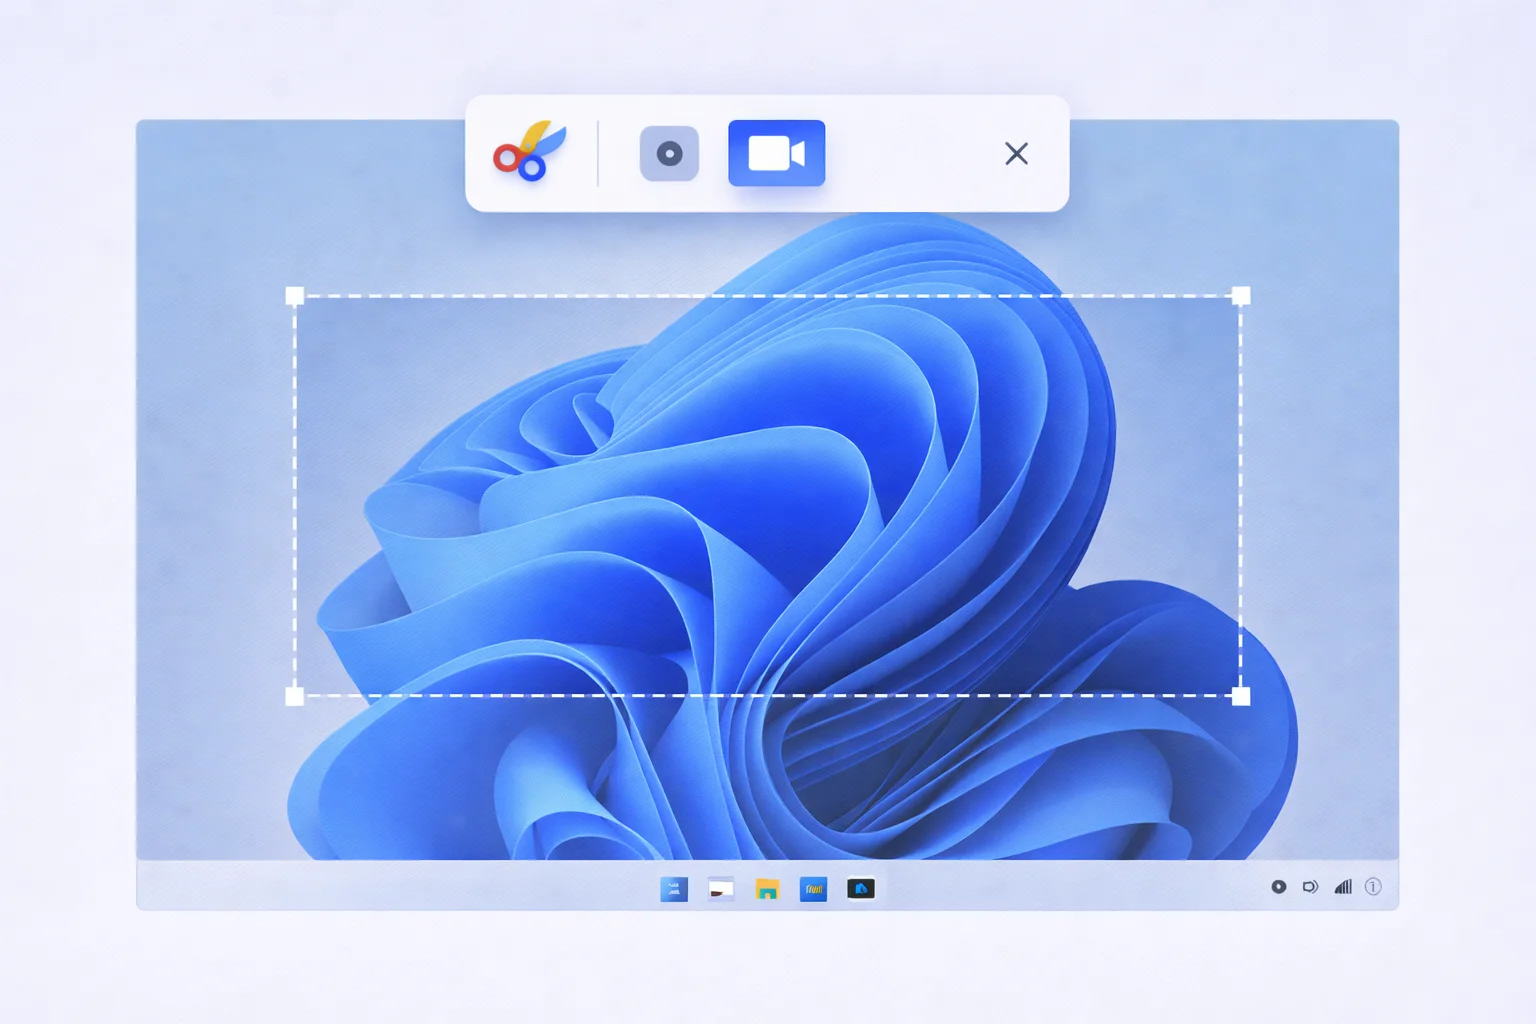
Step 2: Switch to Record Mode
At the top of the Snipping Tool window:
- Click the video camera icon
- Select New
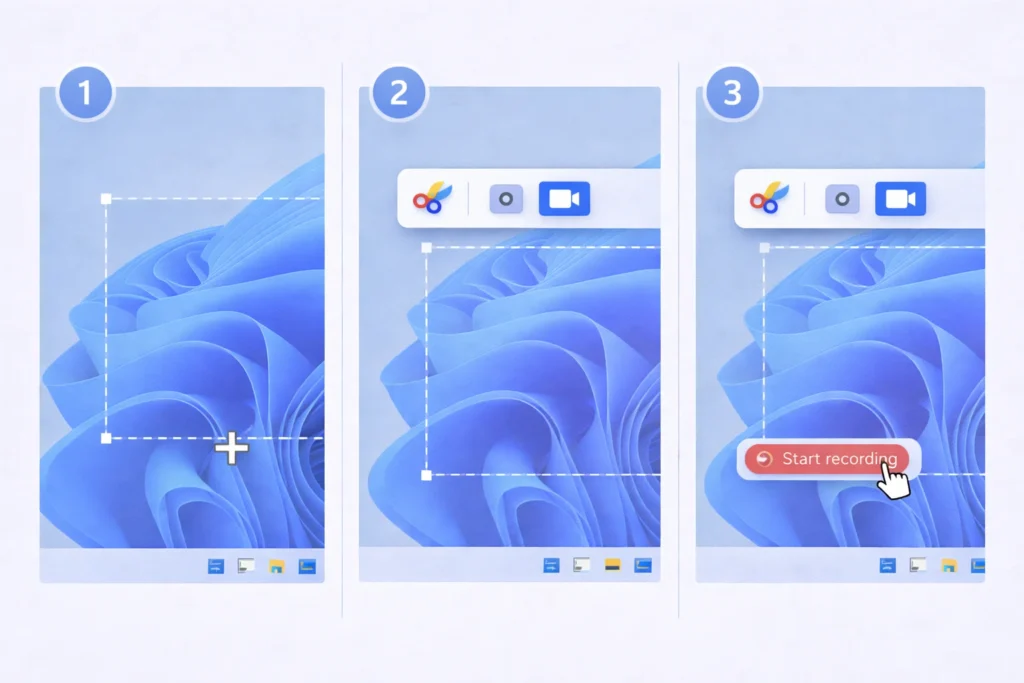
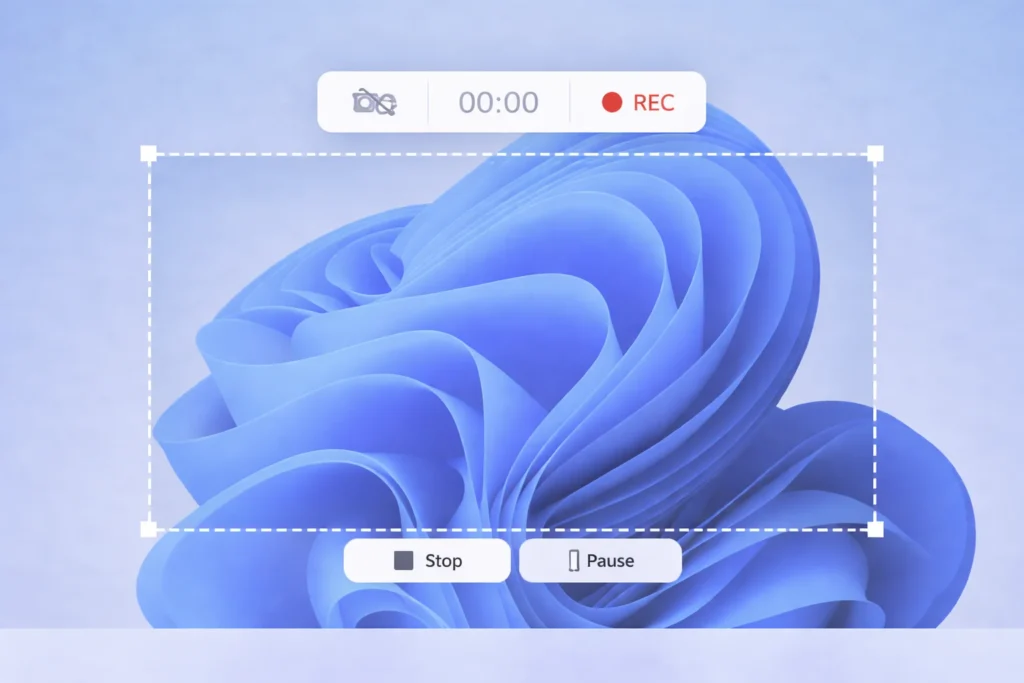
Step 3: Select the Recording Area
- Drag your cursor to select the portion of the screen you want to record.
- Click Start.
A short countdown will begin before recording starts.
Step 4: Stop Recording
Click the Stop button in the floating toolbar.
The video preview will open inside Snipping Tool.
Step 5: Save the Recording
Click the Save icon and choose your location.
By default, files are saved as:
.mp4 format
Does Snipping Tool Record Audio?
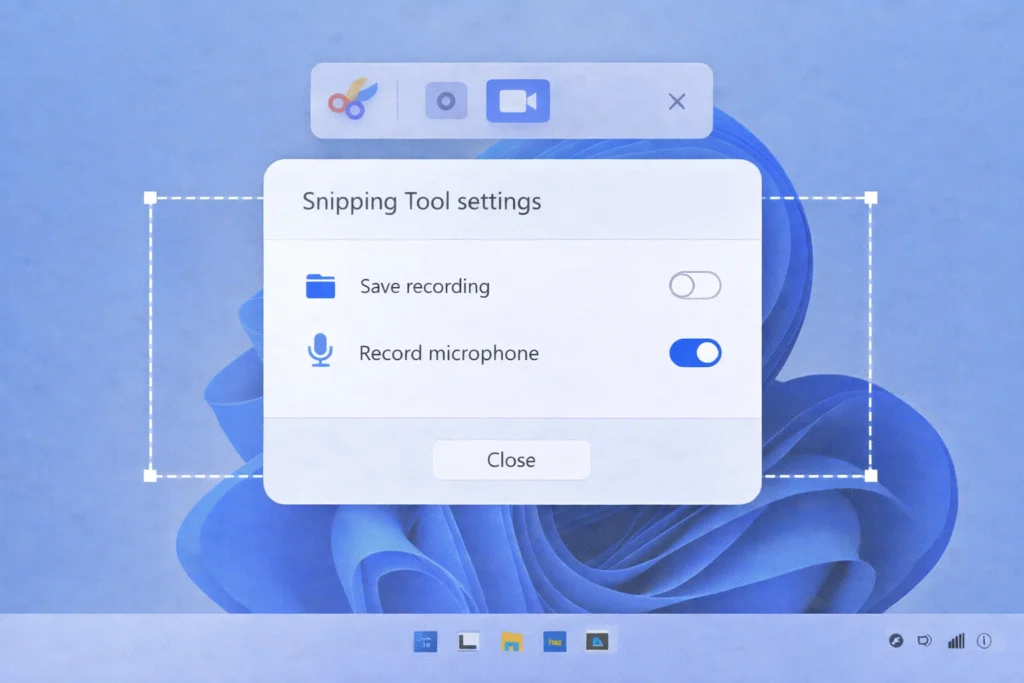
Yes, in updated versions of Windows 11.
Snipping Tool now supports:
- Microphone audio recording
- System audio (depending on version rollout)
To enable the microphone:
- Open Snipping Tool
- Go to Settings
- Enable microphone access
Important: Early versions did not support audio. Make sure your app is updated via the Microsoft Store.
Keyboard Shortcut for Snipping Tool Screen Record
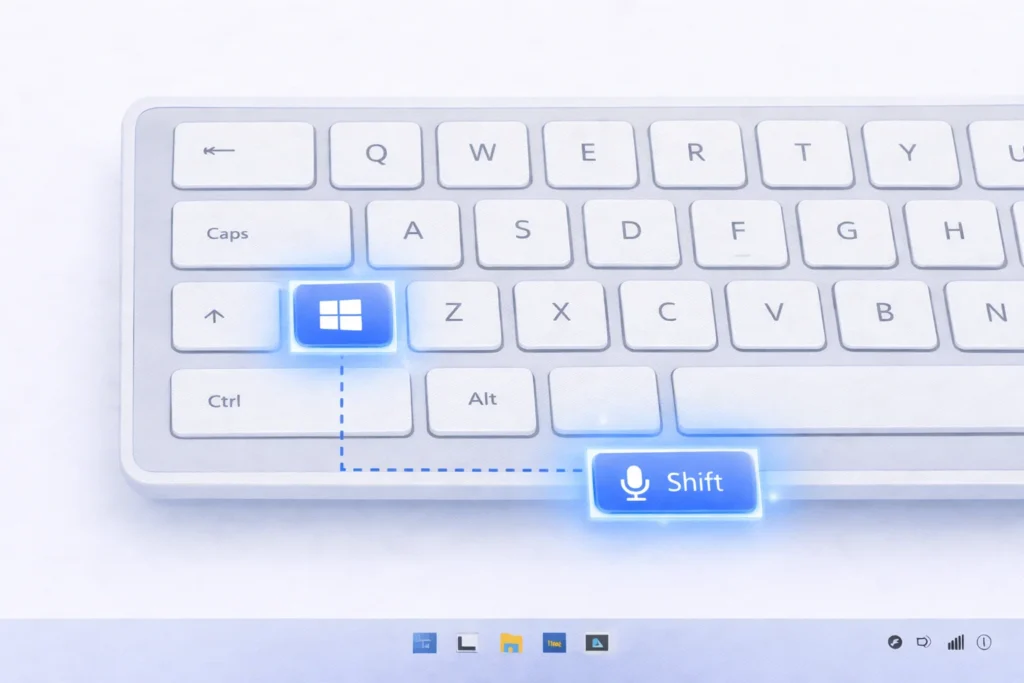
Currently:
- Windows + Shift + S → Opens Snipping Tool (screenshot mode)
- There is no default dedicated shortcut for direct screen recording mode yet.
- Some builds allow Windows + Shift + R, but this is not universal across all versions.
Always verify your Windows build version.
Where Are Snipping Tool Recordings Saved?
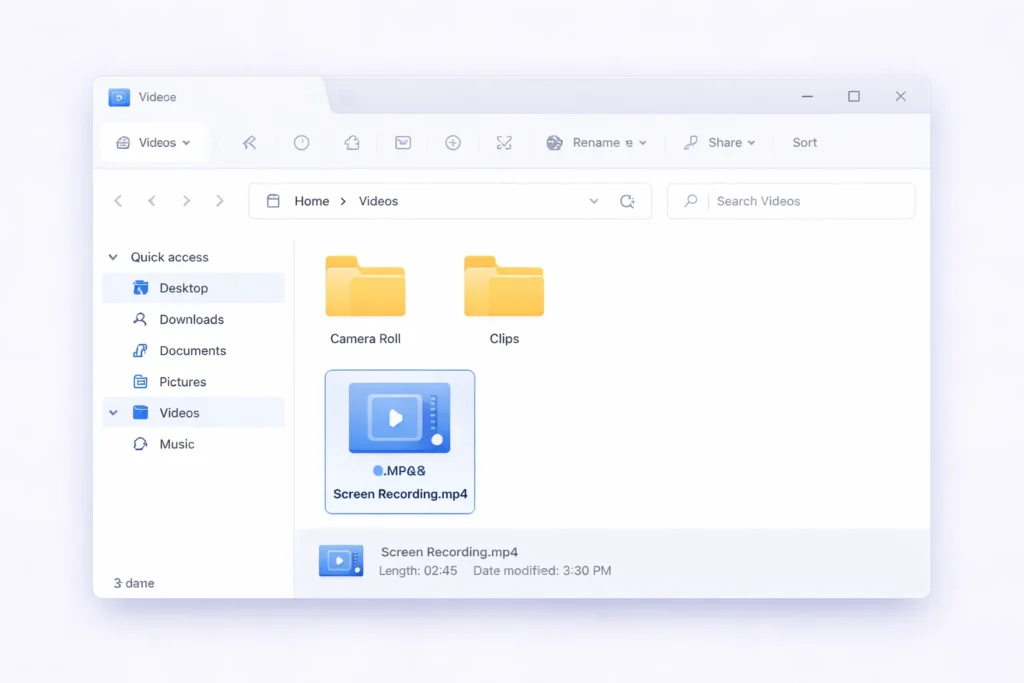
Recordings are saved in the location you manually choose.
If you use the default save behavior, they typically go to:
Videos folder
You can change the save location each time.
Snipping Tool Screen Record Limitations
While convenient, Snipping Tool is not a professional screen recorder.
Here are its main limitations:
- No webcam overlay
- No cursor highlight effects
- No advanced editing tools
- No built-in trimming (basic preview only)
- Limited export formats (MP4 only)
If you’re a content creator, educator, or YouTuber, you may need a more advanced solution.
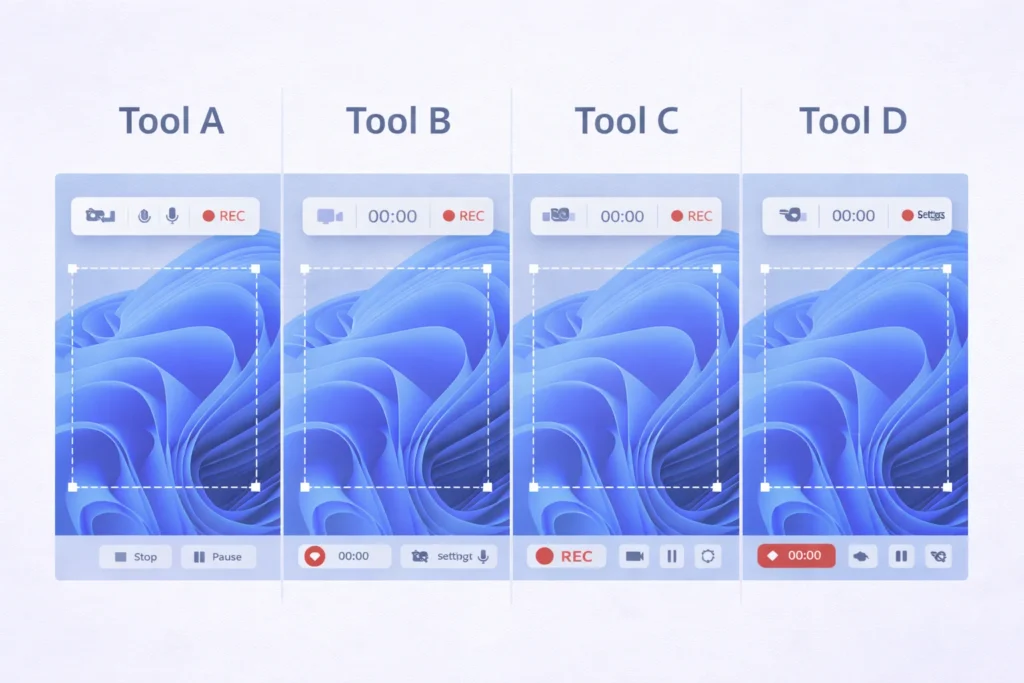
Best Alternatives to Snipping Tool Screen Record
If you need advanced recording features, consider these tools:
1. ShareX
- Free and open-source
- Advanced screen capture
- Workflow automation
- Multiple export options
2. Snagit
- Professional screen recording
- Built-in video editor
- Cursor effects
- Ideal for tutorials
3. OBS Studio
- Advanced recording & streaming
- Multiple sources
- High performance
- Best for YouTube & streaming
4. Xbox Game Bar
- Built into Windows
- Shortcut: Windows + G
- Good for gameplay recording
Snipping Tool vs Other Screen Recorders
| Feature | Snipping Tool | ShareX | Snagit | OBS Studio |
|---|---|---|---|---|
| Built-in | Yes | No | No | No |
| Screen Recording | Yes | Yes | Yes | Yes |
| Audio Support | Limited | Yes | Yes | Yes |
| Editing Tools | Basic | Moderate | Advanced | Advanced |
| Webcam Overlay | No | Limited | Yes | Yes |
Final Thought
If you need:
- Quick recordings
- No third-party installation
- Simple MP4 output
Then the Snipping Tool is perfect.
However, if you need:
- Webcam overlay
- Advanced editing
- Professional tutorials
- Cursor animations
You should consider alternatives like ShareX, Snagit, or OBS Studio.
Frequently Asked Questions
No. It allows selection-based recording only.
Yes. It’s completely free and built into Windows 11.
No. Webcam overlay is not supported.
No. Screen recording is not available in Windows 10’s Snipping Tool.