
Snipping Tool on Chromebook: How to Take Screenshots & Snips Like Windows
If you recently switched from Windows to a Chromebook, you may be wondering whether there’s a Snipping Tool on Chromebook similar to the one available in Windows. While Chrome OS does not include Microsoft’s Snipping Tool, it offers a built-in screen capture tool that performs the same snipping and screenshot functions, and in some cases, even more.
In this guide, you’ll learn how to use the Chromebook snipping tool, keyboard shortcuts, editing options, alternatives, and troubleshooting tips. This article is written for beginners and advanced users alike.
Is There a Snipping Tool on Chromebook?
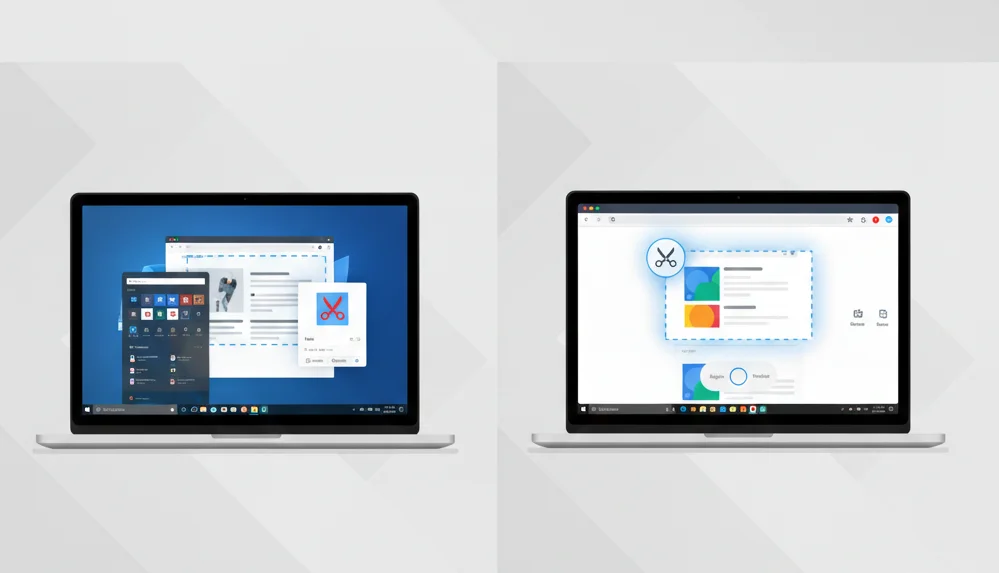
Short answer: No, Microsoft’s Snipping Tool is not available on Chromebooks.
However, Chrome OS includes a native Screen Capture tool that works as a direct alternative to the Windows Snipping Tool. It allows you to:
- Take full screenshots
- Snip a selected area of the screen
- Capture a specific window
- Annotate and edit screenshots
For most users, this built-in Chromebook snipping tool is more than sufficient.
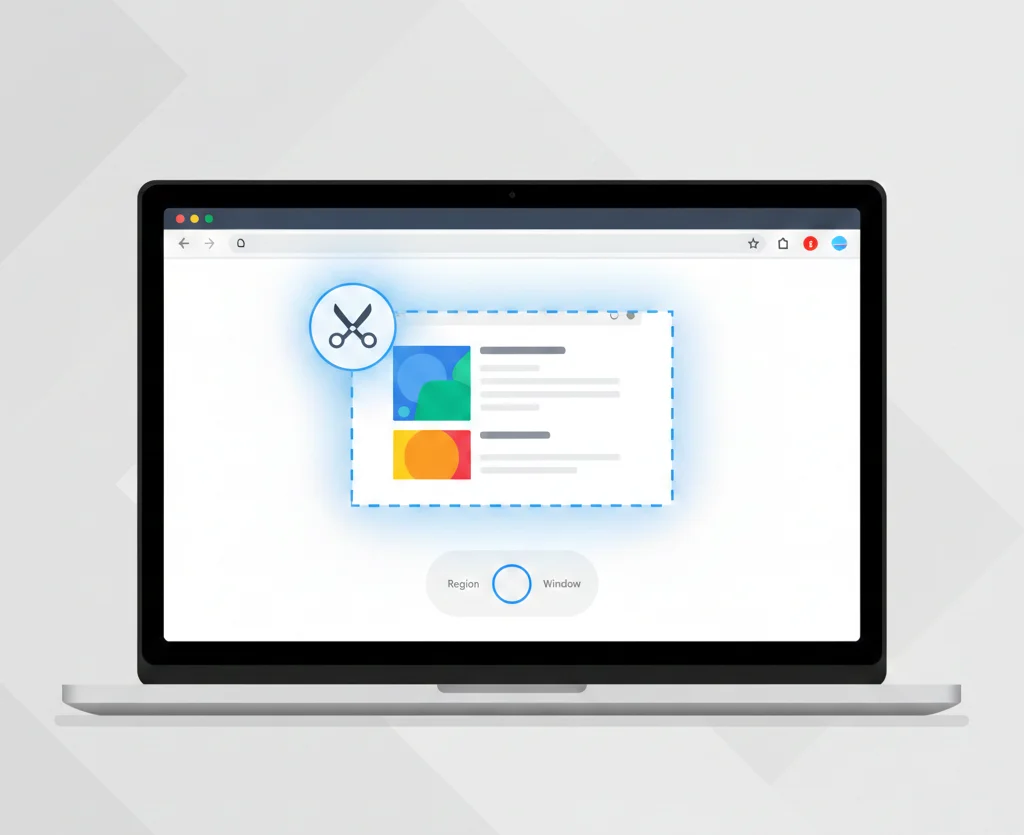
What Is the Chromebook Snipping Tool Equivalent?
The Chromebook equivalent of the Snipping Tool is called Screen Capture. It is built directly into Chrome OS and can be accessed using keyboard shortcuts or through the system menu.
Unlike Windows Snipping Tool, Chromebook’s screen capture is deeply integrated into the operating system, making it fast, lightweight, and easy to use.
How to Use Snipping Tool on Chromebook (Step-by-Step)

1. Take a Full Screenshot on Chromebook
To capture the entire screen:
Keyboard Shortcut:
Ctrl + Show Windows
The Show Windows key looks like a rectangle with two vertical lines and is usually located in the top row of the keyboard.
The screenshot is automatically saved to the Downloads folder.
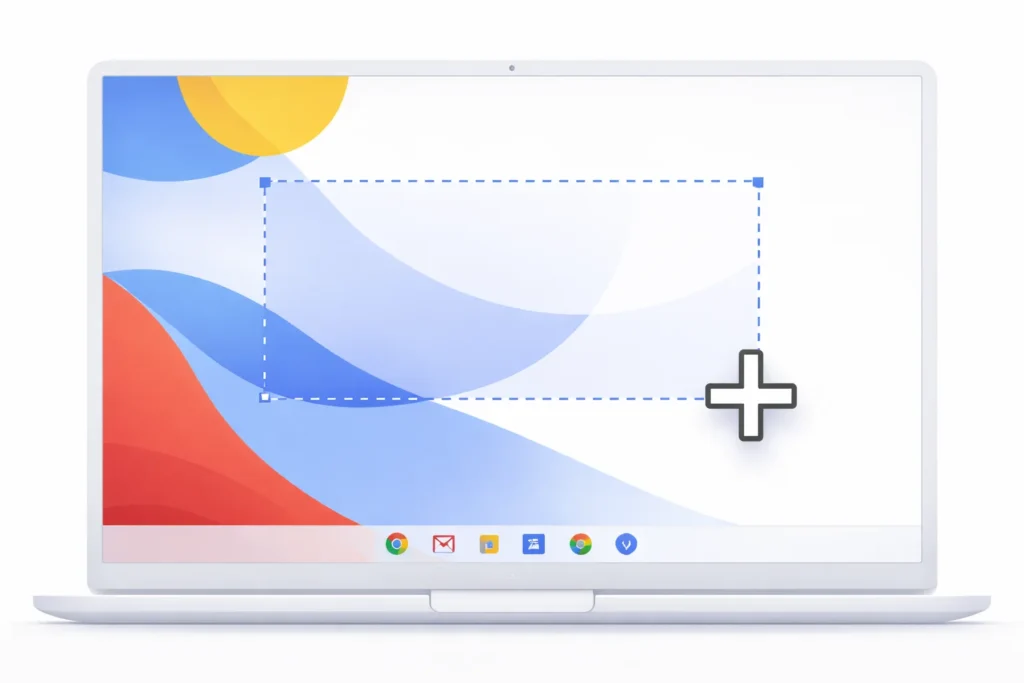
2. Take a Partial Screenshot (Snip Area)
This is the closest equivalent to the Windows Snipping Tool.
Keyboard Shortcut:
Ctrl + Shift + Show Windows
Steps:
- Your cursor turns into a crosshair
- Click and drag to select the area you want to snip
- Release the mouse or trackpad
This method is ideal when you only need a specific part of the screen.
3. Capture a Specific Window
To capture only a selected window:
Keyboard Shortcut:
Ctrl + Alt + Show Windows
Click on the window you want to capture, and Chrome OS will save it as a screenshot.
Using the Screen Capture Tool from Quick Settings
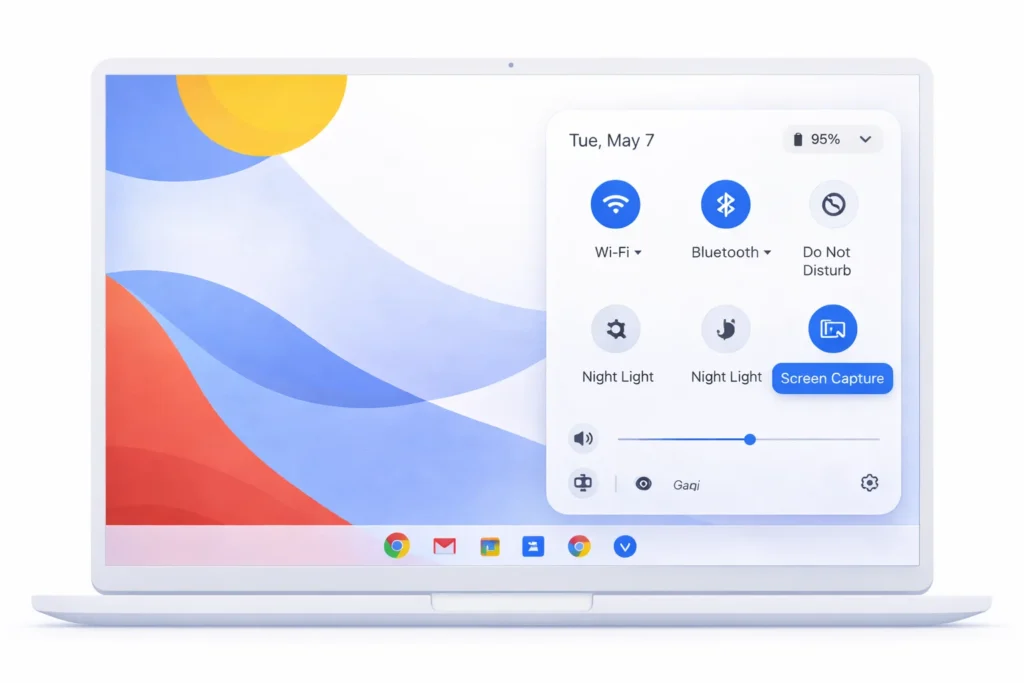
If you prefer a visual interface instead of keyboard shortcuts:
- Click the clock in the bottom-right corner
- Open Quick Settings
- Select Screen Capture
From here, you can choose:
- Full-screen capture
- Partial screen snip
- Window capture
This option is especially helpful for touchscreen Chromebooks.
Where Do Snipping Tool Screenshots Save on Chromebook?
By default, all screenshots and snips are saved to:
Files App → Downloads Folder
You can move them to:
- Google Drive
- External storage
- Shared folders
Chrome OS also shows a preview notification after every capture for quick access.
Editing Screenshots on Chromebook
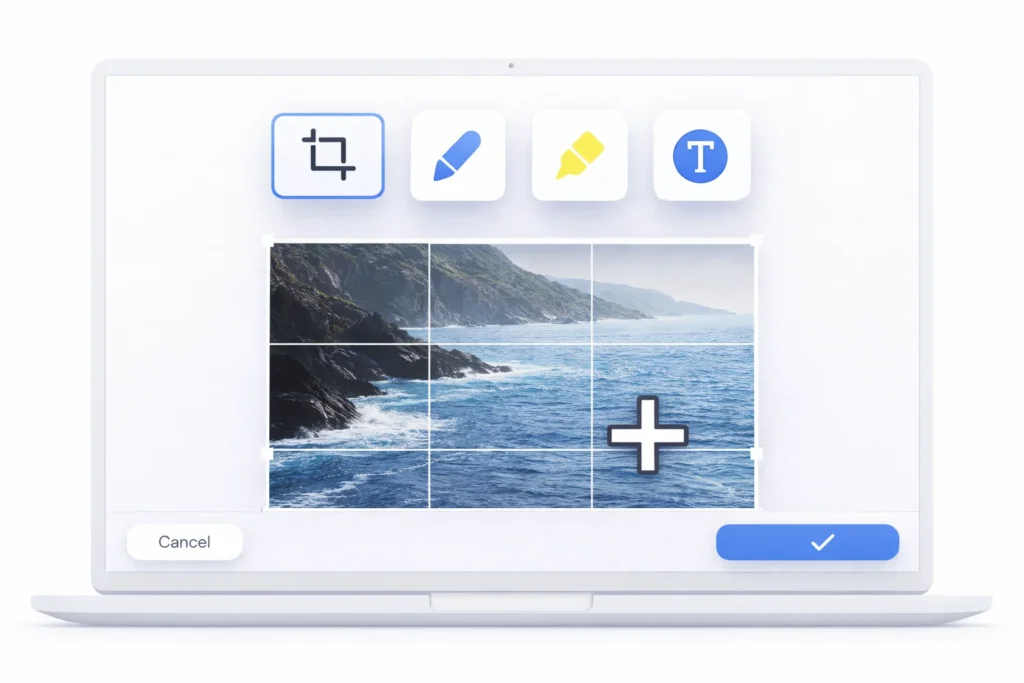
After taking a screenshot, Chrome OS allows basic editing features such as:
- Cropping
- Drawing and highlighting
- Adding text
- Marking arrows or shapes
Click the screenshot notification to open the built-in image editor.
For advanced editing, you can open screenshots in:
- Google Photos
- Third-party image editors
- Online tools like Canva or Pixlr
Best Snipping Tool Alternatives for Chromebook
While the built-in Screen Capture tool is enough for most users, some prefer advanced features.
1. Chrome Extensions
Popular snipping extensions include:
- Awesome Screenshot
- Lightshot
- Nimbus Screenshot
These extensions offer scrolling screenshots, cloud sharing, and advanced annotations.
2. Web-Based Screenshot Tools
Some online tools allow capturing and editing screenshots directly from the browser without installing apps.
Snipping Tool on Chromebook Without Keyboard
If your Chromebook does not have a physical keyboard:
- Use Quick Settings → Screen Capture
- On touchscreen devices, use a stylus or touch gestures
- External keyboards also support Chromebook shortcuts
This makes snipping easy on tablets and 2-in-1 Chromebooks.
Common Snipping Tool Problems on Chromebook (Fixes)
Screenshot Shortcut Not Working
- Make sure the Show Windows key is present
- Try restarting the Chromebook
- Check keyboard layout settings
Screenshot Not Saving
- Open the Files app and confirm storage permissions
- Ensure sufficient storage space
- Update Chrome OS to the latest version
Can’t Find the Screenshot
- Look in Downloads
- Use the search bar in the Files app
Final Thought
While there is no official Microsoft Snipping Tool on Chromebook, Chrome OS provides a powerful built-in Screen Capture tool that serves the same purpose. Whether you need full screenshots, partial snips, or window captures, Chromebooks handle it smoothly without additional software.
For most users, the native tool is fast, reliable, and more than enough. If you need advanced features, Chrome extensions can fill the gap easily.
Frequently Asked Questions
No. Windows Snipping Tool is exclusive to Windows and cannot be installed on Chrome OS.
Yes. It is built into Chrome OS and completely free.
For basic and moderate use, Chromebook’s Screen Capture tool offers equivalent functionality.