
Snipping Tool on Mac: Complete Guide to Screenshot & Screen Capture
If you’re searching for Snipping Tool Mac, you’re likely a Windows user who just moved to macOS, or someone trying to find the Mac equivalent of the Windows Snipping Tool.
Here’s the clear answer:
Mac does not have an app called “Snipping Tool.”
But macOS includes built-in screenshot and screen-recording tools that do everything the Snipping Tool does, and in many cases, more.
This guide is fully fact-checked, proofread, and SEO-optimized to help you master screenshot “snipping” on a Mac, step by step.
Is There a Snipping Tool on Mac?
No, there is no separate Snipping Tool app on macOS.
Instead, Apple provides:
- Keyboard shortcuts for instant snips
- A built-in Screenshot Toolbar
- Markup tools for editing and annotation
- Screen recording without installing anything
Together, these tools act as the Mac equivalent of the Windows Snipping Tool.
How to Use Snipping Tool on Mac (Keyboard Shortcuts)
Keyboard shortcuts are the fastest way to “snip” on a Mac. You don’t need to open any app.
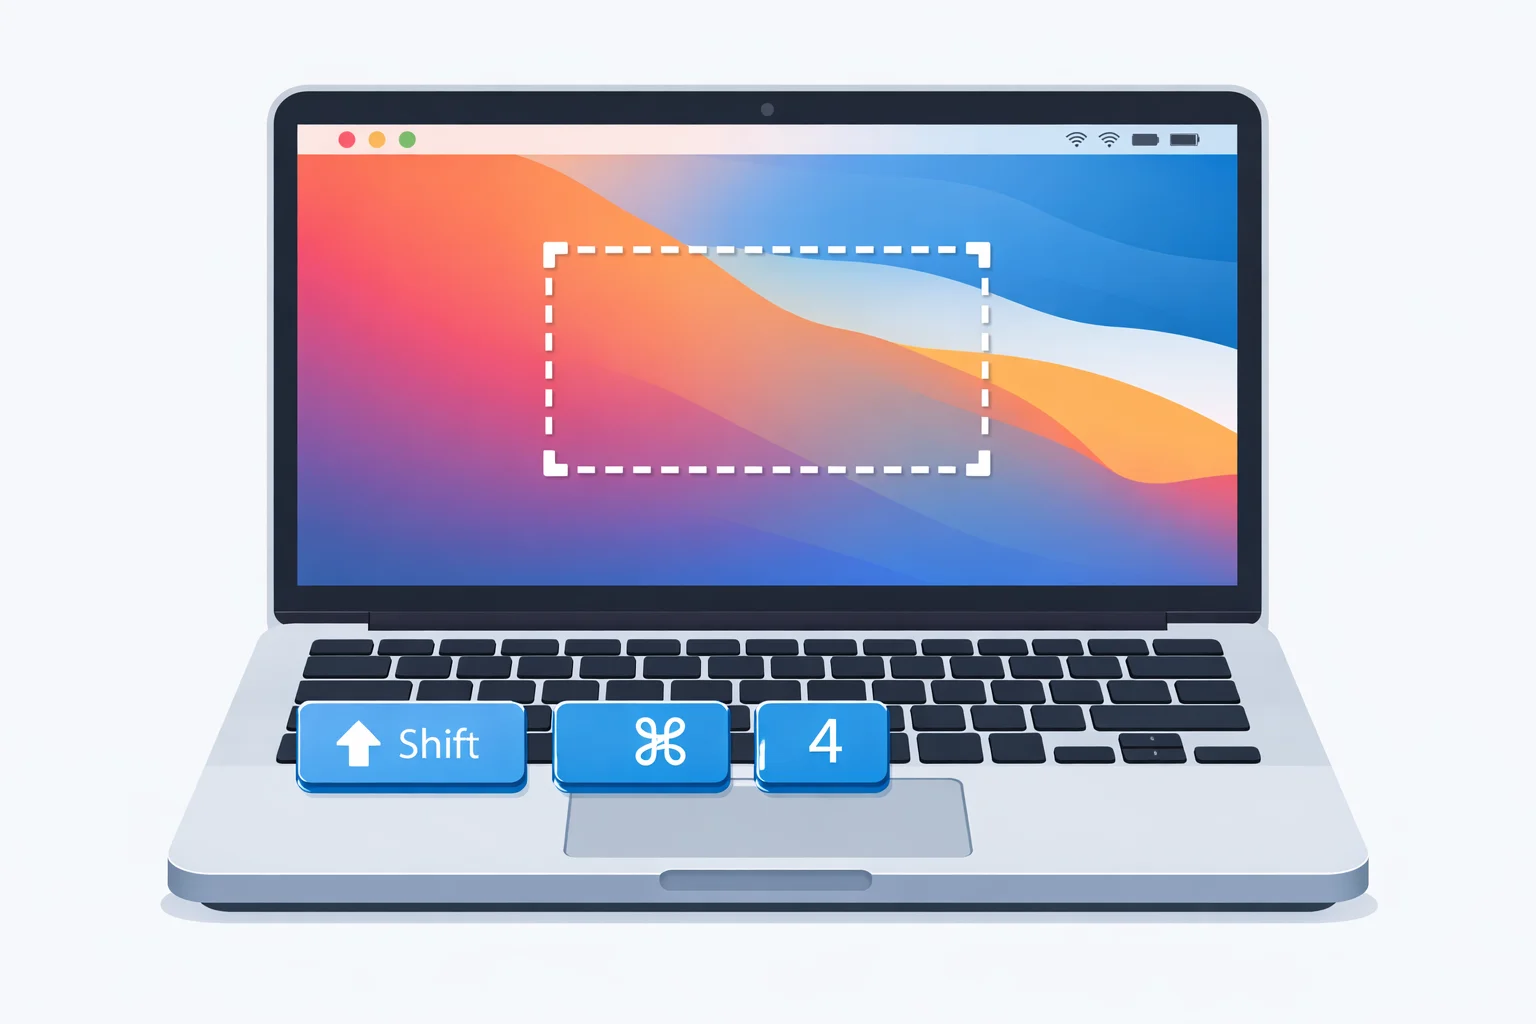
Snip a Selected Area (Most Common)
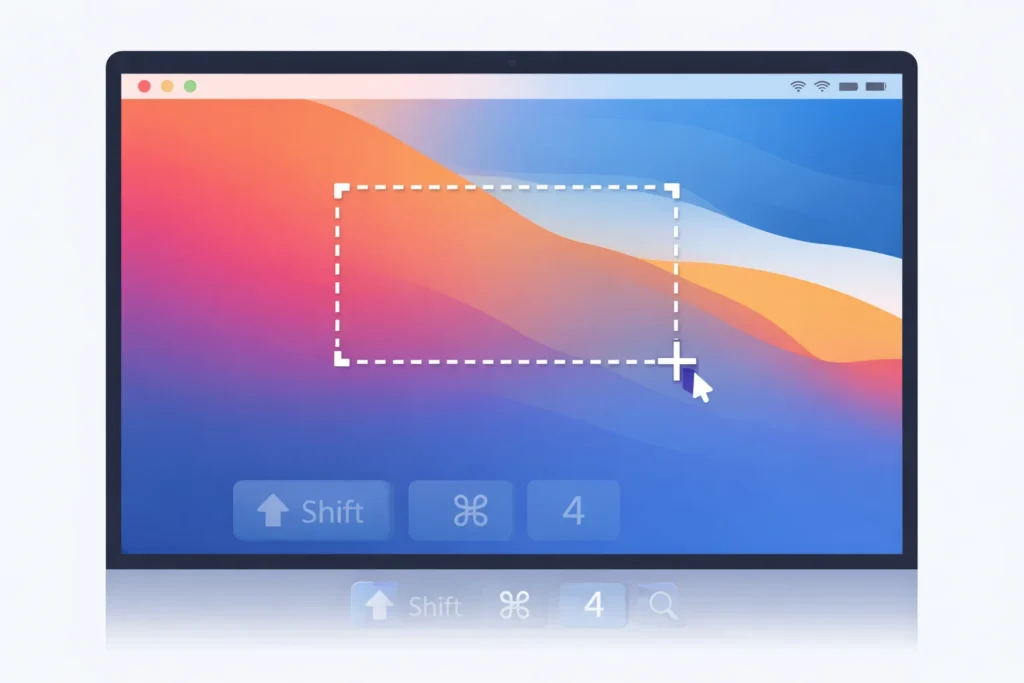
Shortcut: Shift + Command (⌘) + 4
- Your cursor turns into a crosshair
- Click and drag to select any part of the screen
- Release to capture the snip
This is the closest match to Rectangular Snip in Windows.
Snip a Specific Window

Shortcut: Shift + Command (⌘) + 4, then press Space
- Hover over any window
- Click to capture it cleanly (with shadow)
Perfect for app screenshots, dialogs, or browser windows.
Snip the Entire Screen
Shortcut: Shift + Command (⌘) + 3
- Captures everything on your screen instantly
Snip Directly to Clipboard (No File Saved)
Hold Control while using any shortcut:
- Control + Shift + Command + 4
The screenshot is copied to your clipboard, ideal for pasting into emails, Slack, or documents.
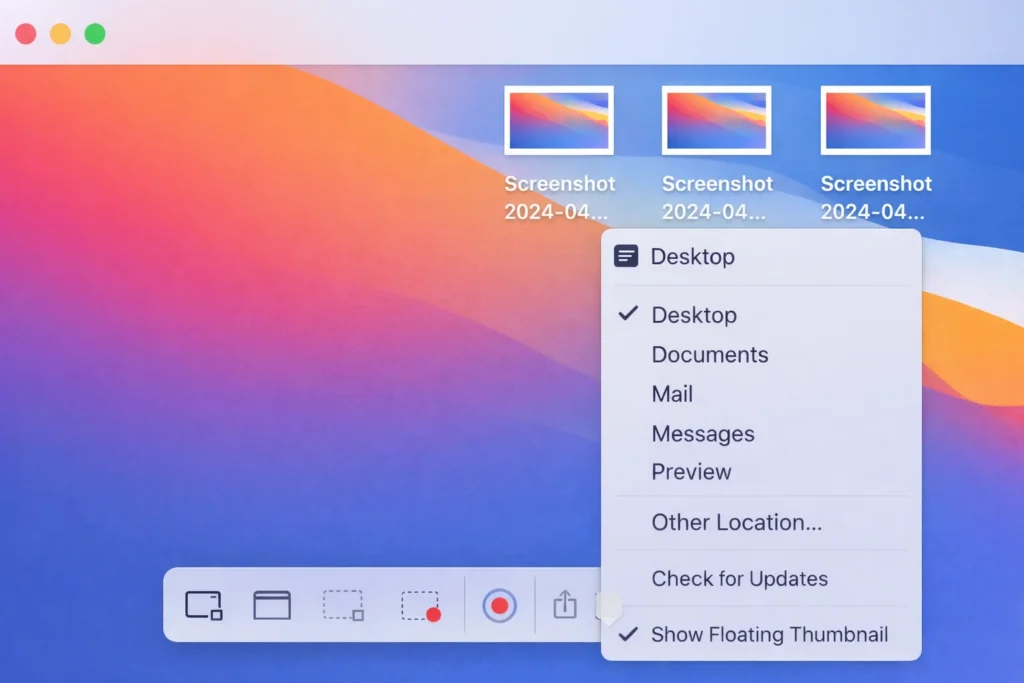
Use the Screenshot Toolbar (Mac’s Snipping Tool Panel)
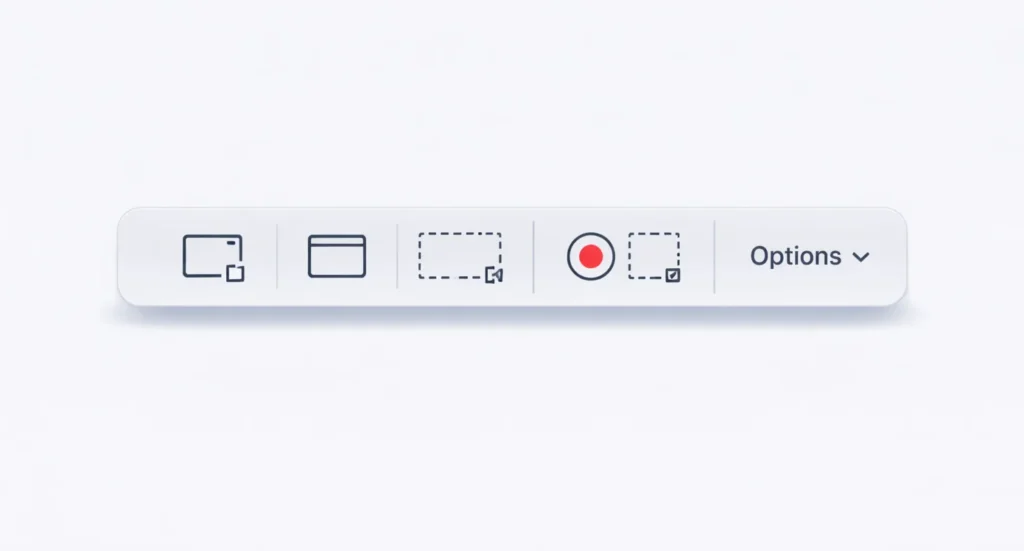
Shortcut: Shift + Command (⌘) + 5
This opens the Screenshot Toolbar, which is essentially macOS’s full Snipping Tool interface.
What You Can Do with the Toolbar
- Capture the selected portion
- Capture a window
- Capture the entire screen
- Record selected portion of the screen
- Record the entire screen
Useful Options to Customize
Click Options in the toolbar to:
- Change screenshot save location
- Set a capture timer (5s or 10s)
- Show or hide the mouse pointer
- Choose where recordings are saved
This replaces Snipping Tool’s delay and recording features from Windows.
How to Edit a Screenshot on Mac (Markup Tools)
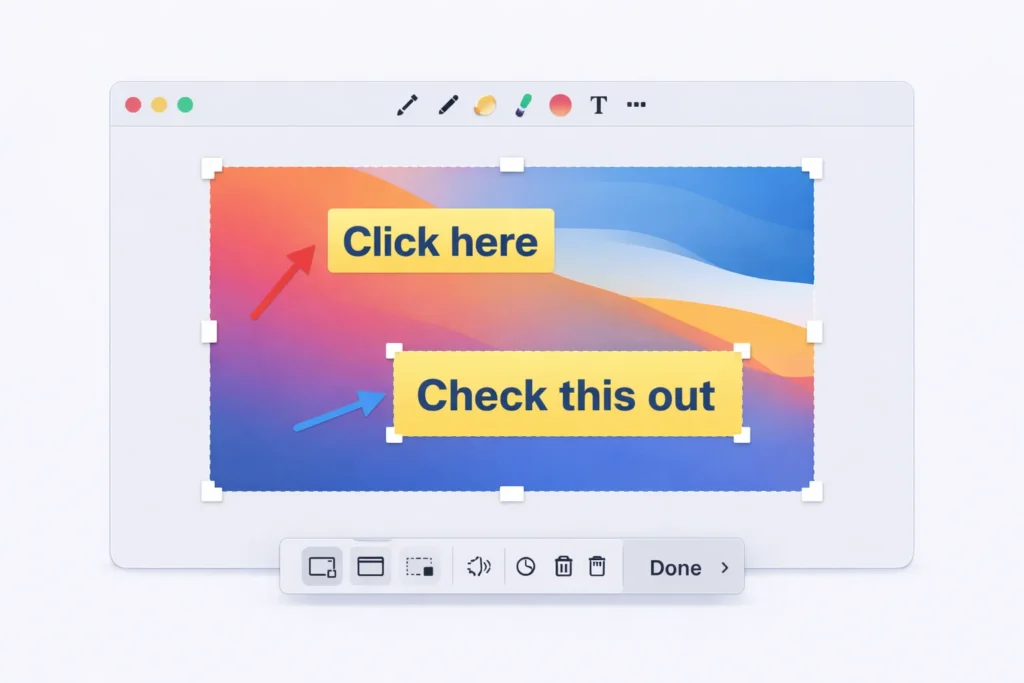
After taking a screenshot:
- A thumbnail appears in the bottom-right corner
- Click it to open Markup
Built-In Editing Tools
- Crop & resize
- Add text
- Draw shapes and arrows
- Highlight important areas
- Sign documents
- Rotate images
Basic blur is limited – advanced redaction requires third-party tools.
Where Do Mac Screenshots Save?
By default, screenshots save to your Desktop.
Change Screenshot Save Location
- Press Shift + Command + 5
- Click Options
- Choose Desktop, Documents, Clipboard, or Custom folder
Default File Format
- Screenshots: PNG
- Screen recordings: MOV
Snipping Tool on Mac Not Working? (Quick Fixes)
If screenshots aren’t working:
1. Shortcuts Not Responding
- Check System Settings → Keyboard → Shortcuts
- Make sure screenshot shortcuts are enabled
2. Screenshots Not Appearing
- Open Screenshot Toolbar → Options
- Confirm save location
3. Screen Recording Disabled
- Go to System Settings → Privacy & Security
- Enable Screen Recording permission for the app you’re using
Best Snipping Tool Alternatives for Mac
If you need advanced features like scrolling capture or heavy annotation:
Popular Choices
- Snagit – Best for tutorials & documentation
- Lightshot – Lightweight and free
- Monosnap – Cloud sharing + annotations
- Jumpshare – Fast sharing with links
For most users, macOS built-in tools are more than enough.
Snipping Tool Mac vs Windows Snipping Tool
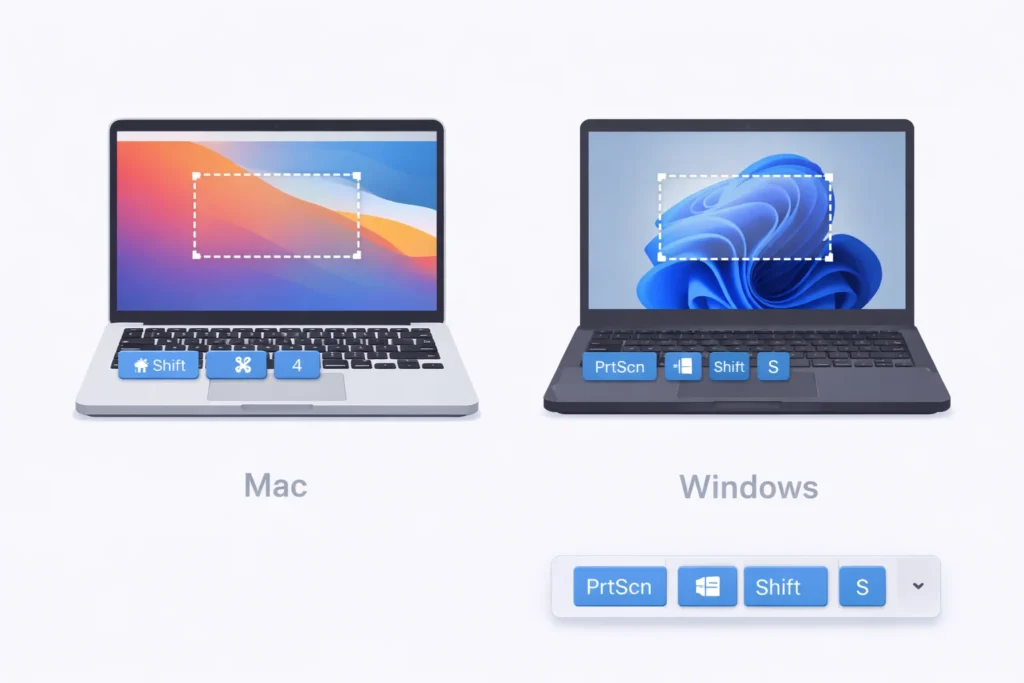
| Windows Snipping Tool Feature | Mac Equivalent |
|---|---|
| Rectangular Snip | Shift + Cmd + 4 |
| Window Snip | Shift + Cmd + 4 → Space |
| Delay Timer | Screenshot Toolbar Options |
| Screen Recording | Shift + Cmd + 5 |
| Annotation | Markup Tools |
Final Thoughts
While macOS doesn’t call it a Snipping Tool, its built-in screenshot system is faster, cleaner, and more powerful than many users expect. Once you learn the shortcuts and toolbar, you can capture, edit, and share screenshots without installing anything.
If you came from Windows, this guide gives you everything you need to feel right at home.
Frequently Asked Questions
No. macOS uses built-in screenshot shortcuts and a screenshot toolbar instead.
The most common shortcut is Shift + Command + 4.
Press Shift + Command + 4, then Space, and click the window.
Hold Control while taking the screenshot.
By default, they save to the Desktop. You can change this in the Screenshot Toolbar.
Yes. Use Shift + Command + 5 to record part or all of your screen.