How to Use the Snipping Tool in Windows – Complete Guide
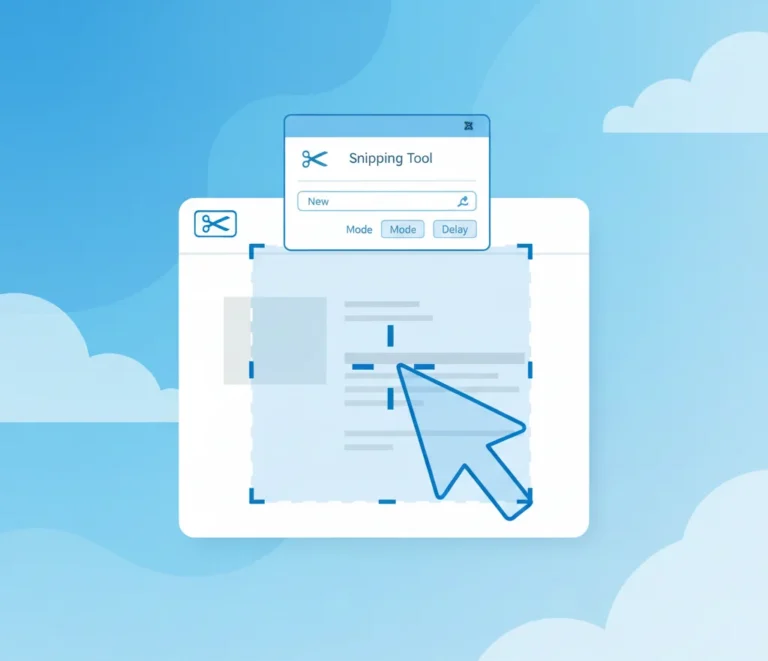
The Snipping Tool in Windows is a built-in screenshot and screen-recording utility that lets you capture, edit, and share images from your screen without installing any third-party software. Whether you want to take a quick screenshot, annotate an image, or record part of your screen, the Snipping Tool makes the process simple and fast.
In this guide, you’ll learn how to use the Snipping Tool in Windows, including how to open it, take different types of snips, edit screenshots, use keyboard shortcuts, and troubleshoot common issues.
What Is the Snipping Tool in Windows?
The Snipping Tool is a free screen capture tool included with Windows. It allows users to capture screenshots in multiple ways, annotate them, save them in different formats, and share them easily.
In Windows 11, Microsoft merged the classic Snipping Tool with Snip & Sketch, adding features like screen recording, OCR (text extraction), and better annotation tools.
Best for:
- Taking screenshots
- Highlighting or annotating images
- Capturing menus or pop-ups
- Recording short screen videos
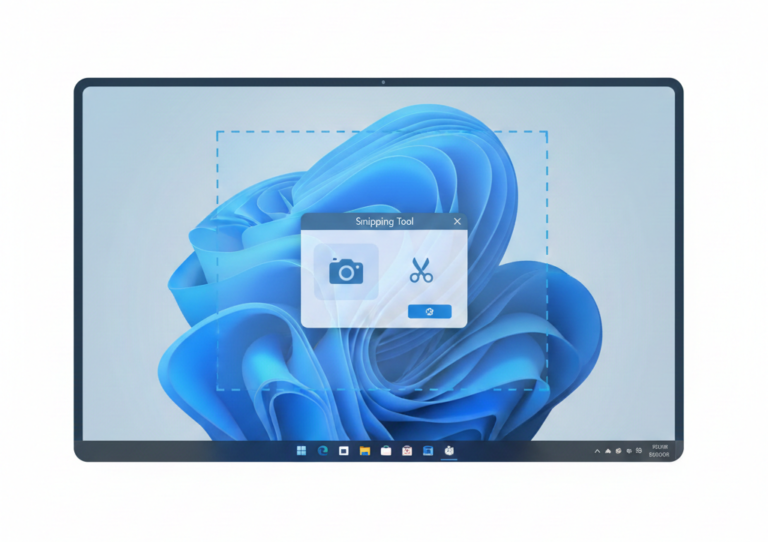
How to Open the Snipping Tool in Windows
You can open the Snipping Tool using several methods:
Method 1: Start Menu
- Click the Start button
- Type Snipping Tool
- Click the app to open it
Method 2: Keyboard Shortcut (Fastest)
- Press Windows + Shift + S
This opens the snipping overlay instantly.
Method 3: Pin for Easy Access
- Right-click the Snipping Tool
- Select Pin to Start or Pin to taskbar

Types of Snips You Can Take
The Snipping Tool offers four screenshot modes:
1. Rectangular Snip
Capture a selected rectangular area of your screen.
2. Window Snip
Capture a specific open window, such as a browser or app.
3. Full-Screen Snip
Capture the entire screen in one image.
4. Freeform Snip
Draw a custom shape around the area you want to capture.

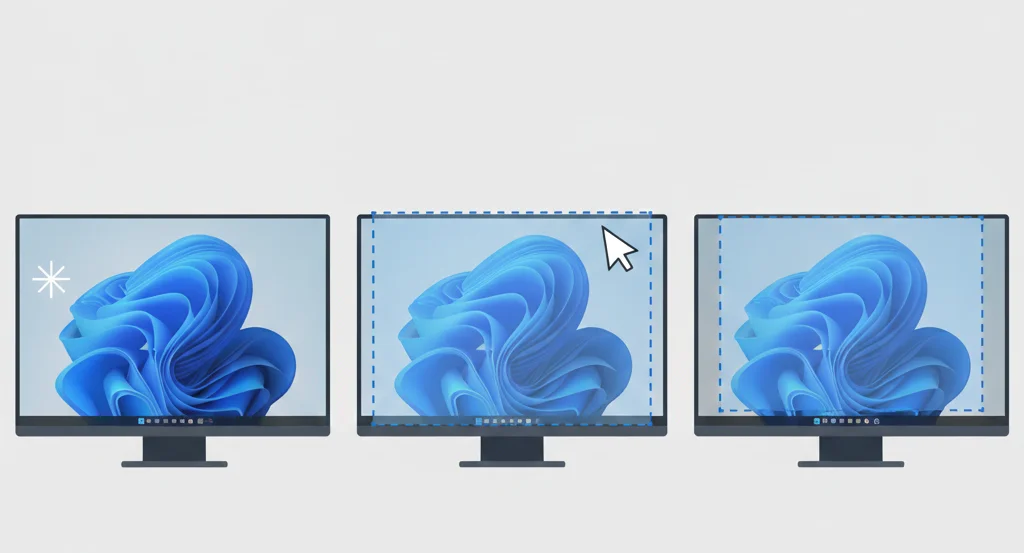
How to Take a Screenshot Using Snipping Tool
Follow these simple steps:
- Open the Snipping Tool
- Click New (or press Windows + Shift + S)
- Choose a snip type
- Select the area of the screen
- The screenshot opens automatically in the editor
Your snip is now ready to edit, save, or share.
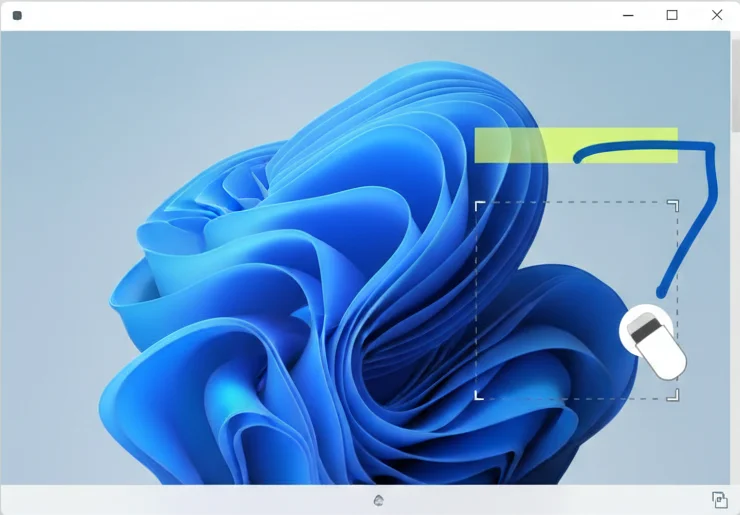
How to Edit and Annotate Screenshots
After capturing a snip, you can edit it using built-in tools:
- Pen – draw or mark areas
- Highlighter – emphasize text
- Eraser – remove annotations
- Crop tool – trim unwanted parts
These tools are ideal for tutorials, documentation, and client communication.
How to Save and Share Snips
Save a Screenshot
- Click Save
- Choose a format: PNG, JPG, or GIF
- Select a folder and a filename
Share a Screenshot
- Copy to clipboard (Ctrl + C)
- Paste into email, chat apps, or documents
- Use the Share button in Windows 11
Screen Recording with Snipping Tool (Windows 11)
Windows 11 includes screen recording inside the Snipping Tool.
How to Record Your Screen:
- Open the Snipping Tool
- Click the Record icon
- Select the area to record
- Click Start
- Click Stop when finished
The video is saved automatically and can be shared or edited.

Text Extraction (OCR) Feature
The Snipping Tool can extract text from screenshots.
How to use OCR:
- Take a screenshot
- Click Text actions
- Copy text directly from the image
This feature is useful for copying error messages, receipts, or scanned text.
Snipping Tool Keyboard Shortcuts
| Shortcut | Action |
|---|---|
| Windows + Shift + S | Open snipping overlay |
| Ctrl + S | Save screenshot |
| Ctrl + C | Copy snip |
| Alt + N | New snip |
| Esc | Cancel snip |

Where Are Snipping Tool Screenshots Saved?
By default:
- Screenshots are saved in Pictures → Screenshots
- Screen recordings are saved in Videos → Screen recordings
You can change the save location in the app settings.
Common Snipping Tool Problems and Fixes
Snipping Tool Not Opening
- Restart Windows Explorer
- Run Windows Update
- Reset the app from Settings
Screenshot Not Saving
- Check folder permissions
- Ensure enough disk space
- Update Windows
Snipping Tool vs Print Screen Key
| Feature | Snipping Tool | Print Screen |
|---|---|---|
| Select area | Yes | No |
| Edit tools | Yes | No |
| Screen recording | Yes (Win 11) | No |
| Delay capture | Yes | No |
Final Thoughts
The Snipping Tool in Windows is a powerful, free utility that covers most screenshot and screen-recording needs. With multiple capture modes, annotation tools, OCR, and video recording, it’s an excellent alternative to third-party screenshot software for everyday use.
If you regularly capture screens for work, tutorials, or support, mastering the Snipping Tool can significantly improve your productivity.
Frequently Asked Questions
Press Windows + Shift + S.
After taking a screenshot, it opens in the Snipping Tool editor. Use the pen, highlighter, or crop tools to edit it, then save or share the image.
Yes, it offers editing, selection, and recording features.
Yes, screen recording is available in Windows 11.
Yes, but advanced features like screen recording are Windows 11 only.