Snipping Tool Download Guide for Windows 10 & 11 (Safe & Official)
If you’re looking for a reliable Snipping Tool download guide, you’re in the right place. Snipping Tool is Microsoft’s built-in screenshot and screen-recording utility for Windows. In most cases, you don’t need a traditional download at all, but if the app is missing, broken, or outdated, this guide will walk you through the safest and official ways to install or reinstall it.
- What Is the Snipping Tool?
- Do You Need to Download Snipping Tool?
- How to Check If Snipping Tool Is Already Installed
- Official Snipping Tool Download Methods (Safe & Recommended)
- Can You Download Snipping Tool from Third-Party Websites?
- How to Use Snipping Tool (Quick Guide)
- Screen Recording with Snipping Tool (Windows 11)
- Common Snipping Tool Problems & Fixes
- Best Snipping Tool Alternatives (Optional)
- Final Thoughts
- Frequently Asked Questions
What Is the Snipping Tool?
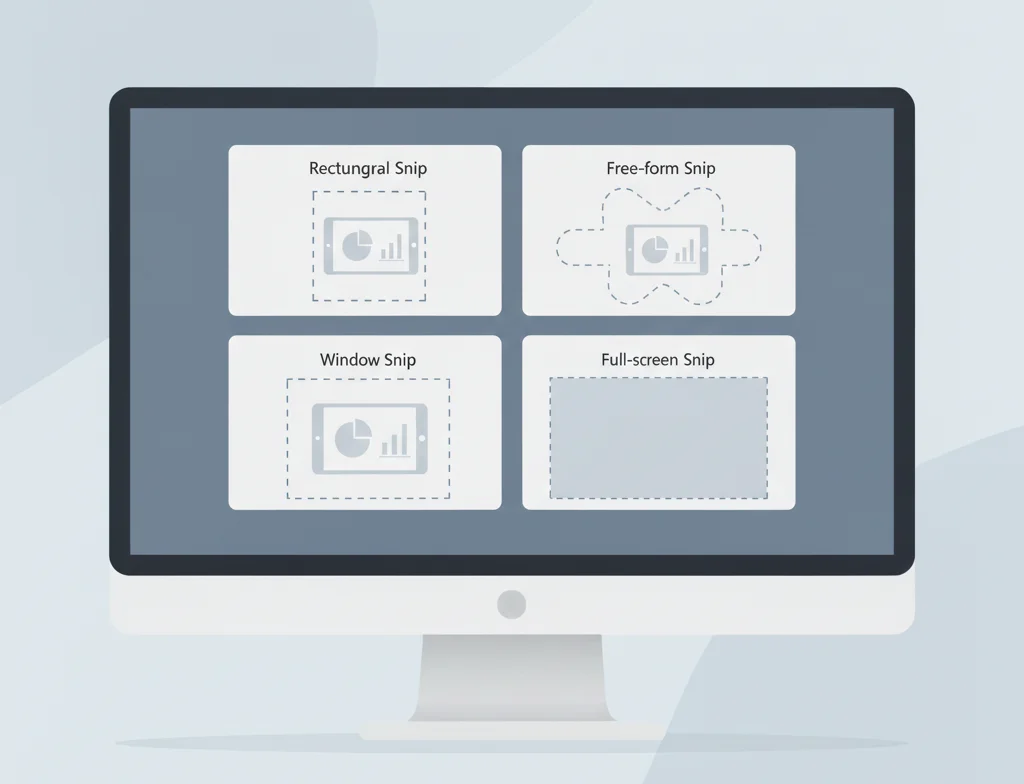
Snipping Tool is a free screenshot utility developed by Microsoft for Windows. It allows users to capture:
- Rectangular selections
- Free-form selections
- Specific windows
- Full-screen screenshots
- Screen recordings (Windows 11 and newer builds)
It also includes basic editing features such as cropping, annotation, highlighting, and saving screenshots locally.
Do You Need to Download Snipping Tool?
In most cases, no manual download is required.
Snipping Tool comes pre-installed with:
- Windows 7
- Windows 8
- Windows 10
- Windows 11
However, you may need to download or reinstall it if:
- Snipping Tool was removed or corrupted
- It does not open or crash
- You want the latest version from Microsoft
- It’s missing after a Windows update
How to Check If Snipping Tool Is Already Installed
Before downloading anything, check if Snipping Tool is already on your PC:
- Click Start
- Type Snipping Tool
- Press Enter
You can also use the shortcut:
Win + Shift + S
If the screen dims and a capture toolbar appears, Snipping Tool is already installed.

Official Snipping Tool Download Methods (Safe & Recommended)
Download Snipping Tool from the Microsoft Store (Recommended)
The Microsoft Store is the safest and official way to download or restore Snipping Tool.
Steps:
- Open Microsoft Store
- Search for Snipping Tool
- Click Get or Install
- Wait for the installation to complete
This method ensures:
- Latest version
- Automatic updates
- No malware or modified files
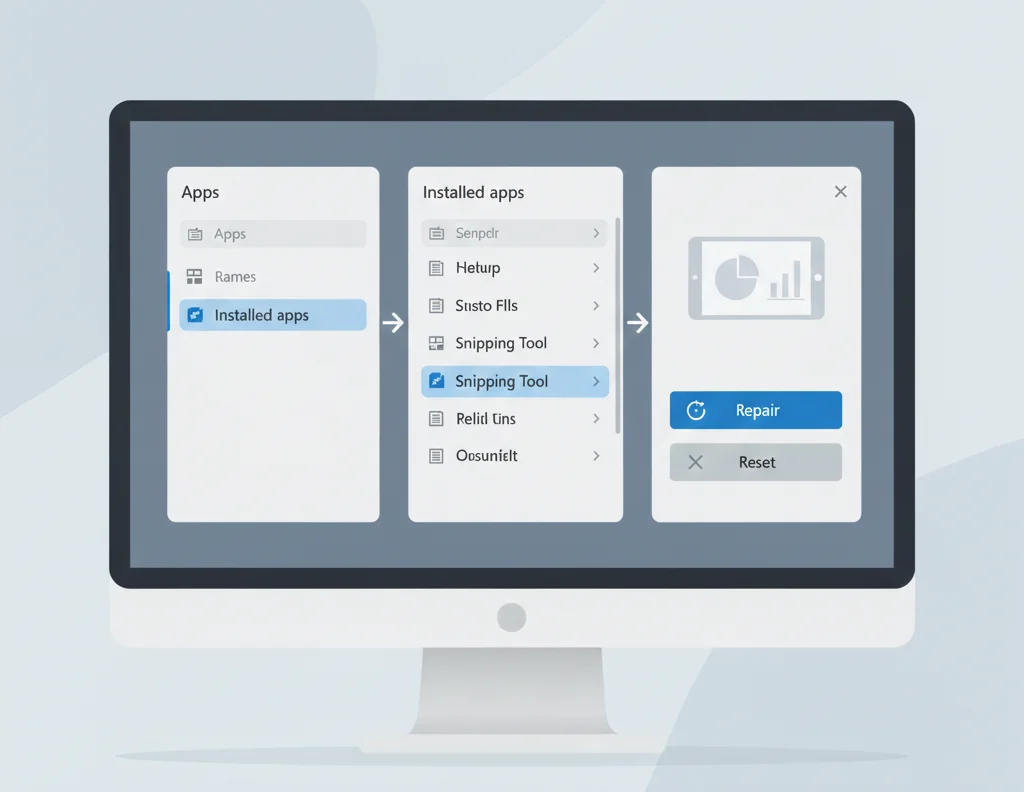
Reinstall Snipping Tool via Windows Settings
If Snipping Tool is present but not working correctly:
- Open Settings
- Go to Apps → Installed apps
- Find Snipping Tool
- Click Advanced options
- Select Repair or Reset
If that doesn’t fix the issue:
- Uninstall the app
- Reinstall it via the Microsoft Store
Can You Download Snipping Tool from Third-Party Websites?
Some websites offer “Snipping Tool downloads,” but this is not recommended.
Important notes:
- Snipping Tool is a Microsoft app, not standalone freeware
- Third-party installers may bundle adware or malware
- You won’t receive official updates
Best practice:
Always use the Microsoft Store or the built-in Windows recovery options.
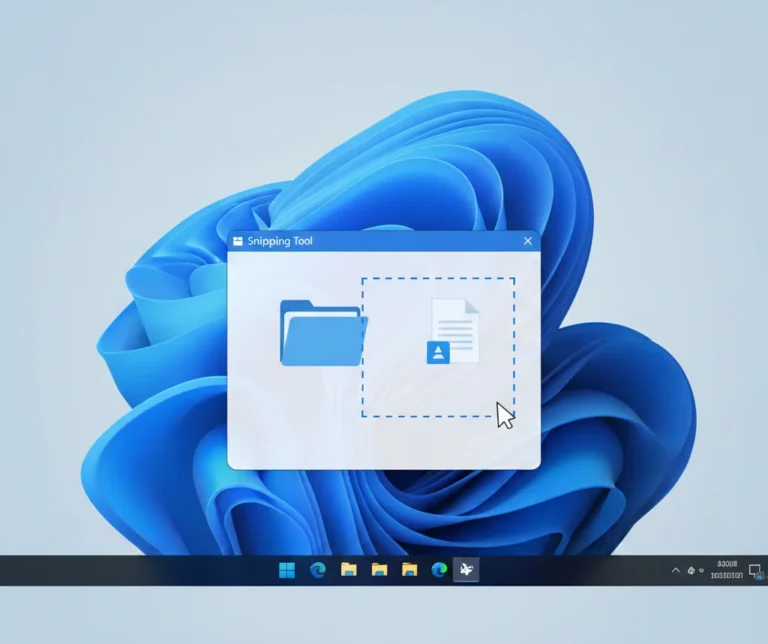
How to Use Snipping Tool (Quick Guide)
Taking a Screenshot
- Open Snipping Tool
- Click New
- Choose capture mode:
- Rectangle
- Free-form
- Window
- Full screen
- Rectangle
- Select the area you want to capture
You can find the detailed guide about using snipping tool on Windows here
Editing & Saving
- Use a pen, highlighter, or crop tools
- Click Save to store the image
- Or Copy to clipboard
Keyboard Shortcut
Win + Shift + S → fastest way to capture a screen
Screen Recording with Snipping Tool (Windows 11)
On supported Windows 11 versions, Snipping Tool includes screen recording:
- Open Snipping Tool
- Switch to Record mode
- Select screen area
- Start recording
Videos are saved locally after stopping the recording.
Screen recording is not available in older Windows 10 builds.

Common Snipping Tool Problems & Fixes
Snipping Tool Missing
- Install it from the Microsoft Store
- Check Windows Updates
Snipping Tool Not Opening
- Repair or reset via Settings → Apps
- Restart Windows Explorer
Keyboard Shortcut Not Working
- Enable Snipping Tool under Settings → Accessibility
- Check that no other screenshot app is overriding shortcuts

Best Snipping Tool Alternatives (Optional)
If you need advanced features:
- Scrolling screenshots
- Cloud storage
- Advanced annotation
Consider trusted third-party tools, but for basic needs, the Snipping Tool is more than sufficient.
We have compiled a list of 10 best snipping tool alternatives, which we have personally tested.
Final Thoughts
This Snipping Tool download guide shows that in most cases, you don’t need a traditional download at all. Snipping Tool is built into Windows and best managed through Microsoft’s official channels.
Use Microsoft Store
Avoid third-party installers
Keep Windows updated
For everyday screenshots and basic screen recording, Snipping Tool remains one of the simplest and safest tools available on Windows.
Frequently Asked Questions
Yes. It’s 100% free and built into Windows.
Yes, when installed via the Microsoft Store or Windows.
The modern Snipping Tool is not supported on Windows 7.
It’s still called Snipping Tool. Microsoft merged Snip & Sketch into it.
No. Microsoft updated it, but the tool is still available and supported.