Mac Snipping Tool Shortcut Keys (Full List + Tips)
Capturing what’s on your screen is an essential skill, whether you need to save an important photo, share a detailed chart, or keep a piece of critical information. Luckily, the Snipping Tool on a Mac is a versatile and intuitive solution that makes screenshot tasks a breeze. This built-in utility in macOS offers screen capture and customized options to grab specific parts of your screen—from full-screen shots to selected windows and free-form captures. It’s a real game-changer for those who want to simplify and streamline their workflow, allowing you to annotate screenshots, add notes, and share images directly without needing extra software.
Personally, I love how macOS offers a smooth experience for capturing and marking up screenshots, especially when working in a fast-paced, digital environment where quick screen capture is crucial.
What Is A Snipping Tool For Mac
The Snipping Tool gives you quick access to options like saving, deleting, and opening screenshots for markup. Whether you need to capture your entire screen, a specific section, or a specific window, your Mac has everything you need. I’ve found that mastering these shortcuts has significantly boosted my productivity, especially when switching between tasks and needing to grab screenshots on the fly.

One of the best things about using a Mac to take screenshots is its flexibility. Modern Macs, powered by Apple’s chip, including MacBook laptops, iMac all-in-ones, Mac Mini, and Mac Studio desktops, all support easy screenshot methods. You can use three basic methods with Mac keyboard shortcuts, and if you have an older MacBook Pro with the Touch Bar, there’s even a fool-proof method.
How to Use the Snipping Tool on a Mac
Snipping on a Mac with Hotkey
Using keyboard shortcuts (also known as hotkeys) to snip on a Mac is a quick and easy way to take screenshots of your screen. Whether you need to capture the full screen, a specific window, or a custom portion, macOS offers several hotkey combinations to make this task seamless.
For a whole screen screenshot, simply press Shift + Command + 3, and an image of your entire screen will be automatically saved to your desktop screen. You’ll even see a preview pop up in the lower right corner, where you can click to edit, copy, or clip the image.
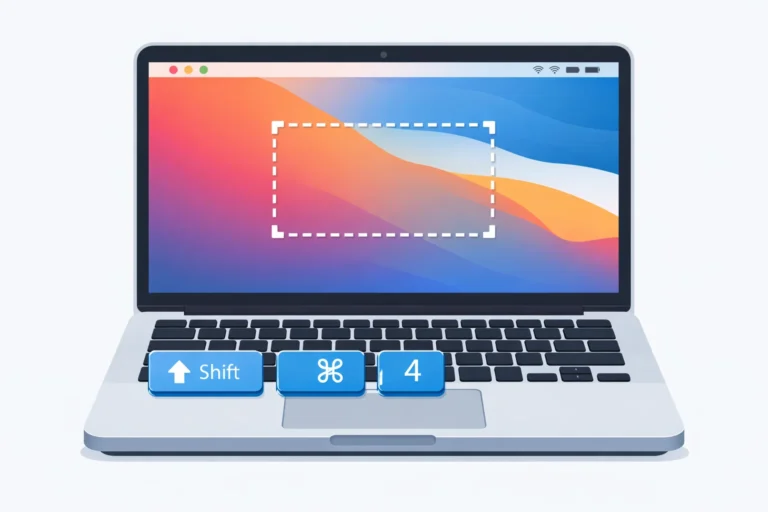
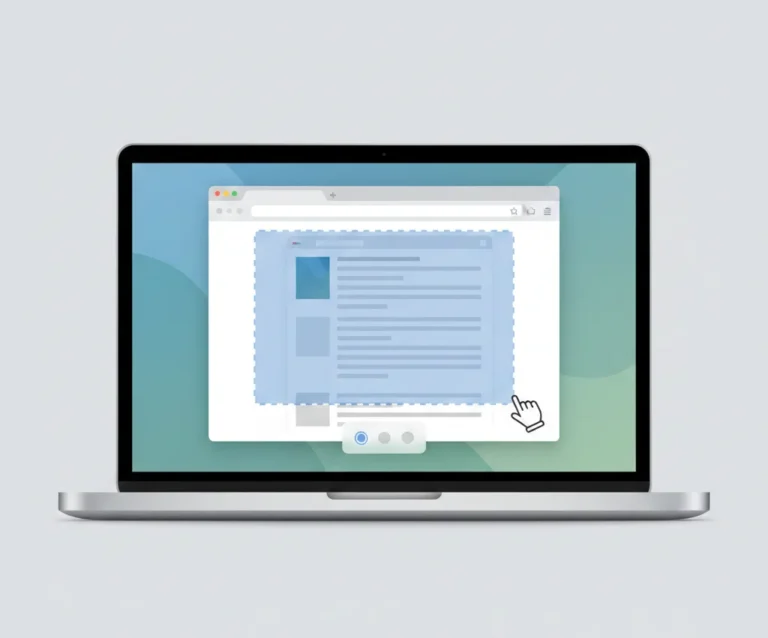
If you want to capture a specific window without any background clutter, use Command + Shift + 4, then tap the Spacebar. This action changes your cursor to a camera icon, allowing you to hover over the window until it’s highlighted, then click to take a clean image. You’ll get a screenshot with a white border and a subtle drop shadow, giving your image a polished look.
For those moments when you need to fine-tune the selection area, the Shift key is your friend. Hold it down to adjust the bottom edge, then move the mouse up or down for perfect alignment.
If you need to shift the right edge, simply release and press the Shift key again while keeping the mouse button or trackpad engaged. This ability to toggle between edges is a lifesaver when every pixel counts. I’ve used this method countless times to snap clean, professional-looking screenshots for my projects.
How to Take a Snip on a Mac With The Screenshot Toolbar
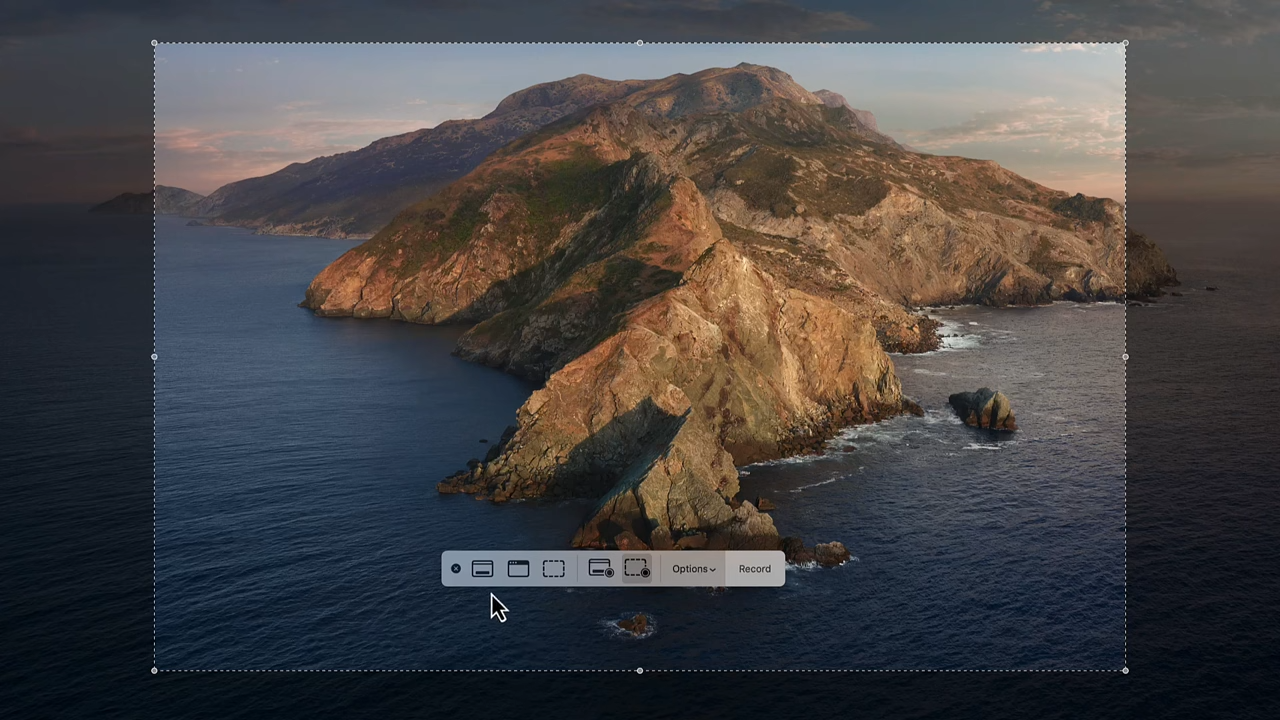
Using the screenshot toolbar on a Mac is a simple way to take a snippet of your screen. To bring up this handy tool, just press Shift + Command + 5, and the toolbar will appear on your screen (and on your Touch Bar if your computer has one). You’ll see most of your screen turn darkened, with a highlighted rectangle in the middle.
By default, the toolbar is set to capture only a part of the screen, but you can easily click on an icon to fit your needs. Whether you want to capture the full screen or just a specific window, it’s all just a click away.
The screenshot toolbar also offers a quick and easy option to record a video of either a part or all of your screen. You can choose Record Entire Screen or Record Selected Portion to capture what you need. Instead of a still photo, this feature is perfect when you want to save a video of your screen activity, adding versatility to the Snipping Tool experience.
Custom Settings That Make the Snipping Tool Work Better for You
If you often need to take screenshots on your Mac, customizing the snipping tool can save you time and make your work smoother. By using the options menu in the toolbar, you can set up custom settings that let you perform the same types of screenshots with fewer steps.
-
To get started, hold down Shift + Command + 5 to open the toolbar.
-
On the right side, next to the screen capture and video capture icons, you’ll see the Options button.
-
Click it, and a dropdown menu will appear. This menu allows you to check or uncheck settings, such as showing the cursor in your screenshot or setting a timer to run before you take the shot.
I often use this feature when I need to create step-by-step guides or when capturing a screenshot with a countdown helps me get the perfect shot. Whether you want a timer for preparation time or prefer to hide the cursor, the snipping tool on Mac offers flexibility to fit your needs. Once you set your custom settings, the snipping tool will remember them, making it even easier to snip just the way you like.
Changing Where Your Screenshots Are Saved
By default, when you snip on a MacBook or iMac, your screenshots are automatically saved to your desktop. While this might work for quick access, it can clutter your screen fast.
To select a different location follow the steps below:
-
Open the screenshot toolbar by pressing Shift + Command + 5.
-
Click on Options at the top of the dropdown menu.
-
You'll find a Save to section that lets you choose from various destinations like desktop, documents, clipboard, and mail.
If none of these destinations work for you, no problem! You can select Other location to set a custom save location. This is super helpful if you like keeping your screenshots organized in specific folders or if you’re working on a project that needs everything in one place.
How to capture videos using the Snipping Tool on a Mac
If you want to record a video of your screen on a Mac, using the screenshot toolbar is super easy. Just follow the steps below:
-
Press Shift + Command + 5 to bring it up.
-
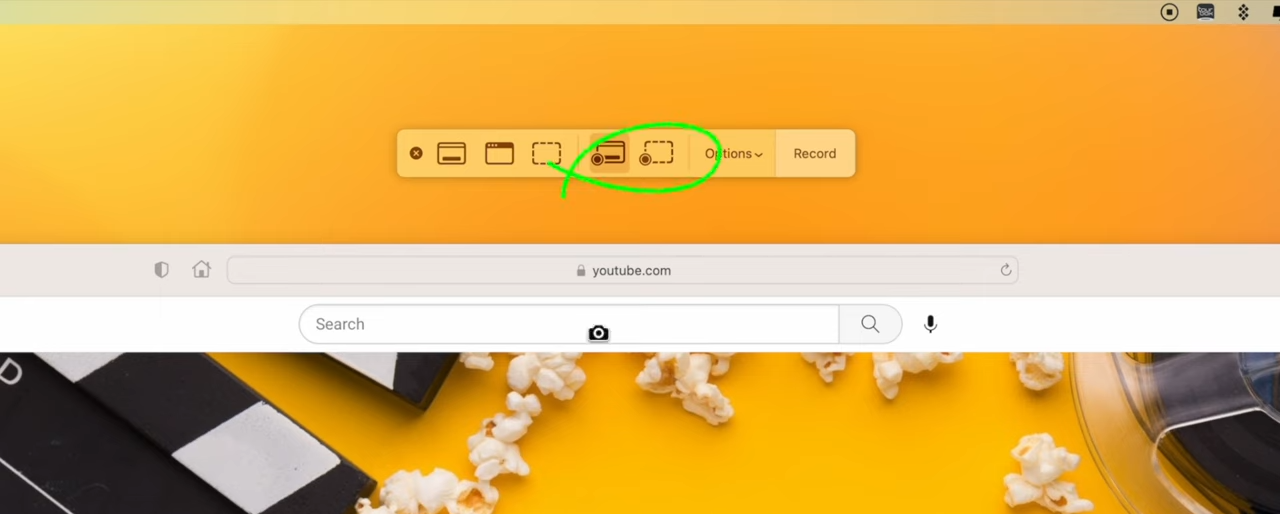
On the right side of the screenshot icons, you’ll see two screen recording icons.
-
To capture your full screen, click on Record Entire Screen.
-
If you only need a custom area, click on Record Selected Portion instead.
-
The toolbar will disappear, and your recording will begin immediately.
-
When you're done, simply press Shift + Command + 5 again and click the Stop icon.
How to add the Snipping Tool to the Touch Bar
-
First, open System Preferences and go to Keyboard settings.
-
Next to the Touch Bar, click on the dropdown menu and select App Controls.
-
This setup will make sure the right tools appear when you need them.
-
To fully customize it, choose Customize Control Strip.
-
You’ll see a list of available options—just click on Screenshot and drag it to the Touch Bar.
-
Now, whenever you need to take a quick snip, the option is right at your fingertips.
This little tweak not only saves time but also makes capturing your screen super easy.
How to Recover Deleted Screenshots on MacBook
If you’ve ever lost screenshots on your Mac, don’t worry—there are several smart approaches to get them back.
-
Method # 1: Recent Files
The first step is to check Recent Files by clicking the Apple icon in the top menu and selecting Recent Items. This method is often the easiest way to find deleted or moved files. You can check the list to see if your files are still there.
-
Method # 2: Trash Folder
You can recover files from the Trash. Simply open the Bin, browse through its contents, select the screenshots you need, right-click, and choose Put Back.
-
Method # 3: Using Finder
You can also recover deleted screenshots by using Finder. Just type the name of your screenshot in the search box at the top-right corner, and copy it to a separate location if you find it.
Method # 4: Data Recovery Software
For more advanced recovery, data recovery software like Disk Drill can help get back files that seem gone forever. This method is ideal for beginners due to its minimal hassle.
Just download, install, and launch the tool. Then, choose the drive, select All Recovery Methods, and search for lost data. Once the recovery process is finished, review the found items, scroll through recoverable files, mark what you need, and hit Recover. Don’t forget to use a separate disk drive to avoid overwriteing existing data.
Additionally, Time Machine and iCloud can save the day if you’ve set up regular backups. You can also try searching temporary folders through Terminal using the TMPDIR command. This wide range of options ensures you have a solid chance to recover your valuable screenshots and documents with ease.
Mac Snipping Tool Troubleshooting Common Problems
If your Snipping Tool on Mac is unresponsive or not launching, a quick restarting of your Mac might help. If the problem persists, make sure your software updates are current, or consider a reinstall of macOS. Sometimes, the tool may work fine, but if you are unable to save snips, it might be a permissions issue.
Double-check your system settings to ensure there are no restrictions on the designated folder. You could also try changing the save location to a different folder to avoid any permission issues.
For low-quality screenshots that look pixelated, adjusting your screen resolution to the maximum available can improve the clarity of your captured images.
If none of these solutions work, don’t hesitate to seek guidance from Apple Support through their website or by contacting them directly. Online forums and communities like Mac user forums are also great places to participate, ask experienced users for assistance, and find answers from those who may have encountered and resolved similar issues.
Frequently Asked Questions
There are many snipping tools for Macs with different features available. Here are some of the best below:
- TextSniper
- LightShot
- Capto
- CleanShot X
- CloudApp
- Snagit
- Lightshot
- Monosnap
Yes, you can set a timer for 5 to 10 seconds for taking screenshots on Mac by using Command + Shift + 5 and then clicking on the option.